How to Build an Indoor Vertical Garden (A Renter-Friendly Way That Won’t Cost Your Deposit)
Last updated: 03.06.2026.
I built my first vertical garden out of guilt. I had one bright wall in a tiny one-bedroom and a windowsill that was already full, and the wall just sat there, blank, while I kept buying plants with nowhere to put them. So I went up instead of out. Best decision I made in that apartment.
The thing nobody tells you: building one indoors is less about gardening and more about not wrecking the wall, not flooding the floor, and not buying a fussy system you’ll hate watering. Get those three right and the plants are the easy part. Here’s how I’d do it again from scratch.
If you’d rather skip the DIY entirely and buy a ready-made unit, I compared the off-the-shelf options in the best indoor vertical garden systems guide — this article is for people who want to build it themselves, usually cheaper and more customizable.
Step 1 — Pick the wall before you pick anything else
Light decides everything. A vertical garden is just a lot of plants stacked on one plane, and that plane needs to actually receive light or you’re building a green graveyard.
South- and west-facing walls near a window are ideal. North-facing — a north-facing Manchester flat, a shaded Berlin Altbau courtyard wall — can still work, but you’ll be leaning on a grow light (more on that below). Avoid walls right over a radiator or a heating vent; the dry updraft cooks the lower plants.
Measure the space. A patch as small as 2×3 feet (about 60×90 cm) is enough to start. Don’t go huge on attempt one. You can always add a second panel once you know you’ll keep up with it.
Step 2 — Choose a mounting method that survives a rental
This is where renters panic, and they shouldn’t. You have three routes, cheapest to sturdiest:
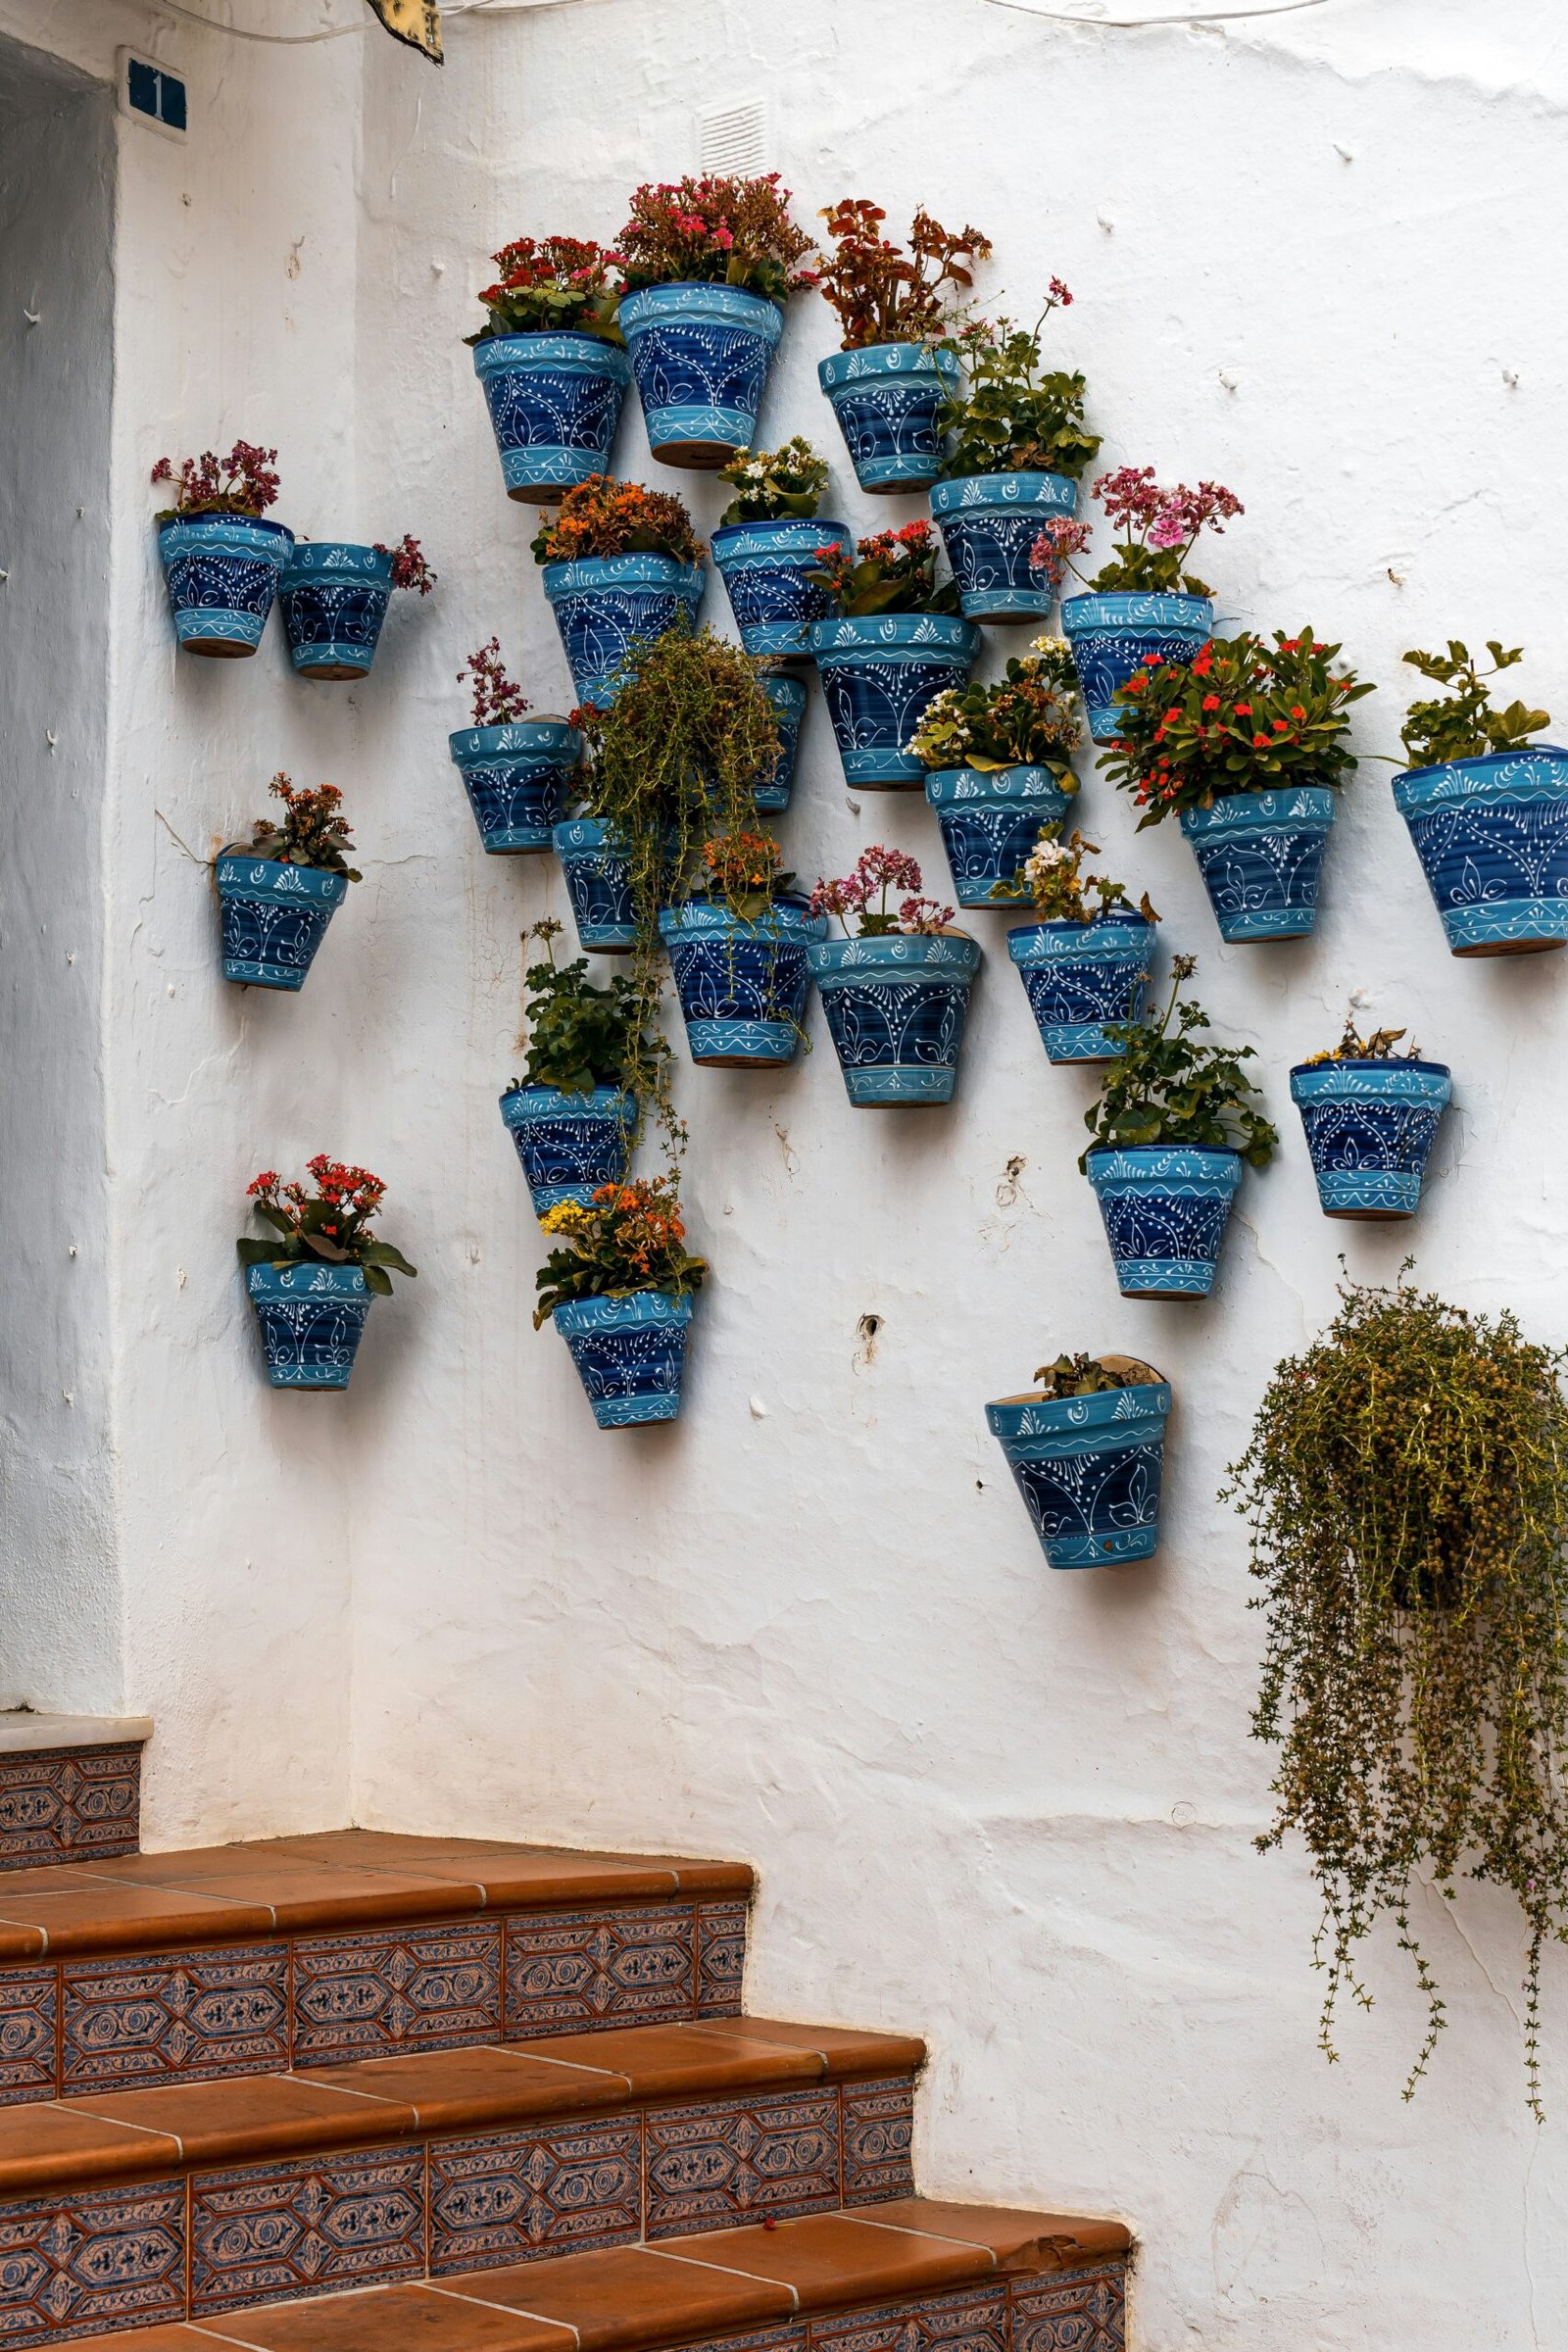
Freestanding — zero wall damage. A narrow shelving unit or a freestanding plant ladder (nofollow, sponsored) leans against the wall and holds pots on tiers. No screws, no holes, fully portable. My pick for anyone worried about a deposit.
Tension or hanging — minimal damage. A hanging wall planter with pockets (nofollow, sponsored) on a tension rod or over-door bracket. Felt pocket systems are light and renter-safe.
Mounted — most stable, small holes. Screw a vertical wall planter (nofollow, sponsored) into studs or use heavy-duty drywall anchors. A few filled holes at move-out is usually nothing a bit of spackle and paint won’t fix — check your lease, but most landlords don’t blink at patched nail holes.
US renters can grab anchors and spackle at Home Depot or Lowe’s; UK readers, B&Q or Wickes; in Germany, OBI or Hornbach. All cheap.
Step 3 — Solve drainage before you add a single plant
This is the step people skip and then regret all over their hardwood floor.
Water runs downhill. In a vertical setup the top plants drip onto the bottom ones and eventually onto your floor. Two ways to handle it:
Self-contained pockets/pots with their own small reservoirs, watered individually. More watering, zero mess.
A catch system — a waterproof tray or liner (nofollow, sponsored) along the bottom to catch runoff. Put down a liner behind the whole thing too if the wall finish is delicate.
Whatever you do, test it with plain water and no plants first. Pour, watch where it goes, fix the leak. Future-you will be grateful.
Step 4 — Add light if the wall is dim
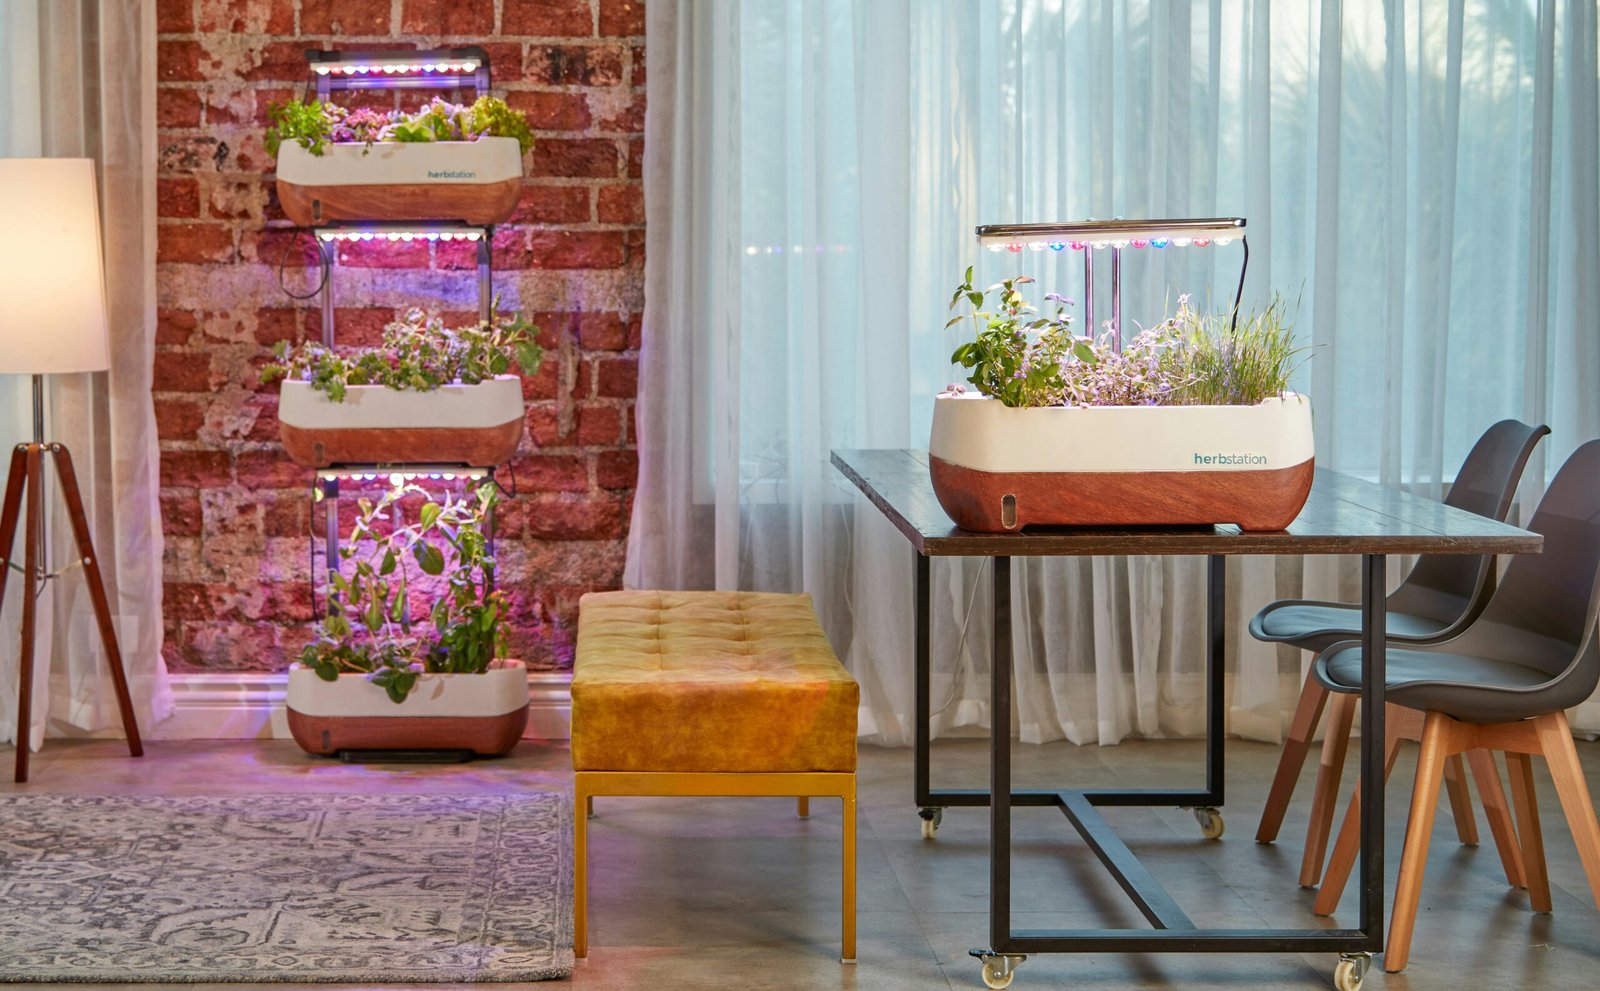
If your wall gets less than about 5–6 hours of decent light, add a grow light. A vertical garden makes its own shade — the upper plants shadow the lower ones — so light matters even more than on a windowsill.
A simple full-spectrum bar light (nofollow, sponsored) mounted above or beside the panel fixes it. They run on any standard outlet (US 110V, UK 240V, DE 230V) and sip electricity. For how many hours to run it, see how long to leave a grow light on — leafy greens and herbs want roughly 12–14 hours. If you’re not sure your wall even needs one, do you need a grow light walks through the test.
Step 5 — Fill it (soil, then plants)
Use a light, fluffy organic potting mix (nofollow, sponsored) — not garden soil, which packs down and gets heavy on a wall. Lighter mix = less strain on your mounting and better drainage.
Plant the heavy, thirsty plants at the bottom (they catch the drips) and the smaller, drought-tolerant ones up top. For exactly which plants thrive in a vertical setup and which ones sulk, I put together a full best plants for an indoor vertical garden rundown — herbs, trailing pothos, ferns, the works. Start with 5–8 plants, not 30. See how watering feels first.
The honest maintenance reality
A vertical garden is more watering than a couple of pots, full stop. Gravity pulls moisture down, so top plants dry out faster than bottom ones — you’ll water unevenly, and that’s normal. A small pump watering can with a long spout (nofollow, sponsored) saves your shoulders reaching the top row.
Plan on a proper check every 2–3 days. If that sounds like too much, start smaller or lean toward self-watering pockets. A green wall you keep up with beats a big one that turns brown in a month.
Where to go from here
Once the wall’s alive, the rest of the small-space playbook fits right alongside it: indoor gardening for renters covers the damage-free philosophy in depth, and how to build a plant corner in a small apartment pairs a vertical wall with the rest of your space. And again — if the DIY route starts feeling like more than you signed up for, the ready-made vertical garden systems do the engineering for you.
The wall that sat blank in my old apartment is the thing guests always asked about. Going up instead of out is the single best move for a small space. Build small, solve drainage first, and let it grow.