How to Acclimate Houseplants to a Grow Light Without Scorching Them
Affiliate disclosure: As an Amazon Associate I earn from qualifying purchases. Links marked “paid link” may earn Fern & Shelf a commission at no extra cost to you. Read our full Affiliate Disclosure.
A houseplant can scorch under an LED even when the fixture produces little heat. The stress comes from a rapid increase in light at the leaf, especially after shipping, winter, or months in a dim room. Acclimation gives leaves time to adjust while new growth forms under the stronger conditions.
Record the starting point
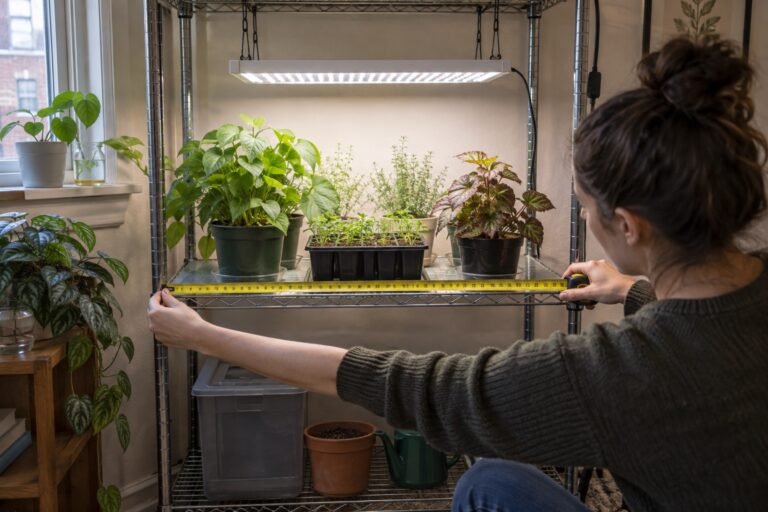
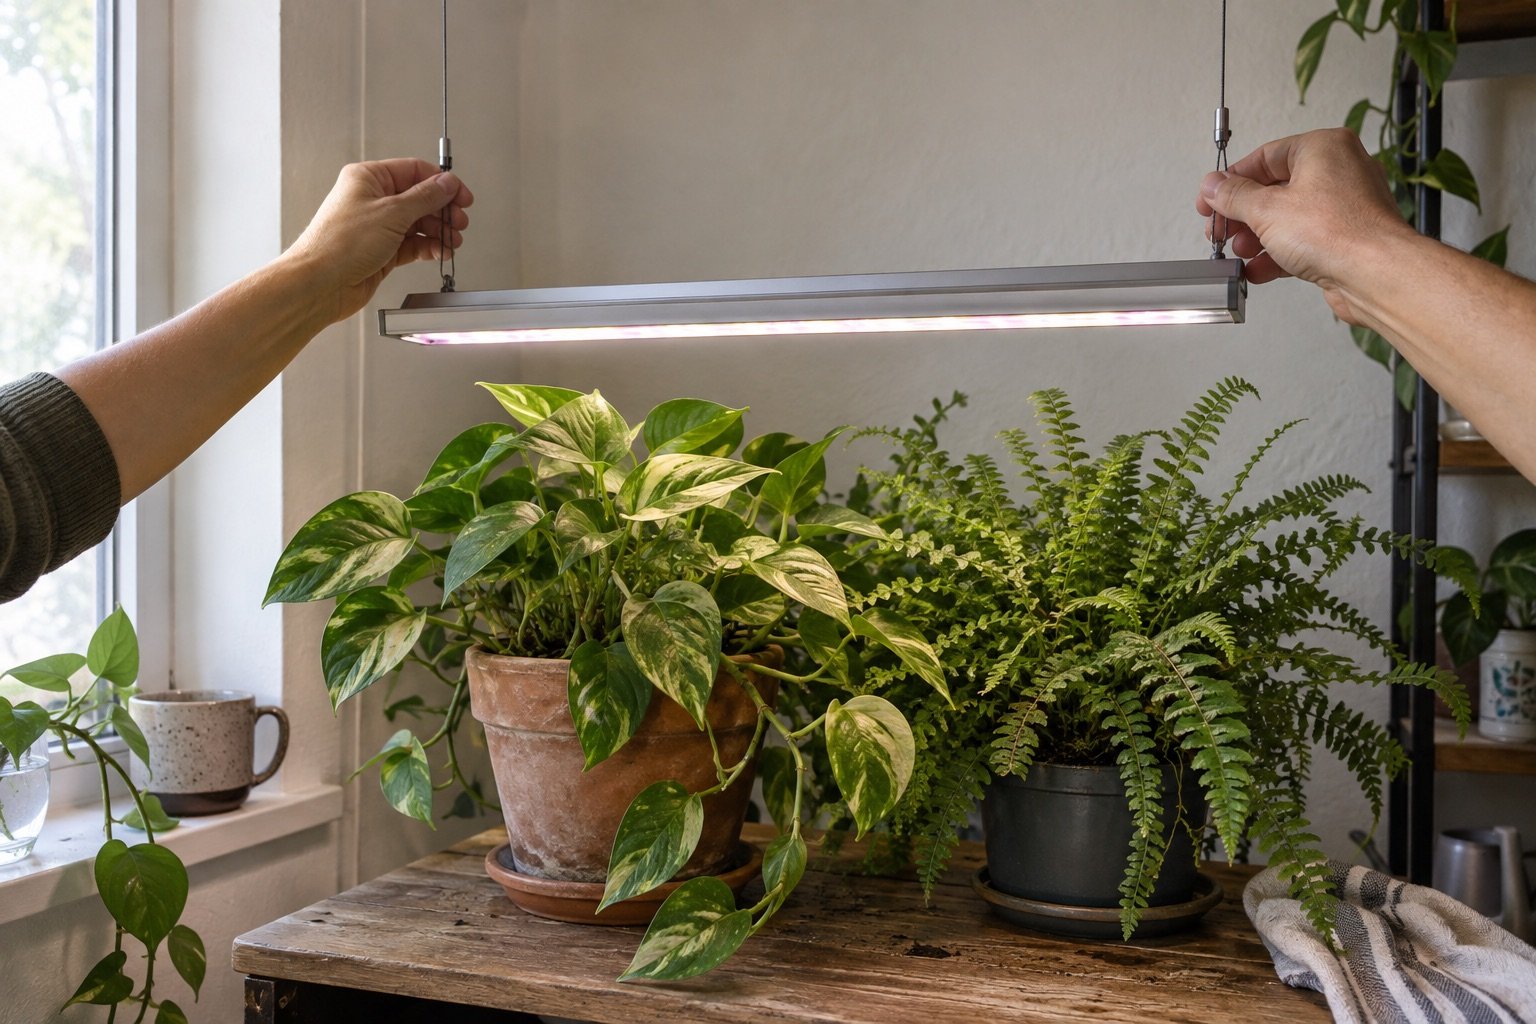
Write down the fixture, height above the tallest leaf, daily hours, and plant location. If you have a meter, take PPFD readings at the center and edges. A phone light app can show relative changes, but it should not be treated as a calibrated PAR meter.
A dimmable grow light with a timer (paid link) gives you two controlled adjustments. Verify actual power, coverage, safety listing, and mounting hardware before buying.
A two-week transition
| Days | Distance or output | Schedule |
|---|---|---|
| 1 to 3 | High or dimmed | 6 to 8 hours |
| 4 to 7 | Move slightly closer if leaves are stable | 8 to 10 hours |
| 8 to 11 | Approach planned height | 10 to 12 hours |
| 12 to 14 | Final setting based on measurements | Target photoperiod |
This is a conservative example. High-light succulents and vegetable starts may finish at a much higher intensity than ferns, calatheas, or newly rooted cuttings.
Change one variable at a time
Moving the lamp closer while doubling the hours makes the cause of a reaction unclear. Adjust distance, dimmer level, or schedule, then wait and inspect. Leaves closest to the diodes usually show excess first.
The PPFD and DLI calculator shows how a longer day increases total light even when the meter reading stays unchanged.
Signs the increase is too fast
- Pale or bleached patches on upper leaves
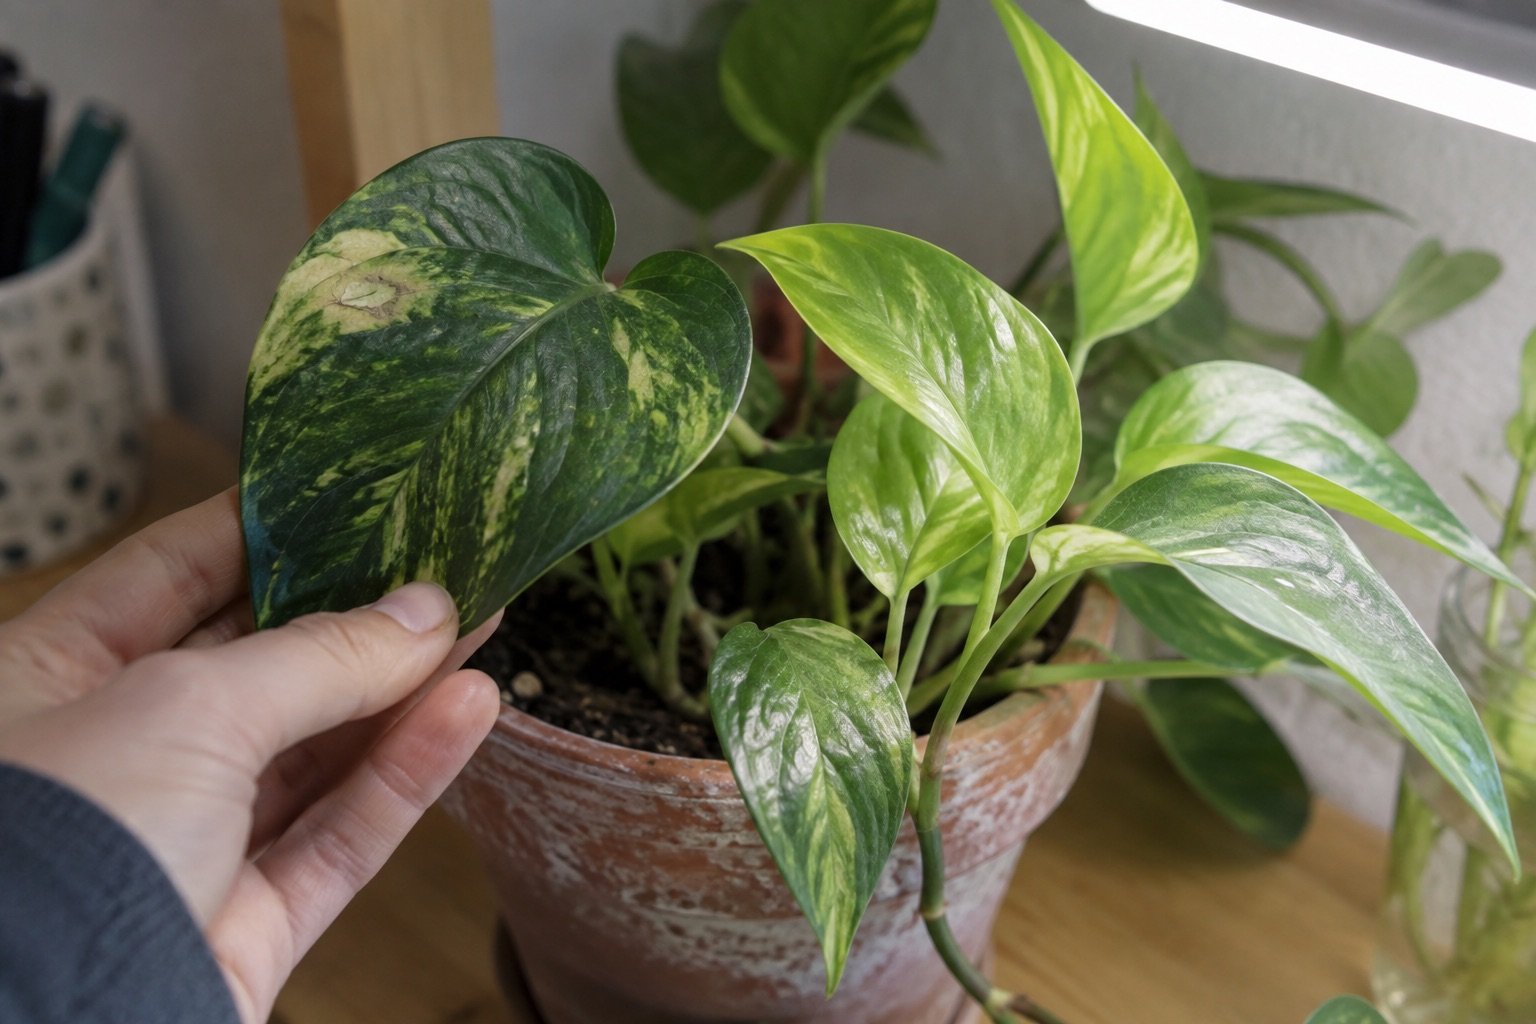
- Dry papery spots facing the fixture
- Leaves curling away from the lamp
- A sudden spike in water use and dry mix
- Warm leaf surfaces from trapped fixture heat
Raise or dim the light modestly and pause the progression. Damaged tissue will not regain color, so watch whether spots stop expanding and new leaves remain normal.
Signs the plant still needs more light
Longer internodes, small pale new leaves, leaning, and loss of lower leaves can point to inadequate light. These symptoms also occur with root stress or pests. Check the whole plant and use our plant problem diagnostic when more than one condition fits.
Watering changes under stronger light
Plants may use water faster after a successful transition. Check the mix more often, but keep the same moisture cue for the species. Do not start watering daily only because the lamp is new. A stronger fixture can also warm a small pot, particularly on a closed shelf.
Arrange mixed shelves
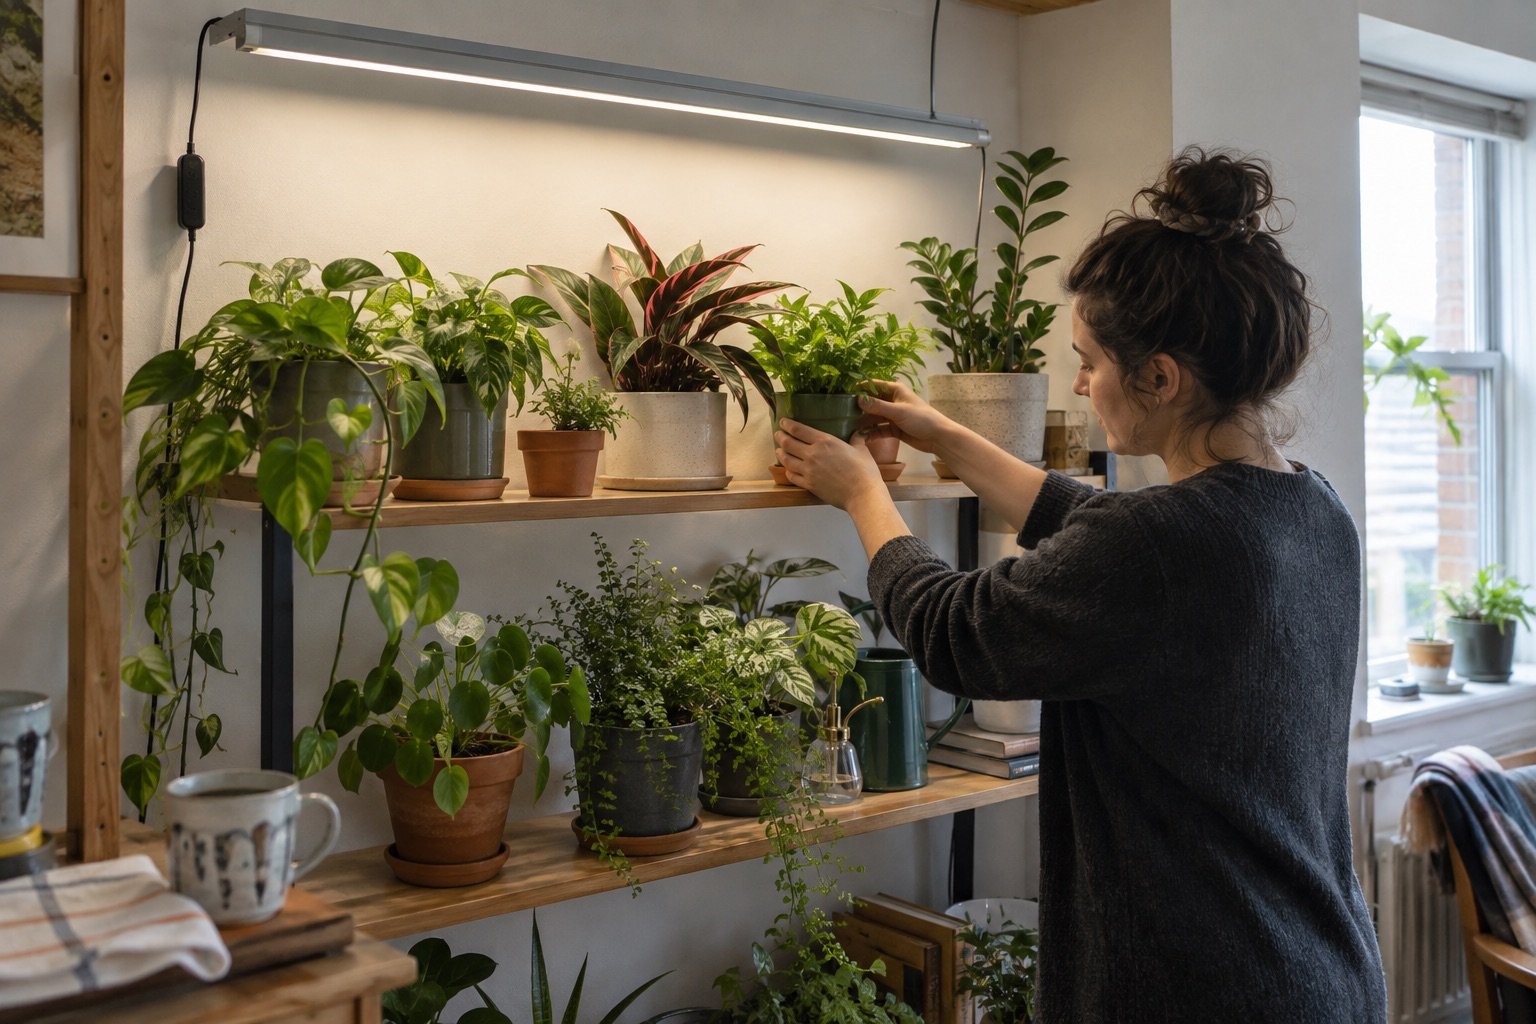
Put tolerant, high-light plants near the center and lower-light foliage near the edges. Raise short pots on stable blocks to even the canopy, or separate plants with very different needs. Measure at leaf height rather than at the shelf surface.
Keep the final setting stable
Mark the hanging height and use a reliable timer. Recheck as plants grow closer to the fixture. Seasonal window light can add to the LED, so a safe winter position may become excessive beside a sunny spring window.