How to Grow Radish Microgreens (Ready in a Week, Great for Beginners)
Last updated: 10.07.2026.
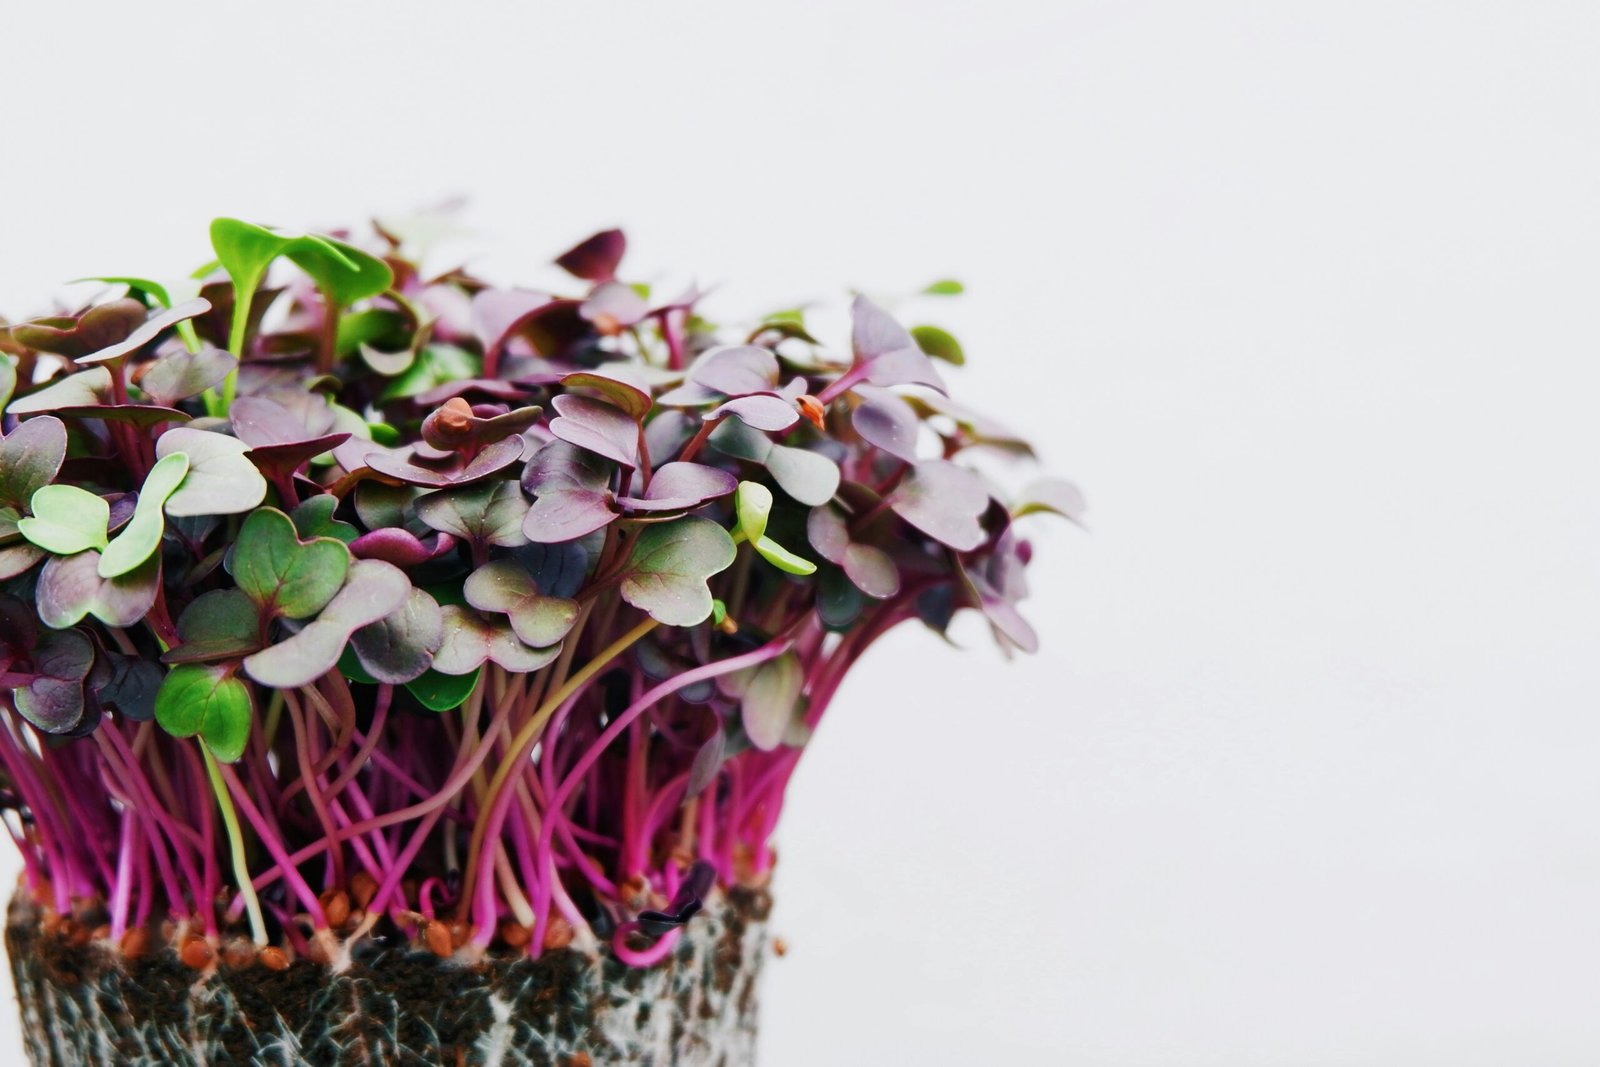
If you have never grown a microgreen before, start with radish. It is the fastest common variety, ready to cut in about a week, it needs no soaking, and it is almost impossible to mess up. It also happens to be one of the most profitable microgreens to grow, because that speed lets you turn a single tray over four or more times a month. Peppery, crunchy, and colorful, radish is the perfect confidence-builder. Here is the whole process.
Start here: For a complete overview, see our How to Grow Herbs Indoors Without Sunlight.
What you need
- Radish microgreen seeds. China rose (pink stems), red rambo (dark crimson), and daikon (white, mildest) are the popular types. China rose commands the best price for its color. A bag of radish microgreen seeds is inexpensive.
- 10 by 20 inch (25 by 50 cm) trays, holed and solid.
- A light growing medium.
- Light: a bright window or a grow light.
Why radish is the easy one
Two reasons radish is the beginner pick:
No soak needed. Radish seeds are small and germinate fast and evenly straight from the bag. That removes the step people most often get wrong with sunflower and peas.
Short blackout, fast finish. Radish only needs a 2 to 3 day blackout and is ready to harvest in 6 to 10 days total. You see results almost immediately, which is hugely motivating when you are learning.
Step by step
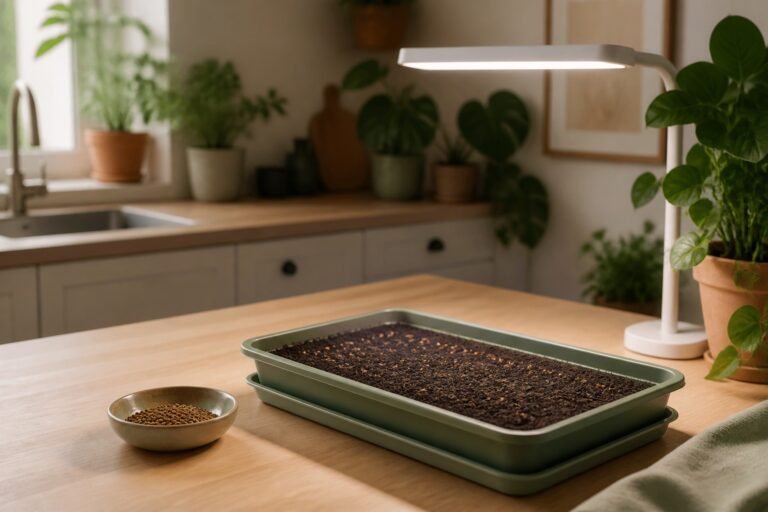
1. Fill the tray with about an inch (2 to 3 cm) of moist medium, leveled.
2. Sow evenly. Scatter the dry seeds in a dense, even single layer across the surface. No soaking required.
3. Mist and blackout. Mist the seeds, cover with an inverted tray (a light weight is optional and gives slightly sturdier stems), and keep dark for 2 to 3 days.
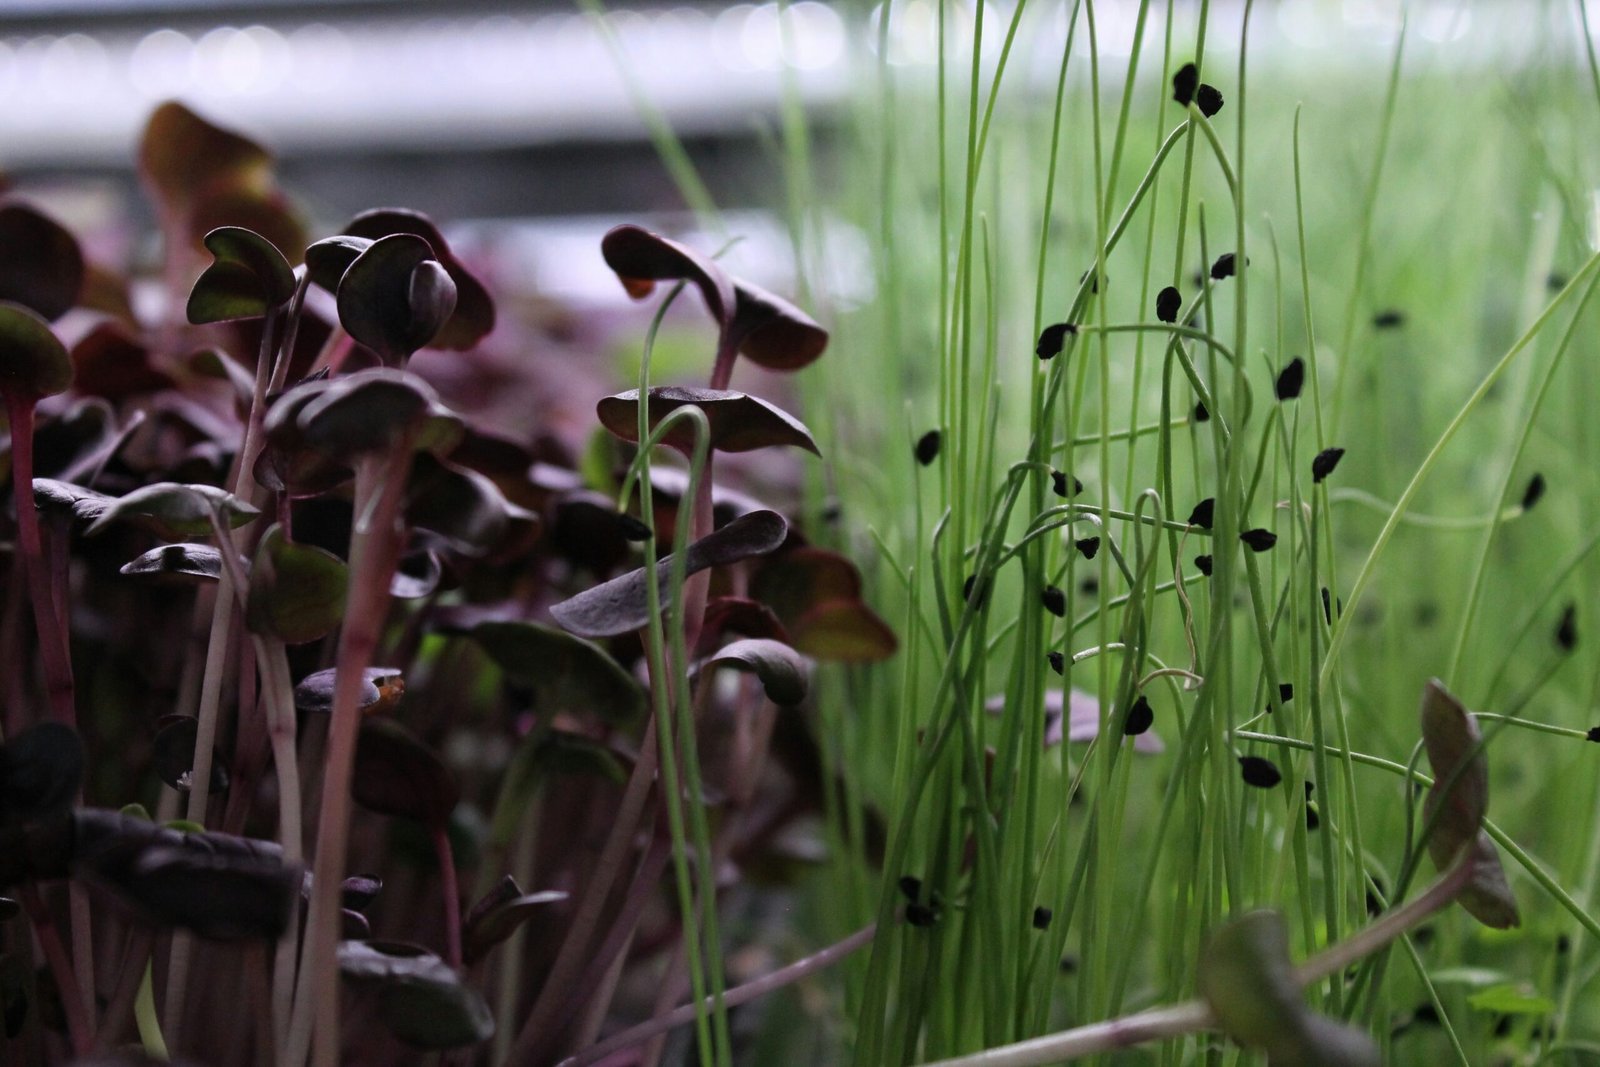
4. Uncover and light. As soon as the shoots lift the cover, uncover them. They green up and, depending on variety, develop pink or red stems under good light.
5. Bottom-water from the tray below to keep leaves dry and mold away.
6. Harvest at 6 to 10 days, once the first true leaves appear. Cut at the base with clean scissors.
Common problems
- Mold or damping off: the usual cause is overwatering. Radish grows so fast that it rarely has mold trouble if you bottom-water and do not drown it. Fuzzy white root hairs are normal, not mold.
- Leggy, pale shoots: they need more light after the blackout, and possibly a touch more time in the dark under a light weight for sturdier stems.
- Weak color: more light brings out the pink and red. Dim conditions leave them pale.
Honestly, radish gives the fewest problems of any variety on this list. It is forgiving of beginner mistakes.
Harvest, storage, and yield
Radish yields a bit less per tray than sunflower or peas, roughly 0.7 to 0.9 lb (about 320 to 400 g), but the speed more than makes up for it: you can run the same tray far more often. It keeps about a week refrigerated. The peppery bite and vivid color make it a favorite garnish.
Selling radish microgreens
Chefs use radish as a spicy, colorful garnish on sushi, steak, tacos, and elevated plates, and it sells for roughly $25 to $45 per pound wholesale, with China rose at the top for its looks. Because it turns over so fast, radish is one of the strongest varieties for cash flow, a point we cover in the fastest-growing microgreens guide. It is a core member of the starter lineup alongside sunflower, pea shoots, and broccoli, and you can compare all their margins in which microgreens make the most money. To place them, see selling to restaurants and farmers markets.
Radish is where I send every nervous first-timer. No soaking, a two-day blackout, a harvest in a week, and a colorful, peppery result that looks and sells great. Master radish first, build your confidence, then add the slightly fussier high-yield varieties. When you are ready to treat it as a business, the step-by-step startup guide ties it all together.