How to Start a Microgreens Business (A Step-by-Step Guide From a Spare Room)
Last updated: 08.06.2026.
A microgreens business is one of the few things you can genuinely start from a corner of an apartment and turn into real money. No land, no greenhouse, no big loan. A shelf, some trays, a light, and seeds. I started in a spare bedroom that smelled faintly of soil for a year, and that little room paid for itself many times over.
This is the overview, the map of the whole thing: the steps from empty shelf to first paying customer, with links to the deeper guides for each piece. If you read one article before starting, make it this one, then branch out from here.
Step 1: Understand the business before you buy anything
Microgreens are young vegetable greens harvested 7 to 21 days after sowing. Restaurants, farmers market shoppers, and health-focused buyers pay a premium for them because they are intensely flavored, beautiful on a plate, and perishable enough that local and fresh beats anything shipped.
The economics are the appeal. Seeds cost pennies, a tray turns over in a week or two, and a single 10 by 20 inch (25 by 50 cm) tray can produce greens worth $15 to $30 (£12 to £24, €14 to €28) at the high end. The constraint is sales, not growing. Which means the smartest first move is deciding what to grow based on what sells, and my full breakdown of the most profitable microgreens to grow is the homework for this whole step.
Step 2: Run the numbers first
Before you spend a cent, know your startup cost and your break-even. A bootstrap setup runs a couple hundred dollars; a more serious rack setup runs more. The detailed math, what to buy and what to skip, is in the microgreens startup cost breakdown, and the cheap-but-complete shopping list is in the microgreens starter kit under $300. Do not over-buy at the start. Almost everyone does.
A rough realistic income picture also helps you decide if this is worth your time. I laid out honest revenue and profit ranges in how much money you can make growing microgreens, so you start with real expectations instead of YouTube fantasies.
Step 3: Set up your grow space
You need surprisingly little. The core kit:
- Trays. Standard 10 by 20 inch growing trays, some with holes, some without, for bottom watering.
- A shelf or rack. A wire shelving rack multiplies your growing space upward, which is the whole point in a small home.
- Grow lights. A few full-spectrum LED grow lights, one per shelf. They run on any standard outlet (US 110V, UK 240V, DE 230V).
- Growing medium. Coco coir or a fine seed-starting mix.
- Seeds. Bought in bulk, the cheapest per-tray cost of the whole operation.
A spare room, a basement corner, a wide windowsill, even a Berlin Altbau hallway with a rack against the wall. It does not take much space. When you outgrow this, the scaling equipment guide covers the upgrade path.
Step 4: Sort the legal side early
This is the step people dread and then find is easier than expected. Selling food to the public means registering as a food business.
In the US, this falls under cottage food law, which is set state by state, so check your state Department of Agriculture; the FDA sets the broader food-safety backdrop. In the UK, you register as a food business with your local council and follow Food Standards Agency guidance, usually free and straightforward. In Germany, you deal with your local Lebensmittelüberwachung office, with the BLE overseeing the agricultural side. Microgreens are low-risk, so this is mostly paperwork, but sort it before you sell, because both restaurants and market managers often ask for proof.
Step 5: Grow your first trays
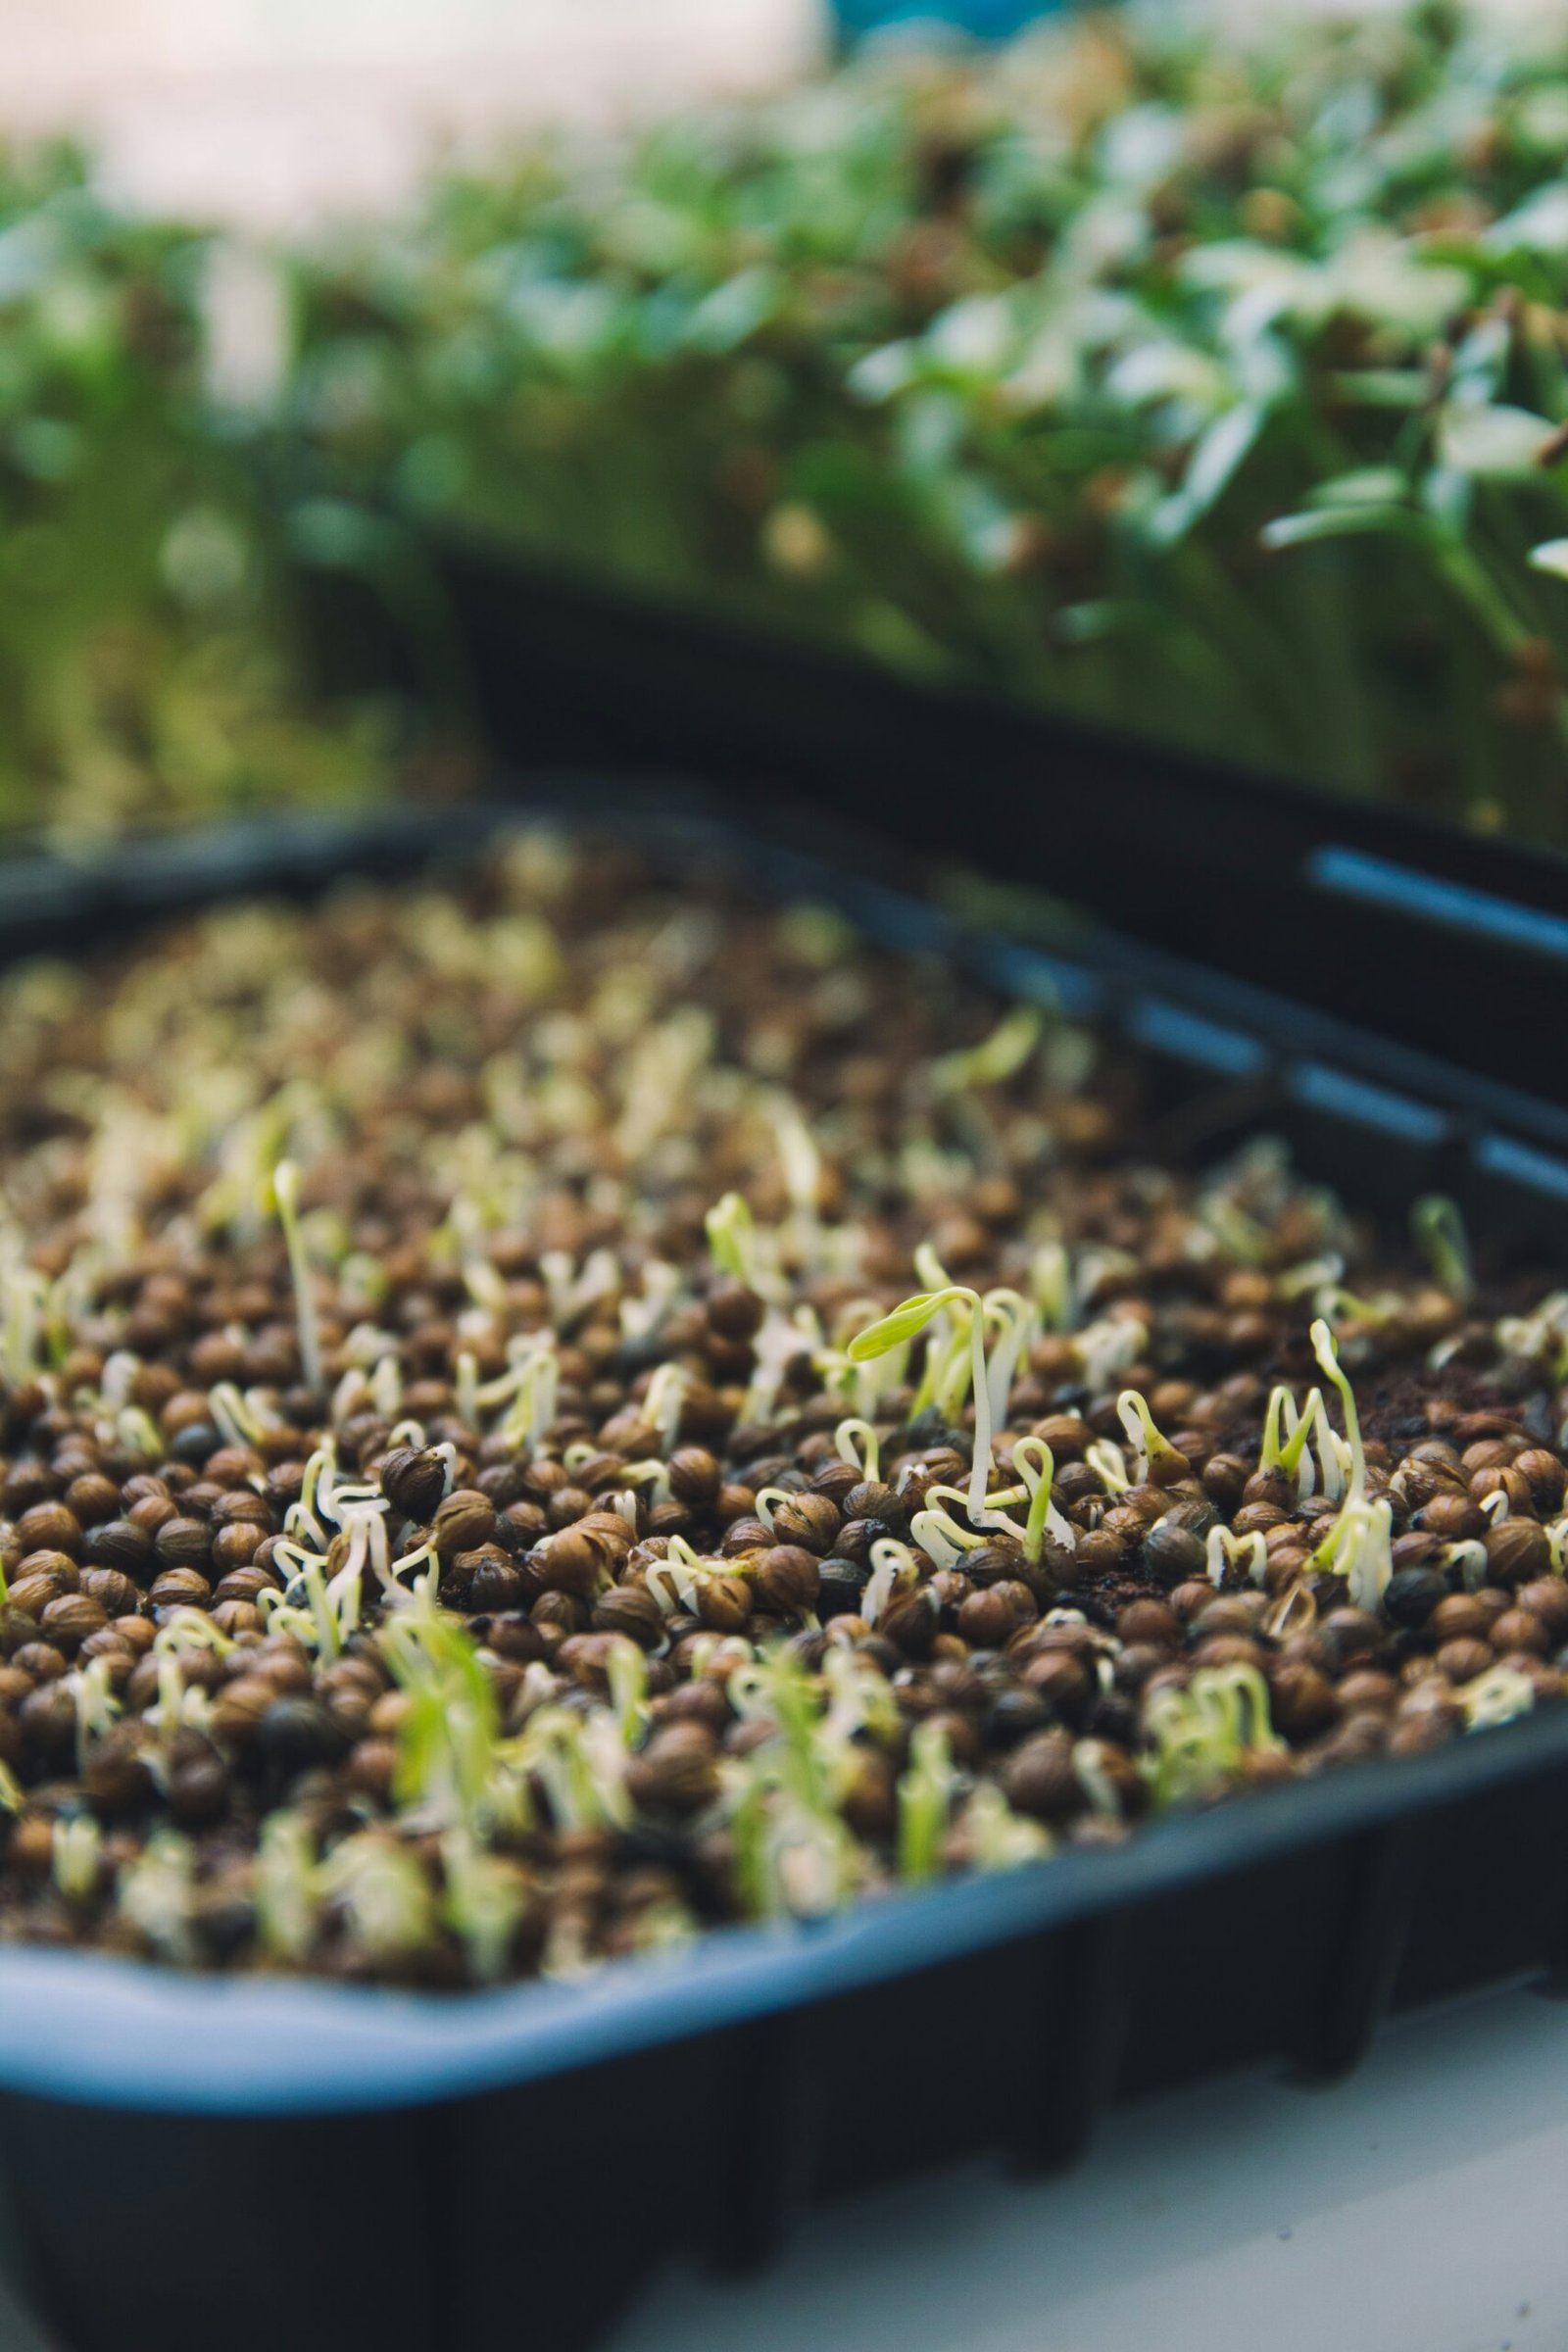
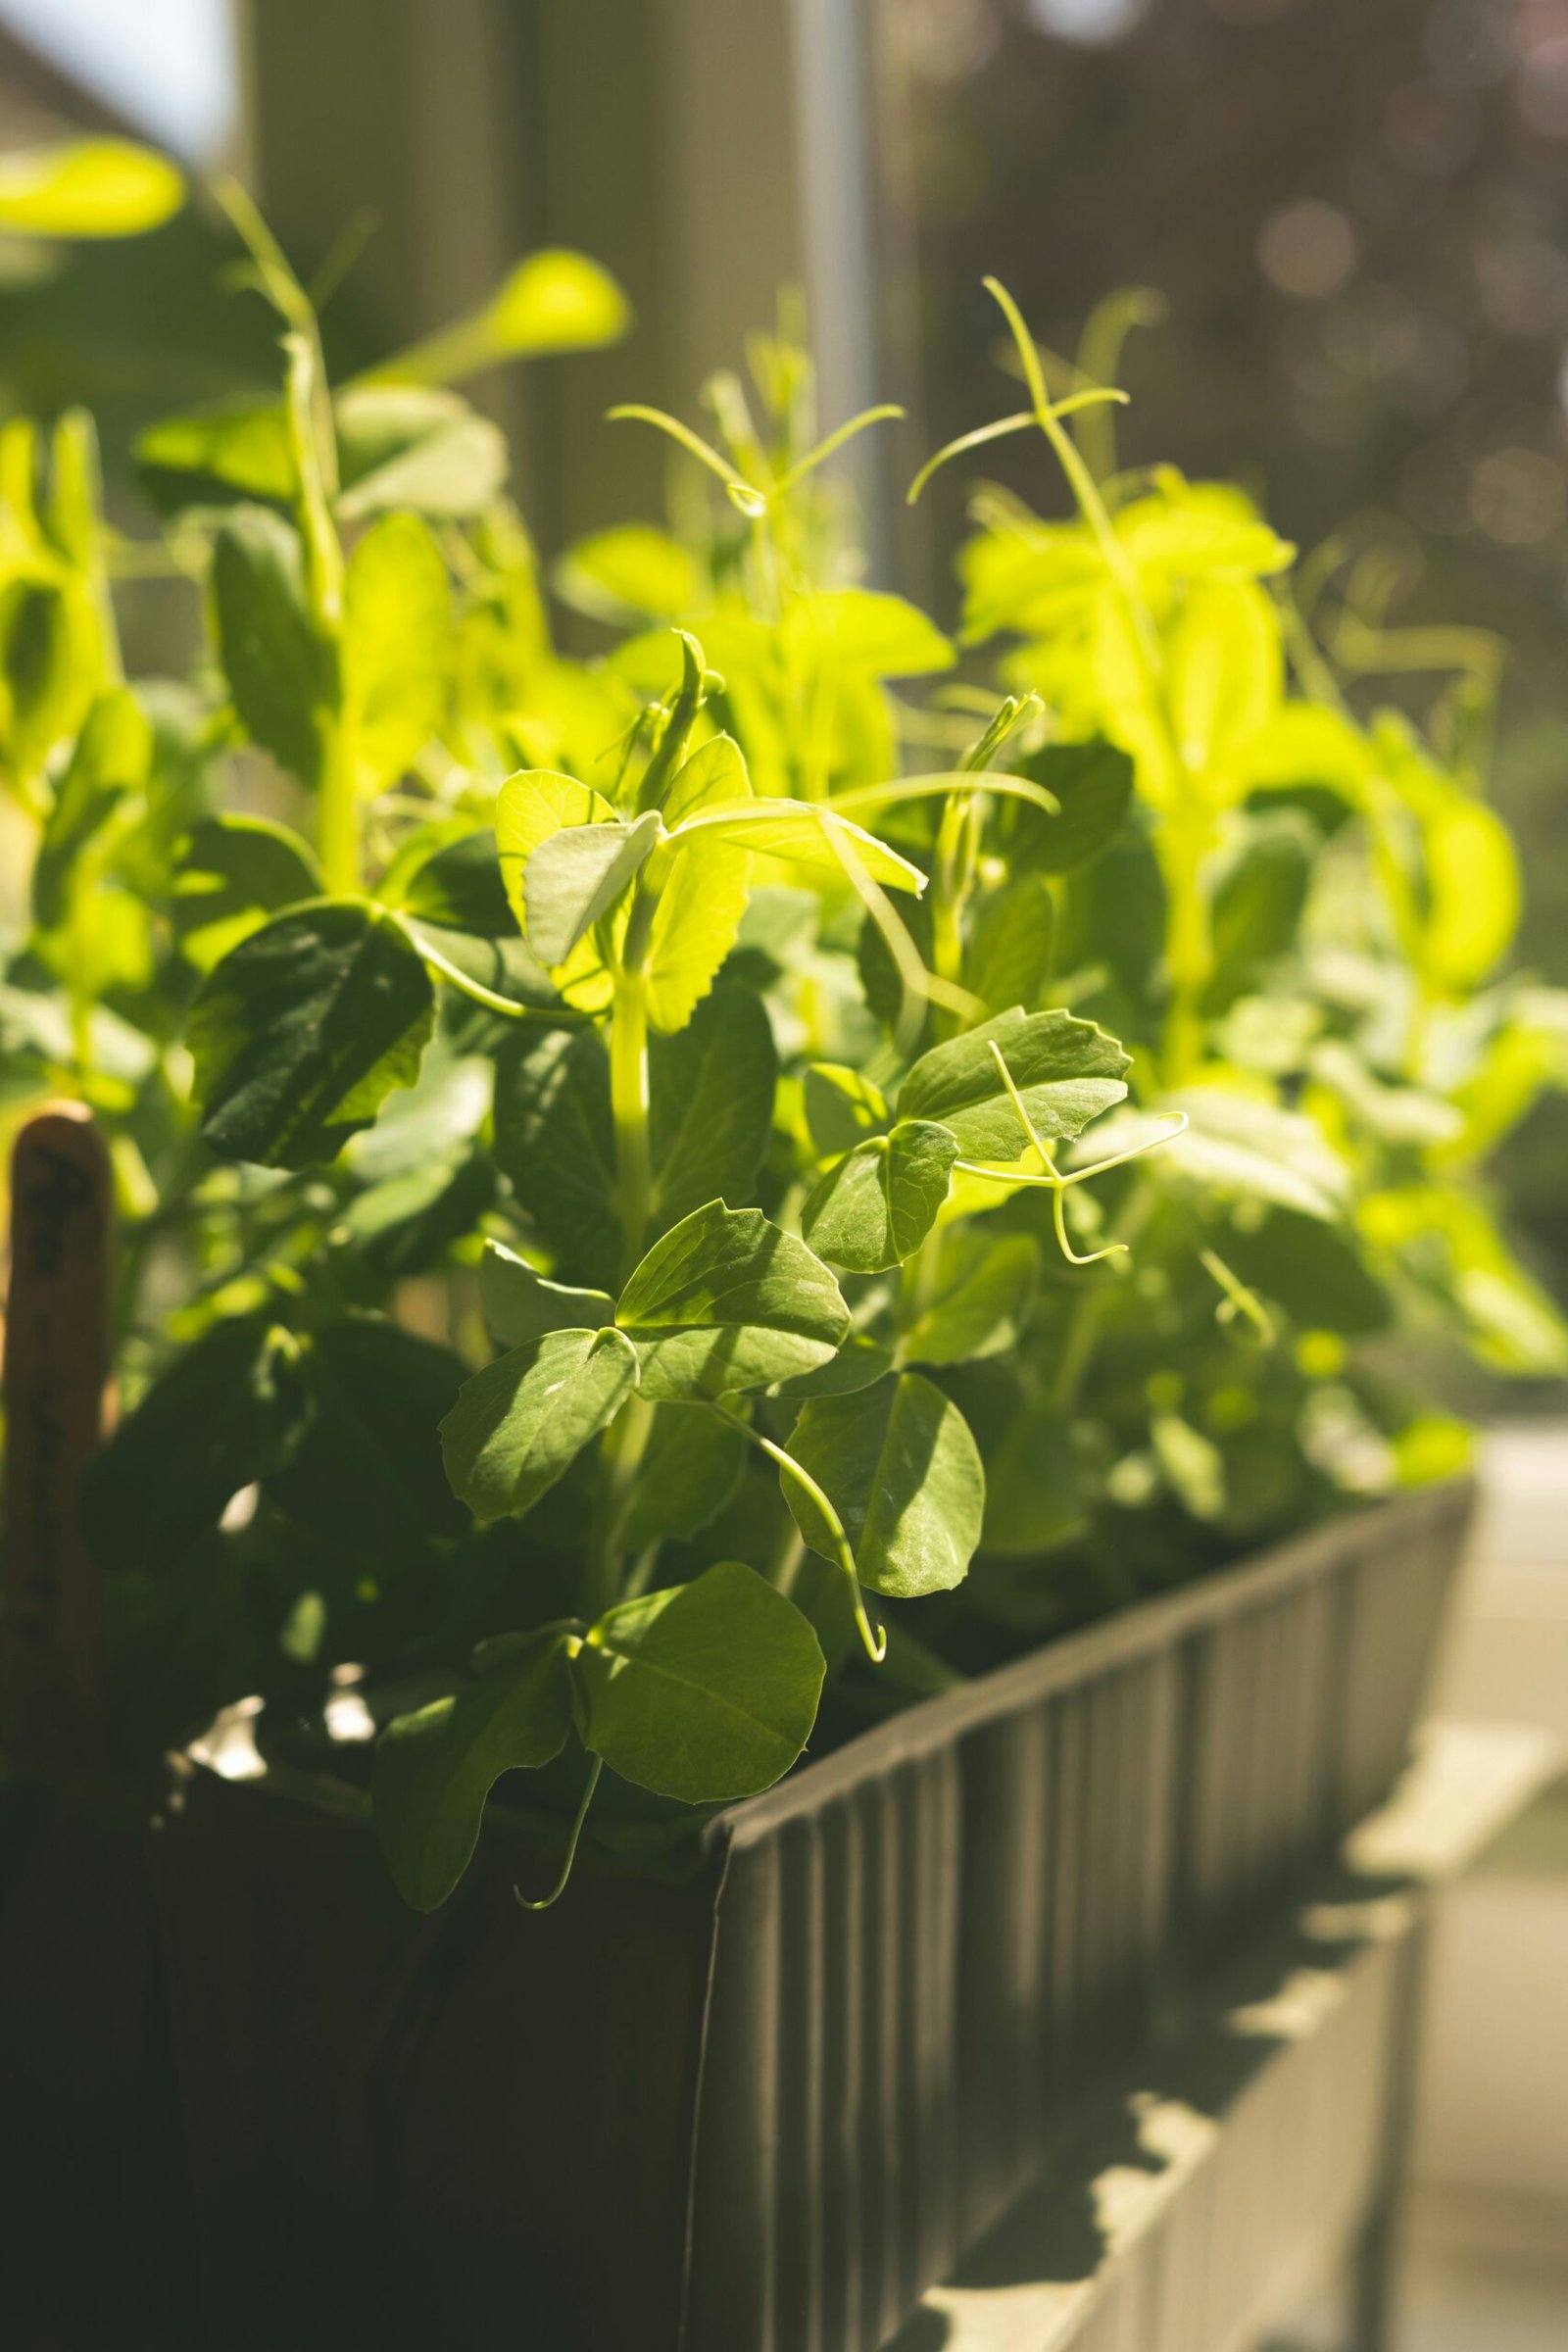
Start small and learn the rhythm before you scale. The process for each tray: sow seeds densely on damp medium, cover for a 2 to 4 day blackout period so they root and push up, then uncover and give them strong light until harvest. Bottom-water to keep the surface dry and discourage mold. Harvest with clean scissors when the first true leaves appear.
Begin with the fast, forgiving, reliable sellers. Radish, pea shoots, sunflower, and broccoli are the classic starting four, and the fastest-growing microgreens guide explains which give you quick cash flow while you learn. Stagger your sowing, a few trays every couple of days, so you harvest continuously instead of all at once.
Step 6: Find your buyers
This is the real business, and the part most growers underestimate. You have three main channels, and the best operations use more than one:
- Restaurants. Steady, repeat, paid by invoice. The how-to-pitch playbook is in selling microgreens to restaurants.
- Farmers markets. Higher per-unit prices, direct cash, and a place to find new restaurant accounts. Covered in selling microgreens at farmers markets.
- Direct to consumer. Friends, neighbors, local health-food shops, subscription boxes.
Pricing differs by channel. Wholesale to restaurants runs lower per pound than market retail, but the volume and consistency make up for it. Decide a minimum order so every delivery is worth the trip.
Step 7: Package, deliver, and keep customers
Sell in clean, clearly labeled clamshell containers with the harvest date on them. Keep everything cool in transit with a cheap insulated cooler bag. Pick one delivery day per customer and never miss it. Reliability is what turns a one-time sale into a standing weekly order, and standing orders are the whole business.
Step 8: Grow the operation
Once your first customers are happy, expand deliberately. Ask restaurant chefs for referrals, since chefs talk to other chefs. Add varieties they request. Stack accounts onto efficient delivery routes. As demand grows past your shelf, the scaling equipment guide shows what to upgrade and when, and once microgreens are humming you can add a parallel line like edible flowers or gourmet mushrooms using the same customers and delivery routes.
That is the whole arc, from a soil-smelling spare room to a real local food business. Start small, grow the varieties that sell, get the legal box ticked, and be the reliable supplier nobody wants to switch away from. The growing is easy. The discipline of showing up every week is the actual job, and it is very learnable.