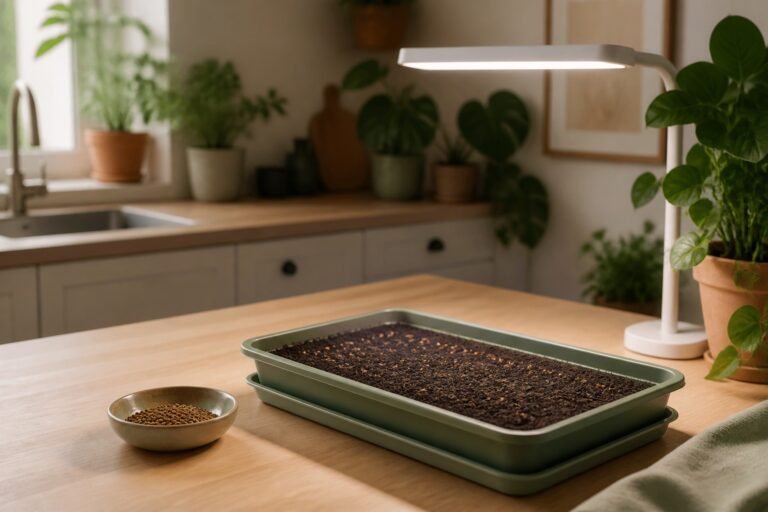
Microgreens Starter Kit Under $300: 8 Things You Need
Last updated: July 22, 2026.
Affiliate disclosure: As an Amazon Associate I earn from qualifying purchases. Links marked “paid link” may earn Fern & Shelf a commission at no extra cost to you. Read our full Affiliate Disclosure.
Start here: For a complete overview, see our How to Grow Herbs Indoors Without Sunlight.
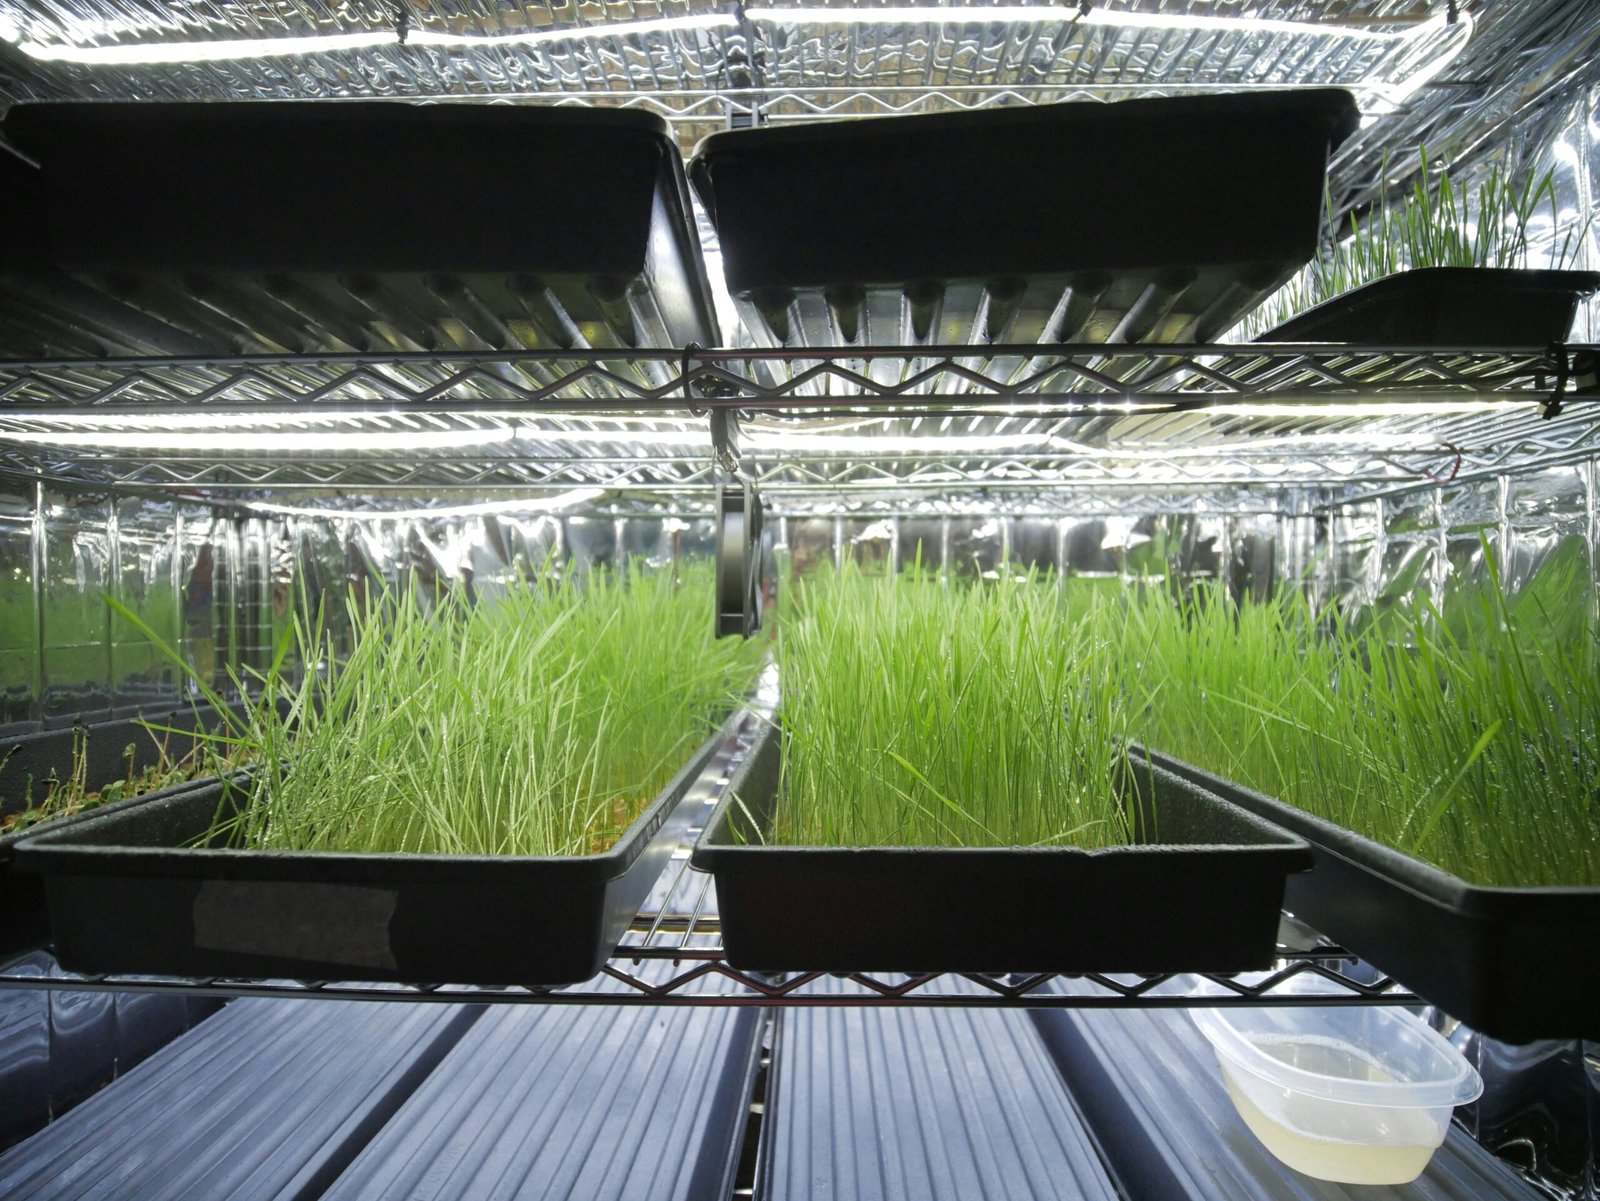
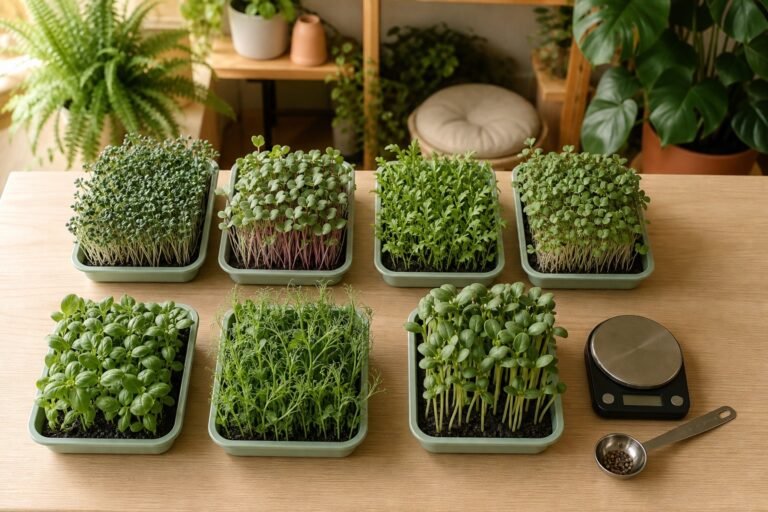
A microgreens starter kit can stay under $300, but only if it is built for testing rather than pretending to be a tiny commercial farm. One properly lit shelf, a few reusable tray pairs, small seed bags, and basic harvest tools are enough to learn the crop and test whether anyone nearby will buy it.
A full rack, lights for every tier, packaging, and several upgrades rarely fit one fixed online price for long. This microgreens starter kit uses spending ceilings instead of pretending a cart total will stay still. If a category costs more in your area, reuse something safe, buy less capacity, or accept that your setup is no longer under $300.
The $300 test-build budget
These figures are budget limits, not current price quotes. Check the total in your own cart before ordering. Sales tax and delivery can push a $295 cart over the line.
| Category | Target ceiling | What the budget must cover |
|---|---|---|
| Tray pairs | $45 | Several shallow growing trays plus matching solid watering trays |
| Shelf or growing surface | $60 | A stable, washable surface that fits the trays |
| Light and timer | $70 | Even light over one active shelf, mounting hardware, and a timer |
| Medium and seed | $60 | Small quantities for repeat test cycles, not bulk inventory |
| Watering and harvest tools | $25 | A clean watering method and dedicated cutting tool |
| Trial packaging and labels | $40 | A small first batch after local requirements are confirmed |
| Maximum planned spend | $300 | Before tax and delivery |
If you already own a suitable shelf or table, keep that money unspent. Do not turn the leftover budget into extra trays before you have repeat buyers. Our broader microgreens startup cost guide covers expenses that sit outside this shopping list, including permits, insurance, utilities, delivery, and your time.
1. Start with paired trays, not a tray mountain
Each crop tray needs a matching solid tray beneath it if you plan to bottom-water. Buy a small set first. A microgreens starter kit with six usable pairs teaches you far more than twenty trays sitting empty in a box.
Check dimensions rather than relying on the phrase “1020 tray.” Depth, drainage pattern, rim shape, and actual outside measurements vary. The upper tray should sit securely inside the lower one without trapping so much water that the crop remains saturated.
Search Amazon for paired microgreens trays (paid link)
2. Use one stable, washable growing surface
A wire rack is convenient, but it is not mandatory for the first test. A sturdy table or an existing shelf can work if it holds wet trays safely and can be cleaned around and underneath. Cardboard furniture, carpet, and crowded kitchen prep space are poor foundations for a food crop.
If you buy a rack, measure the room, tray footprint, shelf depth, and light clearance first. Add the expected weight of wet trays. Casters are useful only when the rack and floor can handle them without wobbling.
Search Amazon for an 18-inch-deep wire rack (paid link)
3. Light the shelf you are using
A single bulb cannot evenly light several stacked shelves. Neither can one board-style fixture pass through an opaque tray and illuminate the tier below it. Each active tier needs its own suitable light layout.
For a first microgreens starter kit, light one shelf and learn how the crop responds. Look for even coverage across the tray, secure mounting, a dry electrical setup, and enough clearance to adjust the fixture without touching foliage. Compare growth at the edges with growth in the center before adding more trays.
A timer removes one daily chore. It does not decide the correct schedule for every crop or fixture, so record the schedule you use and change one variable at a time.
Search Amazon for a plug-in light timer (paid link)
4. Buy enough medium for trials, not for an imagined order book
Coir and seed-starting mixes can both work. The cheapest compressed block can still be a lousy business buy. Check expansion volume, salt content, storage, mess, consistency, and disposal, then follow the supplier’s hydration instructions and measure how much medium one tray uses in your method.
The previous article described a five-kilogram coir brick as only a few gallons of medium. That was wrong. Product expansion varies, so calculate from the supplier’s stated finished volume rather than copying a universal tray count.
Search Amazon for compressed coir (paid link)
5. Test seed in small lots
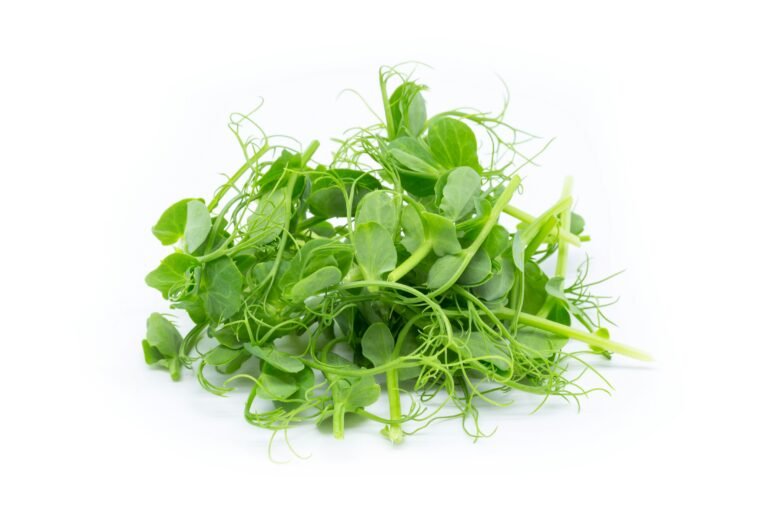
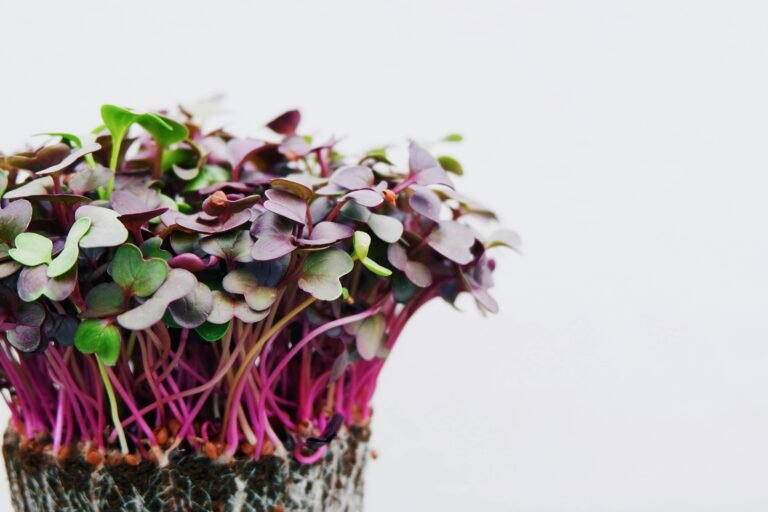
Begin with two or three crops rather than a colorful variety bundle you cannot sell. Radish is useful for practicing a quick cycle. Pea or sunflower teaches you how larger seed behaves. A third crop can match a buyer you have already spoken with.
Record supplier, lot number, seeding amount, sowing date, harvest date, usable yield, crop loss, and who bought it. A low seed price means little if germination is uneven or the finished crop goes unsold. Our guide to the most profitable microgreens to grow explains how to compare crops without mistaking revenue for profit.
Search Amazon for small microgreens seed packs (paid link)
6. Keep watering simple and clean
A small clean pitcher is enough for bottom-watering a few trays. A hand sprayer can help during establishment if your crop method calls for it, but it should not become a substitute for measuring water. Constantly wet foliage and pooled water are not signs of professional care.
Separate clean tools from dirty ones. Remove crop residue, wash food-contact surfaces, and follow the directions for any sanitizer you use. The FDA Produce Safety Rule overview describes the federal framework for agricultural water, worker hygiene, and equipment sanitation on covered farms.
7. Use a dedicated harvest tool and log scale
Choose scissors or a knife that can be cleaned thoroughly and reserve it for the crop. A kitchen scale is useful for recording tray yield and package tests. It may not be legal for retail sales by weight.
Before printing a net weight on a package, ask your state or local weights and measures office what type of scale, inspection, and unit declaration it requires. That answer is more useful than a product listing that calls any inexpensive scale “commercial.”
Search Amazon for stainless harvest scissors (paid link)
8. Delay packaging until you know the rules and the buyer
Packaging can swallow a microgreens starter kit budget in one click. Don’t buy five hundred clamshells because the unit price looks attractive. Test a small batch for closure, condensation, stackability, transport, and how the crop holds under your actual cold-storage routine.
For packaged food, federal and state requirements can cover the product identity, net quantity, business name and address, ingredient statement for a mix, allergen information when applicable, and other details. The FDA Food Labeling Guide is a starting point, not a substitute for your state and market rules.
Search Amazon for small produce clamshells (paid link)
What this microgreens starter kit deliberately leaves out
- Skip automated overhead misting. A few test trays don’t justify the plumbing, cleaning, or another possible contamination route.
- Skip the humidifier until measurements show a real environmental problem and you have a sanitation plan for the unit.
- Leave bulk seed and medium on the supplier’s shelf. Bulk savings disappear when the crop or buyer is wrong.
- Leave the vacuum sealer and freezer alone. Turning fresh produce into pesto, powder, or another processed product changes the operation and may change the regulatory requirements.
- Don’t rent or convert a grow room before your lease, zoning office, insurer, and state or local food authority allow the activity.
Before you sell the first package
A microgreens starter kit is equipment, not permission to sell food. Microgreens are not the same as sprouts under the FDA’s sprout-specific rules. FDA guidance says substrate-grown greens harvested above the substrate without roots are outside Sprout Subpart M, while still being covered produce unless an exclusion or exemption applies. Coverage depends on the business and its activities, so don’t turn that distinction into “unregulated.”
Rules were checked on July 22, 2026. Use the SBA licenses and permits guide to identify federal, state, county, and city contacts, then get a written answer for your operation. Cottage food rules are not a universal shortcut for raw produce.
Frequently asked questions
Can a microgreens starter kit really cost less than $300?
Yes, if it is a small test setup and you hold each category to a ceiling. Buying a full multi-tier production rack, lights for every tier, bulk inputs, and commercial cold storage is a different project.
How many trays should a beginner buy?
Buy enough paired trays to repeat a few crops without waiting for every tray to return to service. Six pairs is a practical test quantity, not a capacity promise. Your crop schedule and cleaning routine decide the real number.
Do I need organic seed?
Some buyers don’t require organic seed. You still can’t use “organic” casually in marketing. USDA explains that operations selling $5,000 or less in organic products may qualify for a certification exemption, yet they still have production, handling, labeling, and recordkeeping obligations and cannot use the USDA organic seal. Read the USDA organic labeling guidance before making the claim.
What should I upgrade first?
Upgrade the bottleneck your records reveal. That may be more even lighting, sturdier tray pairs, better cold holding, or a safer cleaning setup. More growing capacity belongs last if sell-through is still inconsistent. The microgreens scaling equipment guide uses that bottleneck approach.
Related guides and tools
The bottom line
The best microgreens starter kit under $300 is deliberately small. It gives you enough equipment to repeat a crop, measure losses, clean the setup properly, and put a real sample in front of a buyer. It does not give you a proven business.
Keep the first build boring. One shelf. A few tray pairs. Two or three crops. If buyers return and your records show a contribution after variable costs, then the next purchase has a job to do.