How to Grow Microgreens at Home: 8 Simple Steps
Last updated: August 21, 2026.
Affiliate disclosure: As an Amazon Associate I earn from qualifying purchases. Links marked “paid link” may earn Fern & Shelf a commission at no extra cost to you. Read our full Affiliate Disclosure.
Start here: For a complete overview, see our How to Grow Herbs Indoors Without Sunlight.
Learning how to grow microgreens at home is mostly a matter of keeping a short crop clean, evenly moist, and well lit. You do not need a hydroponic tower or a spare room. One shallow tray can fit on a shelf or counter, and many crops are ready within days or a couple of weeks after germination.
The speed is appealing, but it leaves little time to correct a soggy tray or weak light. Start with one variety, write down what you sow, and change only one part of the process on the next tray. Radish and broccoli are forgiving choices. Peas and sunflower are satisfying too, though their large seeds need different handling.
How to grow microgreens at home at a glance
| Step | What to do | What to watch |
|---|---|---|
| 1 | Choose suitable seed | Use untreated seed sold for edible growing |
| 2 | Clean the setup | Start with clean hands, tools, trays, and water |
| 3 | Prepare a draining tray | Use clean medium and drainage holes |
| 4 | Measure and sow | Spread one variety evenly |
| 5 | Manage germination | Keep damp, never waterlogged |
| 6 | Add light and airflow | Remove covers after germination |
| 7 | Water from below | Drain the tray after the medium is moist |
| 8 | Harvest and chill | Cut cleanly above the medium |
What you need for one home tray
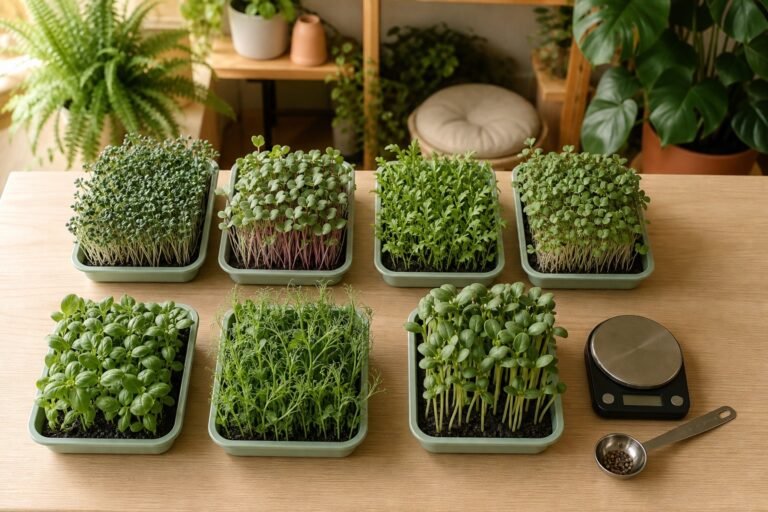
A simple setup uses a shallow tray with holes nested inside a solid tray, clean seed-starting mix or another suitable medium, potable water, seed, and a bright place. A scale helps you repeat a sowing rate. Clean scissors are enough for harvest.
Penn State Extension notes that food packaging can sometimes be reused as a growing container when the material is suitable for food production, clean, and provided with drainage. A purpose-built tray is easier to repeat, but it is not a condition of success.
Search Amazon for microgreen trays with drainage (paid link)
| Item | Useful feature | Skip this |
|---|---|---|
| Seed | Untreated, intended for sprouts or microgreens, with lot details | Treated or coated garden seed |
| Growing tray | Shallow, clean, and draining | A deep pot with no drainage |
| Bottom tray | Solid and easy to wash | A tray that leaks onto furniture |
| Medium | Clean seed-starting mix, coir, or a suitable mat | Outdoor garden soil |
| Light | Bright window or adjustable plant light | A dim corner far from a window |
| Harvest tool | Clean, sharp scissors or knife | A dull or dirty blade |
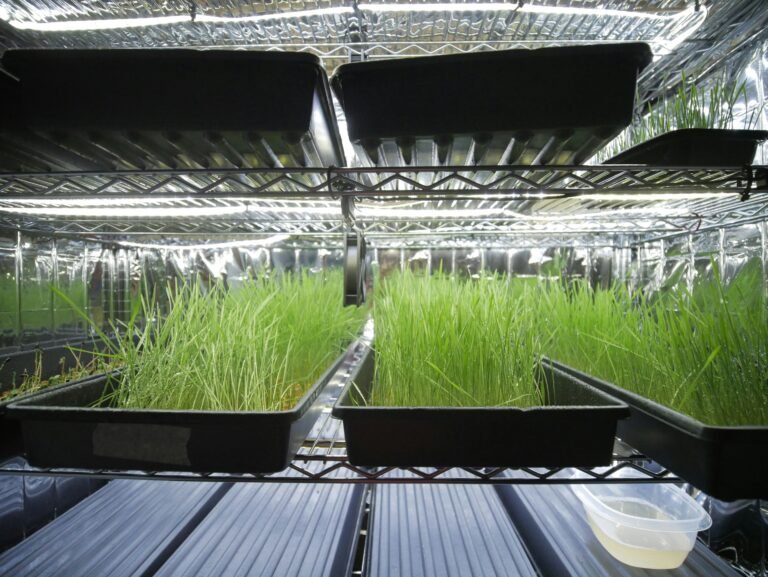
If daylight is unreliable, a small light can make growth more even. Our guides explain when an indoor plant needs a grow light, how to set a light schedule, and how to adjust distance. Follow the fixture maker’s directions as well, since output and heat differ.
1. Pick an easy crop and food-appropriate seed
Start with one crop per tray. Different species germinate and reach harvest at different rates, which makes a mystery blend harder to water and judge. Radish grows quickly and develops sturdy stems. Broccoli is another sensible first crop. Our crop-specific guides cover radish microgreens, broccoli microgreens, sunflower microgreens, and pea shoots in more detail.
Use high-quality, untreated seed intended for edible sprouts or microgreens. Penn State advises avoiding chemically treated or coated seed and looking for useful lot information, such as germination testing. Seed is part of the food system here, not merely a decorative garden input.
Search Amazon for untreated microgreens seed (paid link)
Do not assume that growing at home removes every food-safety risk. Microgreens differ from sprouts because they grow in a substrate and you harvest the shoot above the medium, but they are still commonly eaten raw. People at greater risk from foodborne illness should follow their clinician’s advice about raw produce.
2. Wash your hands and clean the equipment
Wash your hands before touching seed, medium, trays, or harvested greens. Begin with a clean work surface. Wash reusable trays and tools after each crop, then sanitize them with a food-contact method appropriate to the material and follow the sanitizer label. Cleaning removes soil and plant debris first; sanitizer is not a substitute for that step.
Use potable water for soaking, irrigation, and washing. Keep pets away from the growing and harvest area. Do not reuse medium from the last crop for an edible tray. Purdue Extension advises treating most growing substrates as single use, even when they can be composted afterward.
3. Prepare a shallow tray and clean medium
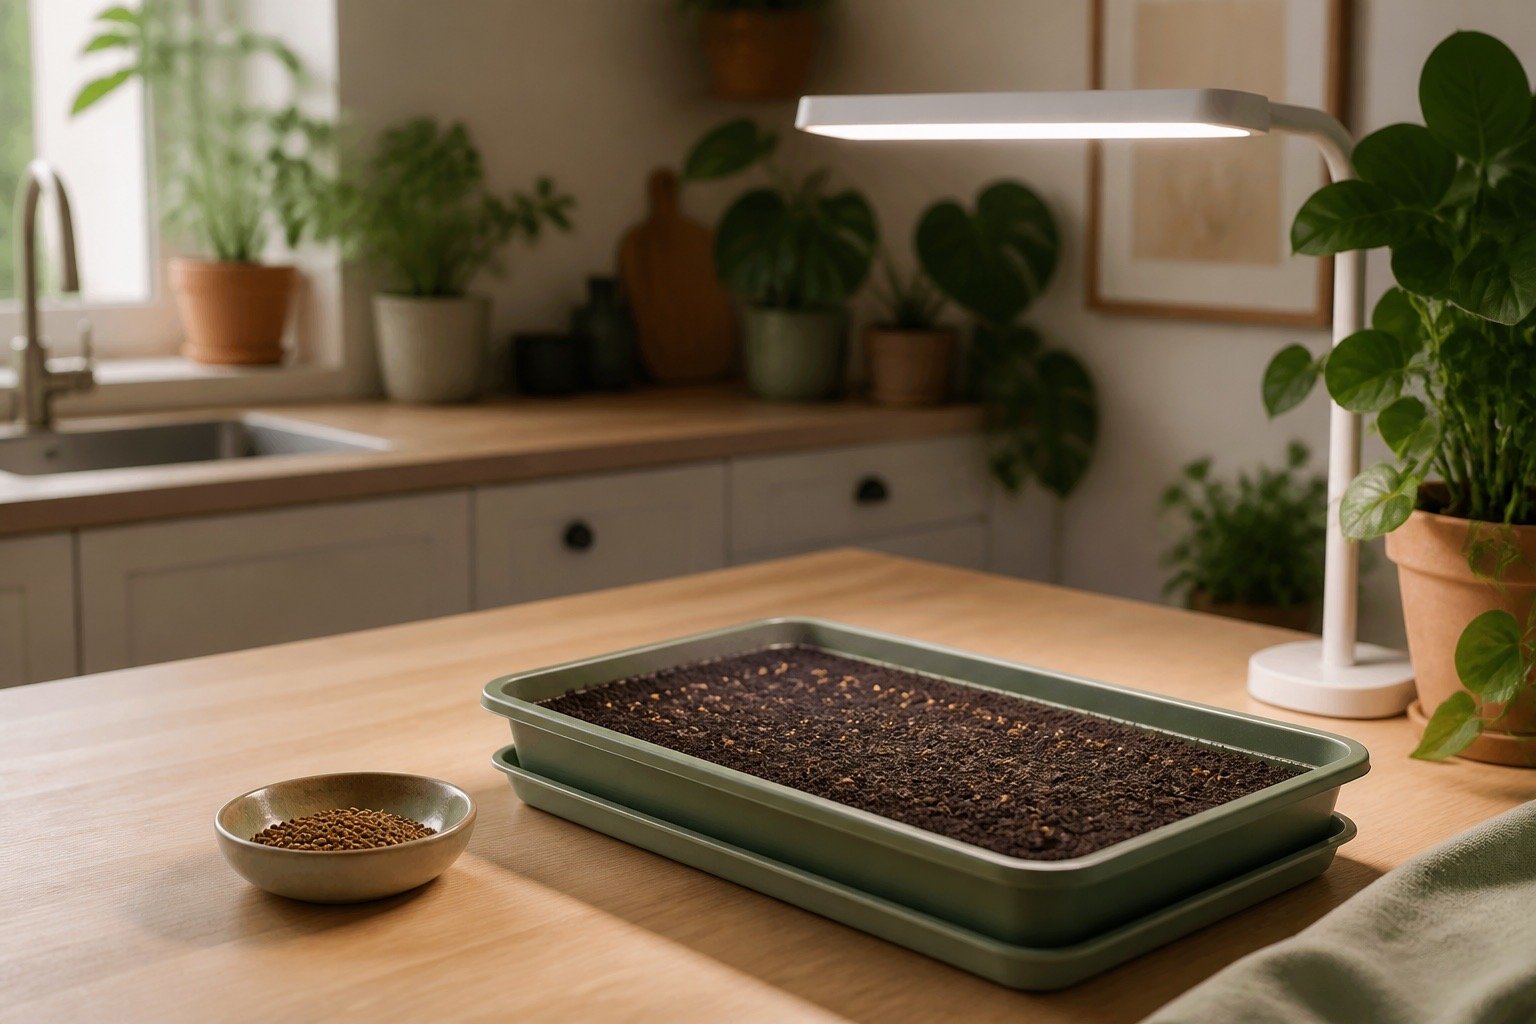
Add an even, shallow layer of clean seed-starting mix, coir, or another medium intended for growing edible plants. Do not pack it hard. Moisten it evenly, then let excess water drain. The surface should feel damp without releasing a puddle when pressed.
Outdoor garden soil is a poor shortcut indoors. It can be dense in a shallow tray and can bring unwanted organisms or debris into the growing area. The distinction between container media and yard soil is covered in our potting soil versus garden soil guide.
Drainage matters because seeds need moisture and oxygen. A tray sitting in water stays saturated and gives seedlings a weak start. If water seems to run around dry pockets instead of wetting the medium, premoisten more patiently rather than flooding the planted tray.
4. Measure and spread the seed evenly
Seed density changes with crop, tray area, seed size, germination, season, and growing conditions. Penn State gives a broad framework of roughly 2 large seeds to 12 small seeds per square inch, then recommends calculating from the actual tray area and adjusting for germination. Treat packet or supplier guidance as a starting point, not a universal law.
A small digital scale makes repeat trials much easier than guessing by volume.
Search Amazon for a 0.1-gram digital scale (paid link)
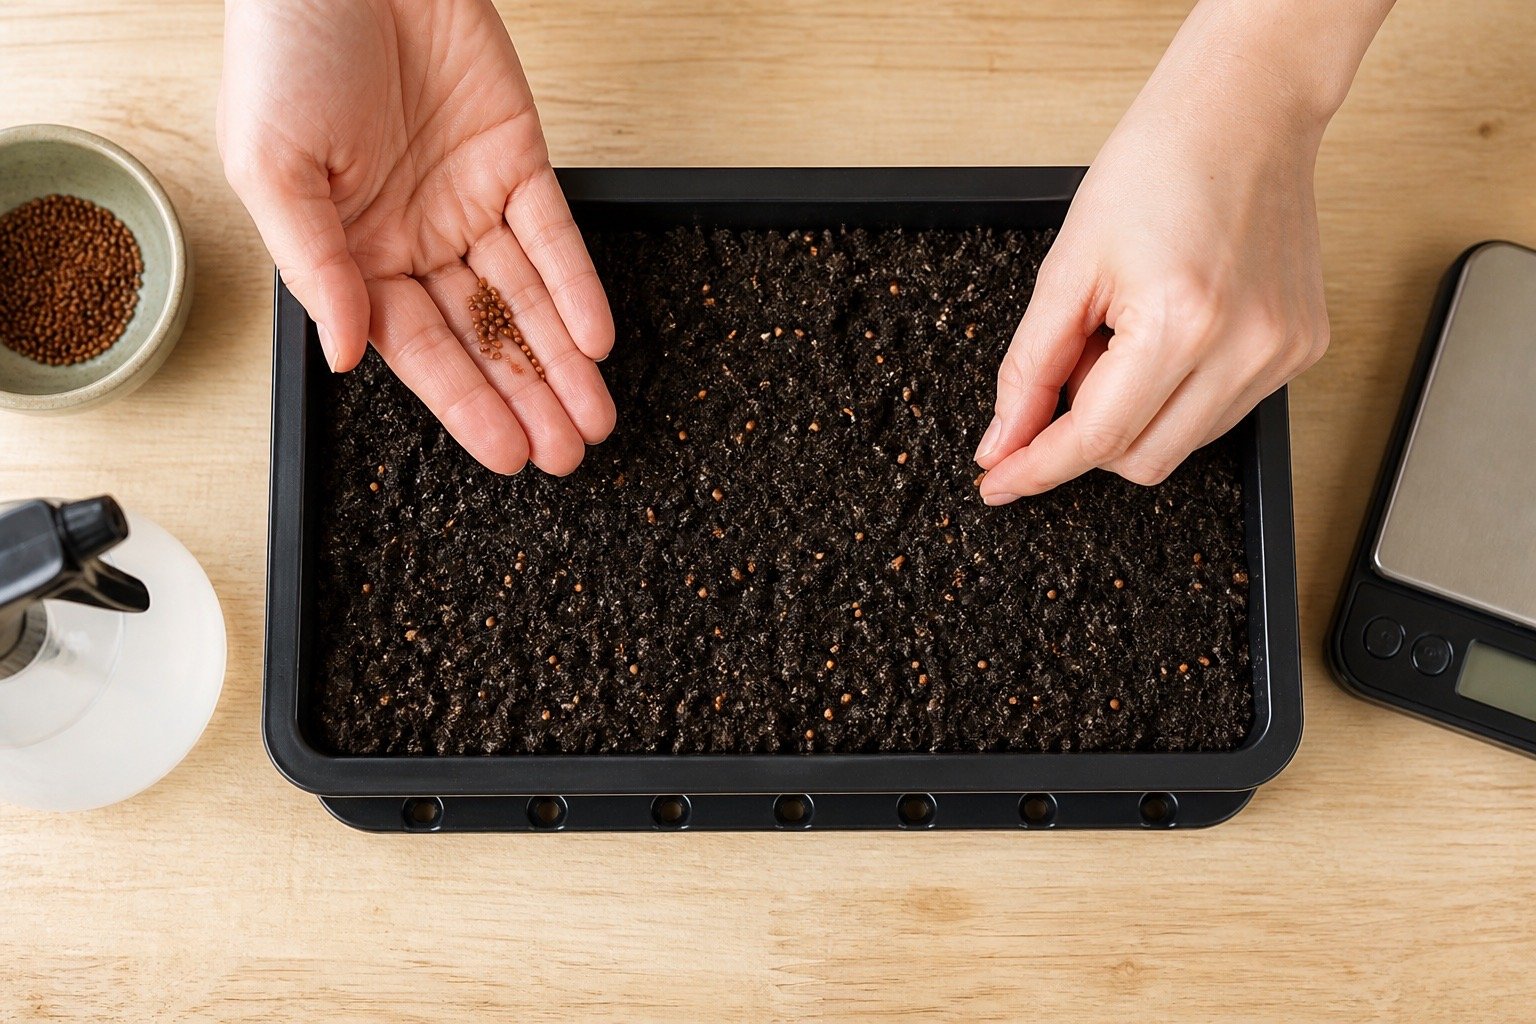
Spread the seed across the whole surface. Break up piles at corners and thin out obvious clusters. Most small microgreen seed does not need a layer of soil on top. Large seeds may benefit from soaking or different pressure during germination, so follow crop-specific guidance rather than applying one routine to everything.
5. Keep the seed damp during germination
After sowing, add only enough water to settle the seed and maintain moisture. A loose cover or nested tray can reduce drying while seeds germinate. Check at least daily. Condensation, standing water, sour odor, or a soaked surface means the setup needs attention.
Some crops are germinated in darkness for a short period. That does not mean they should remain sealed after they emerge. Penn State recommends avoiding excess moisture and allowing drainage to reduce mold development. Vent the setup and remove the cover once the crop has germinated according to the species instructions.
6. Move the seedlings into useful light
As soon as the seedlings are ready to uncover, give them bright, consistent light. A windowsill may work, but weak one-sided light can produce long stems leaning toward the glass. Rotate a window tray and watch its growth. A light mounted above the tray gives more even coverage.
Do not choose distance by copying a photo. Read the fixture instructions, begin conservatively, and inspect the crop. Stretched pale growth points toward insufficient light. Bleaching, crisp tissue, or excess heat calls for a correction. Our PPFD and DLI guide explains how intensity and daily duration work together.
Air movement should be gentle. The goal is to let the surface and leaves dry between waterings, not to bend tender stems with a strong fan.
7. Water from below without leaving the tray submerged
Once roots hold the medium together, bottom watering reduces contact between irrigation water and edible shoots. Add a shallow amount of potable water to the solid tray, set the draining tray inside, and let the medium absorb what it needs. Remove or drain leftover water afterward.
Water by observation rather than a fixed calendar. Tray weight, surface color, plant size, temperature, light, and airflow all change demand. The medium should remain moist enough for steady growth but should not stay swampy. Penn State’s current production guidance also supports sub-irrigation because keeping stems and leaves dry helps limit disease.
8. Harvest cleanly and refrigerate promptly
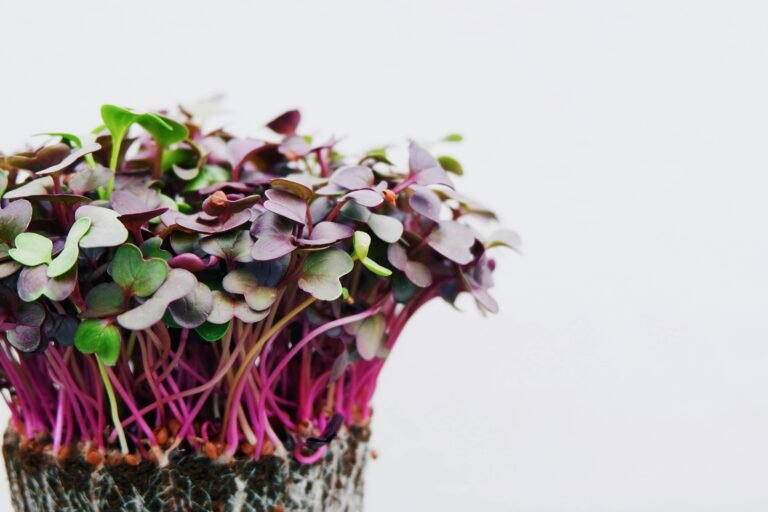
Harvest timing varies by crop and conditions. Many microgreens are cut after the cotyledons open and color, sometimes as the first true leaves begin to appear. Taste and texture change as the crop ages. Use clean, sharp scissors or a knife and cut above the medium so soil particles and roots stay out of the harvest.
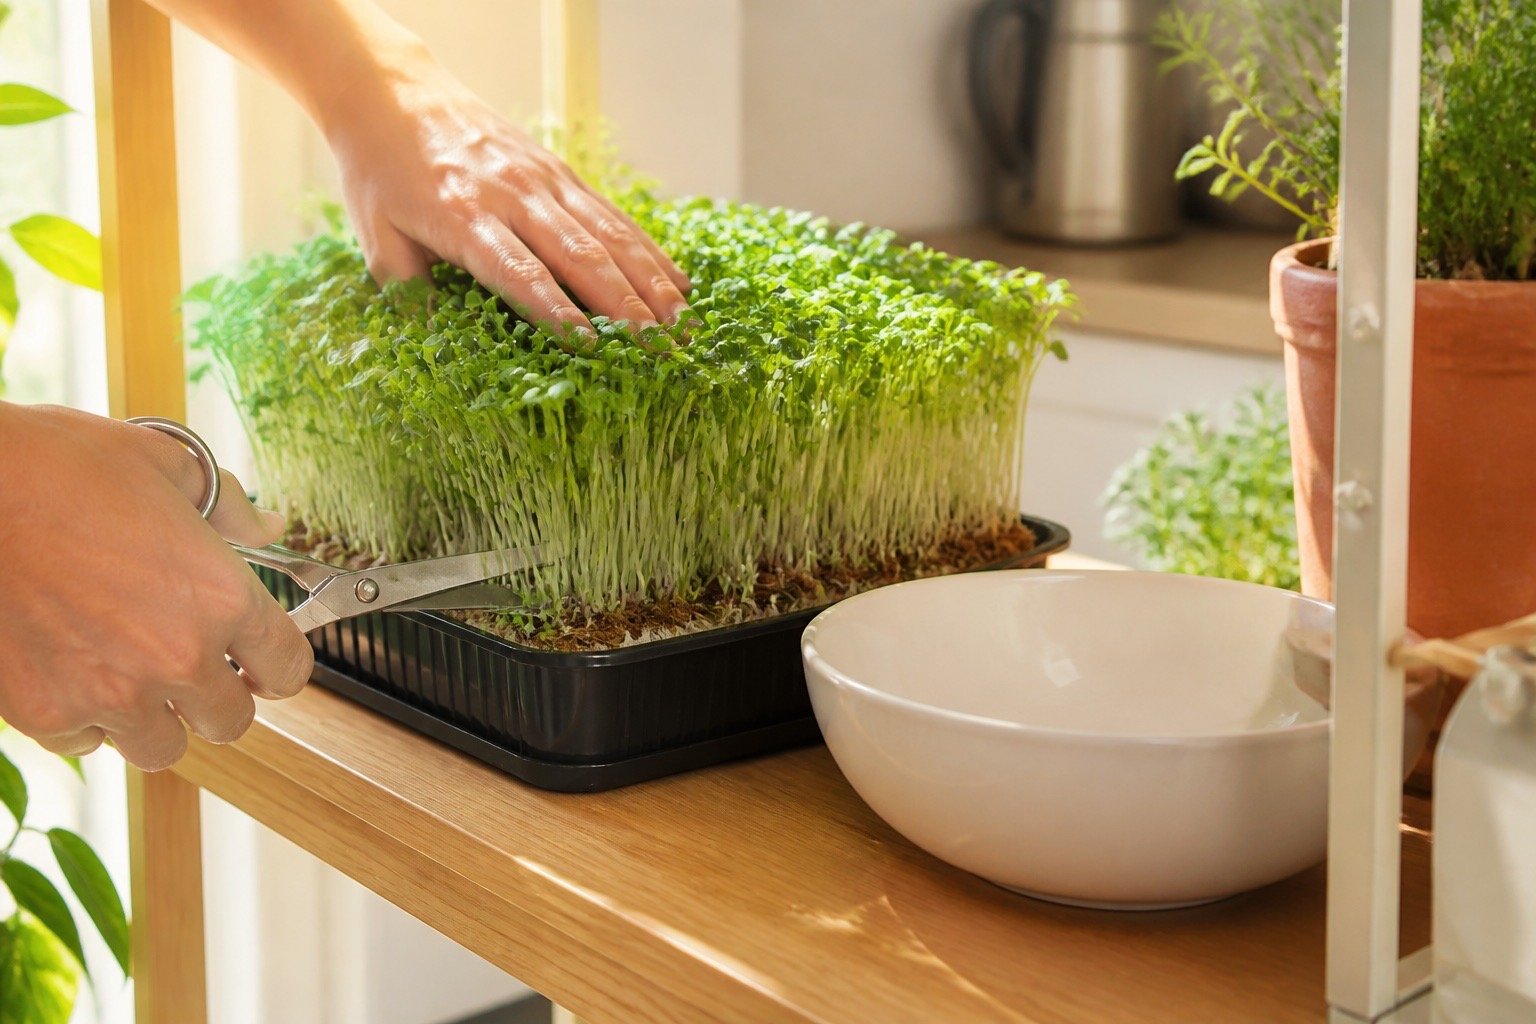
Penn State recommends washing microgreens in fresh drinking water before eating, while noting that wet tissues have a shorter shelf life. If you store the harvest first, keep it cold and dry, then wash before use. Discard greens that smell sour, feel slimy, or show suspicious growth. Compost suitable used medium and plant remains, then wash the tray before the next crop.
Problems a first tray may reveal
Long, leaning stems usually need stronger or more even light. Patchy emergence can come from uneven seed distribution, dry pockets, poor germination, or a crop-specific soaking issue. Collapsed stems near the medium can indicate damping-off or prolonged saturation. White fuzz directly around young roots may be root hairs, but spreading web-like growth, odor, discoloration, or decay deserves caution.
Do not taste a suspect tray to identify it. If you cannot confidently separate normal root hairs from possible mold, discard the edible crop, clean the equipment, and begin again. A home tray is inexpensive compared with the consequences of gambling on questionable raw produce.
Frequently asked questions
Can I grow microgreens without a grow light?
Yes, when a bright window supplies enough consistent light. Watch for leaning, pale, or stretched growth. A small overhead light is useful when daylight is weak or one-sided.
Do microgreens need fertilizer?
Often not for a short crop grown in a suitable medium because the seed supplies early reserves. Penn State reports successful production with clear water as well as low fertilizer rates in teaching trials. Do not add fertilizer by habit, especially when the medium already contains nutrients.
Can I reuse microgreen soil?
Do not reuse spent medium for another edible microgreen tray. Roots and plant residue remain, moisture becomes less predictable, and sanitation is harder. Compost an appropriate organic medium instead.
Should I soak every kind of microgreen seed?
No. Many small seeds are sown dry. Some larger or hard-coated seeds may germinate faster after crop-specific soaking. Follow reliable guidance for the exact species and use clean potable water.
How long do microgreens take to grow?
Timing depends on species and conditions. Quick brassicas may be ready soon after germination, while other crops take longer. Judge the plant’s stage and the supplier’s crop guidance rather than promising one harvest day for every variety.
Related guides and tools
Sources
Sources checked August 12, 2026.
- Penn State Extension: A Step-By-Step Guide for Growing Microgreens at Home
- Penn State Extension: The ABCs of Microgreens
- Penn State Extension: Growing Microgreens
- Penn State Extension: Ensuring Food Safety in Microgreens Production
- Oregon State University Extension: Microgreens
- University of Maryland Extension: Growing Microgreens and Baby Greens Indoors
- FDA: Selecting and Serving Produce Safely