Healthy Roots vs Root Rot in Houseplants: What to Look For
Affiliate disclosure: As an Amazon Associate I earn from qualifying purchases. Links marked “paid link” may earn Fern & Shelf a commission at no extra cost to you. Read our full Affiliate Disclosure.
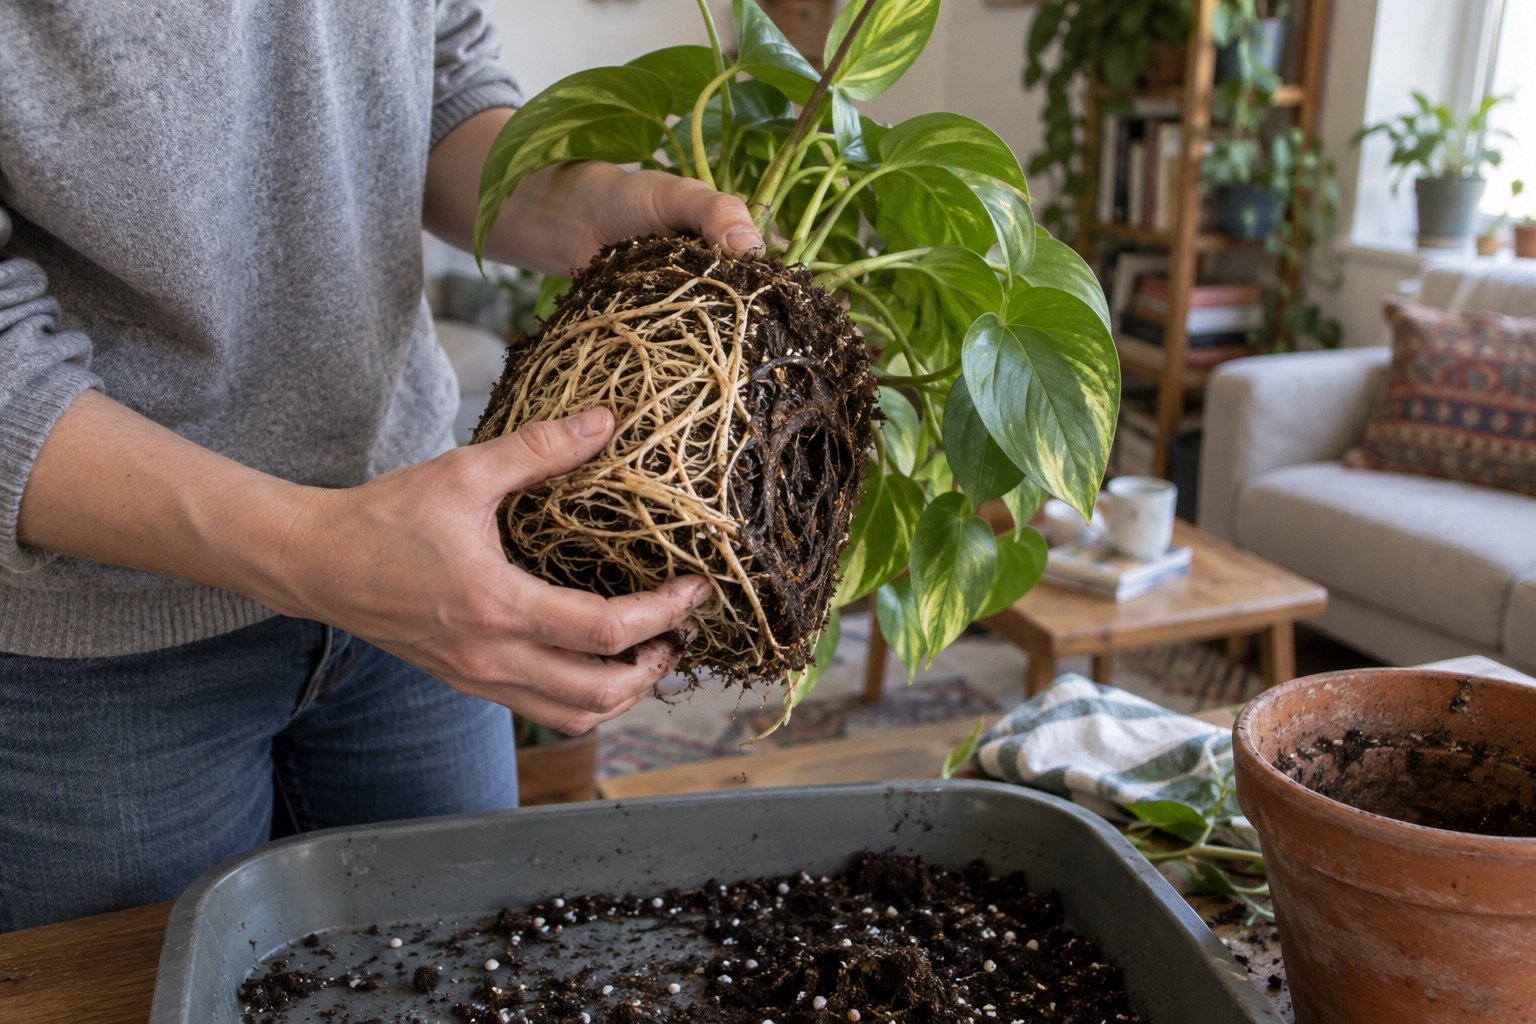
Root color alone can mislead. Healthy roots may be white, cream, tan, brown, or stained by potting mix. Texture and smell provide better evidence. Firm roots that resist a gentle pull are usually functional; soft roots that slip apart, smell rotten, or leave their outer layer behind indicate serious damage.
Comparison table
| Check | Healthy roots | Root rot |
|---|---|---|
| Texture | Firm and flexible | Soft, mushy, hollow, or slimy |
| Smell | Earthy or neutral | Sour or rotten |
| Attachment | Fine roots stay connected | Outer tissue strips away |
| Crown | Firm at soil line | Dark, soft, or collapsing |
| Top growth | Stable new growth | Wilting, yellowing, or dieback despite wet mix |
Inspect without destroying the root ball
Water lightly a day before inspection if the mix is bone dry. Support the stem base, tip the pot, and slide the root ball out. Do not pull by leaves. Smell the lower half, inspect visible roots, and press selected roots gently. A plant can have healthy roots on one side and a damaged pocket on the other.
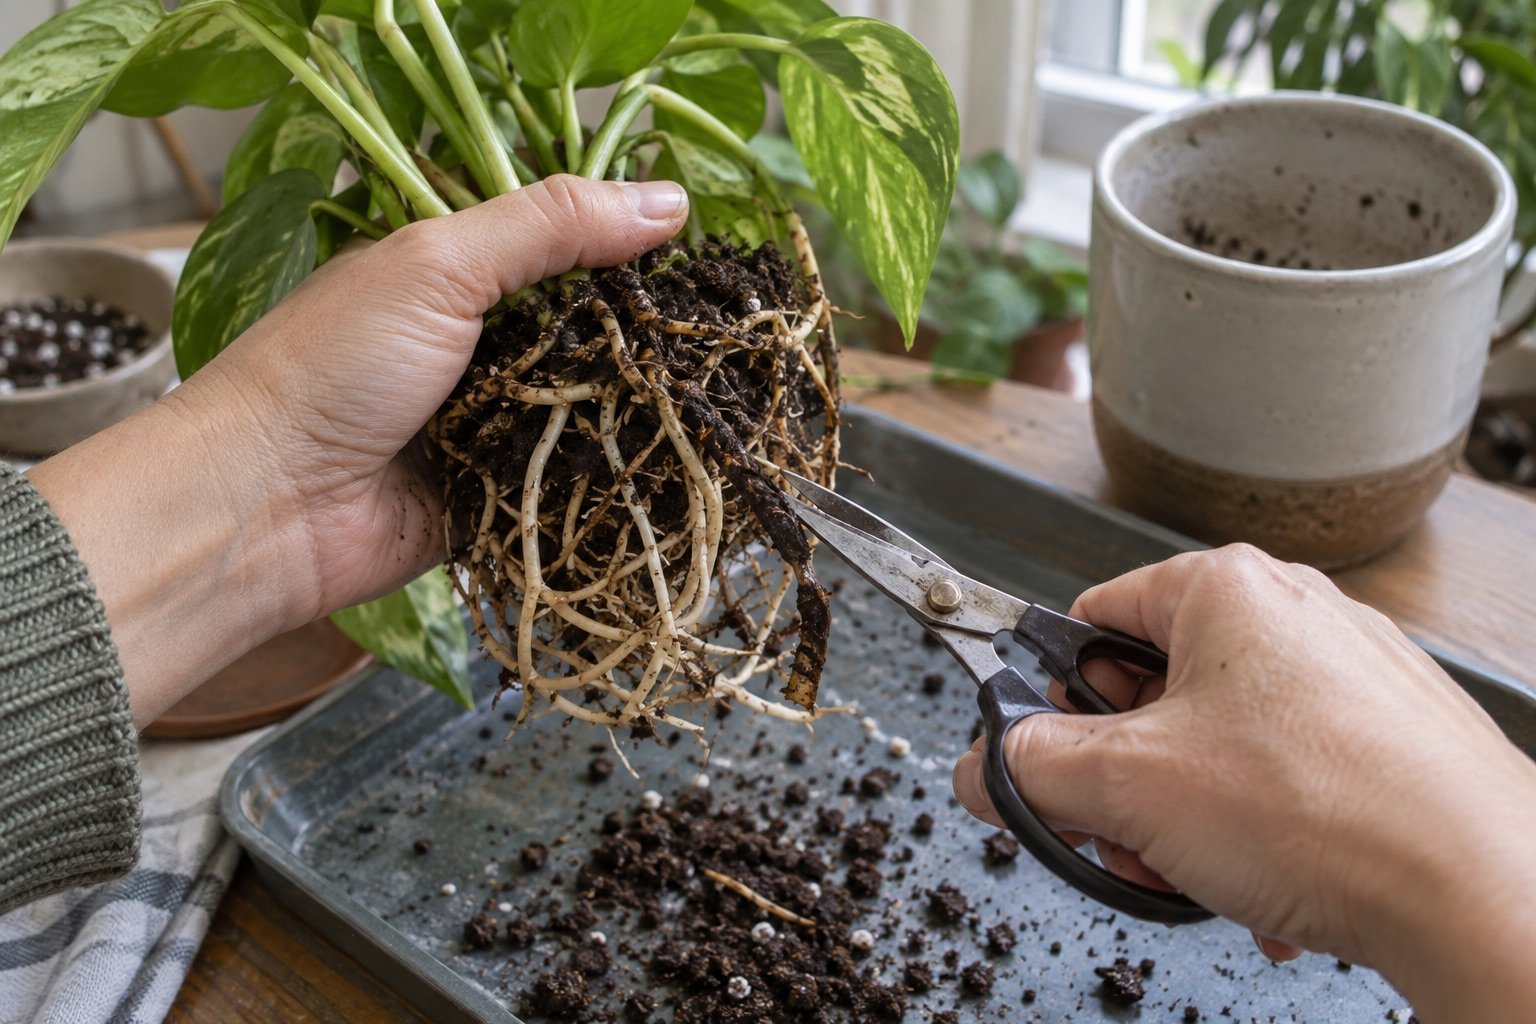
A narrow pair of root scissors (paid link) can make controlled cuts. Clean and disinfect the blades before and after use.
Why roots rot
Excess water fills air spaces in the mix and weakens roots. Dense garden soil, a blocked drainage hole, a pot that is much too large, cold temperatures, and a saucer left full all slow drying. Pathogens including Pythium, Phytophthora, and Rhizoctonia can then damage susceptible tissue.
Trim and repot a salvageable plant
- Remove loose, saturated mix without tearing firm roots.
- Cut soft or hollow roots back to firm tissue.
- Discard contaminated mix and clean the pot.
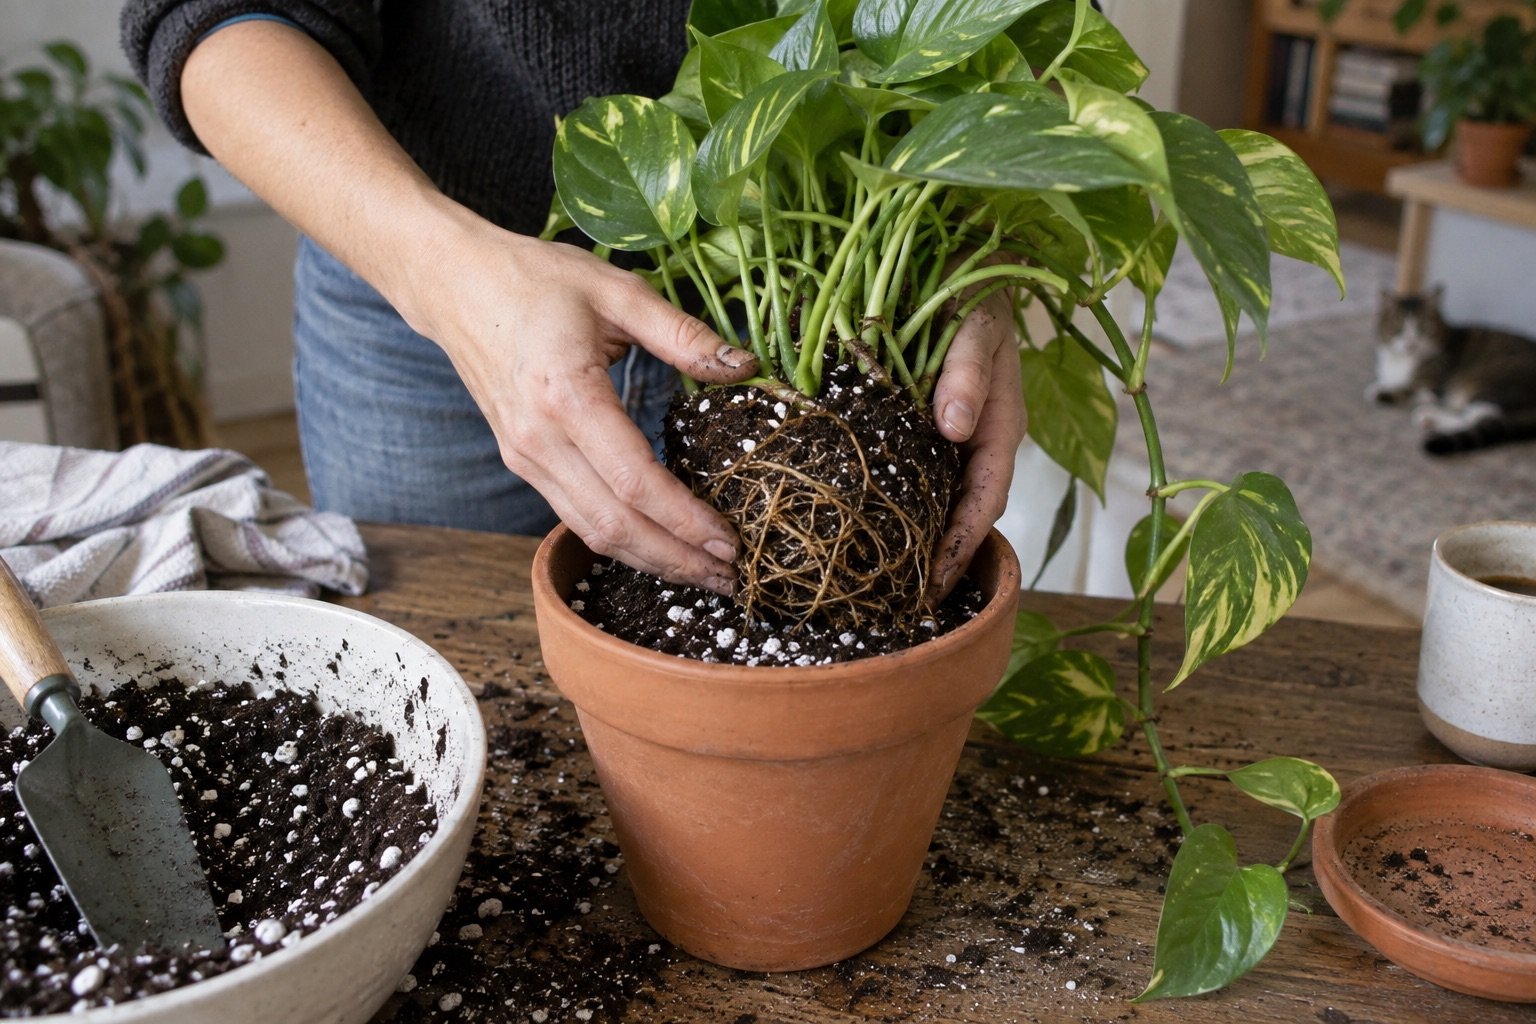
- Repot in fresh, suitable medium at the original depth.
- Water enough to settle the mix, then follow the species’ normal drying cue.
- Keep the plant in stable light and temperature during recovery.
Do not fertilize a badly damaged root system immediately. Wait for stable new growth unless the potting product label gives different instructions.
When propagation is safer
If rot reaches most roots but the upper stem remains firm, take healthy cuttings when the species allows it. Cut above discolored tissue with a clean blade and root the pieces in a separate container. Our water propagation guide covers suitable nodes and container care.
When to discard the plant
Discard a plant when the crown has collapsed, rot continues far into the stems, or the species cannot be propagated from the healthy tissue that remains. Bag the plant and mix instead of composting material with suspected disease indoors. Clean the work surface and keep nearby plants under observation.
Prevent another episode
Match pot size to the root ball, use a drainage hole, empty the saucer, and check deeper moisture before watering. Record how long the mix stays wet. If it remains saturated for many days in normal room conditions, change the container, mix, or placement rather than stretching the calendar.
Our guides to watering indoor plants and poorly draining potting soil address the two common setup errors.