How to Start Seeds Indoors: 9 Practical Steps
Last updated: July 24, 2026.
Affiliate disclosure: As an Amazon Associate I earn from qualifying purchases. Links marked "paid link" may earn Fern & Shelf a commission at no extra cost to you. Read our full Affiliate Disclosure.
Start here: For a complete overview, see our Indoor Gardening for Absolute Beginners.
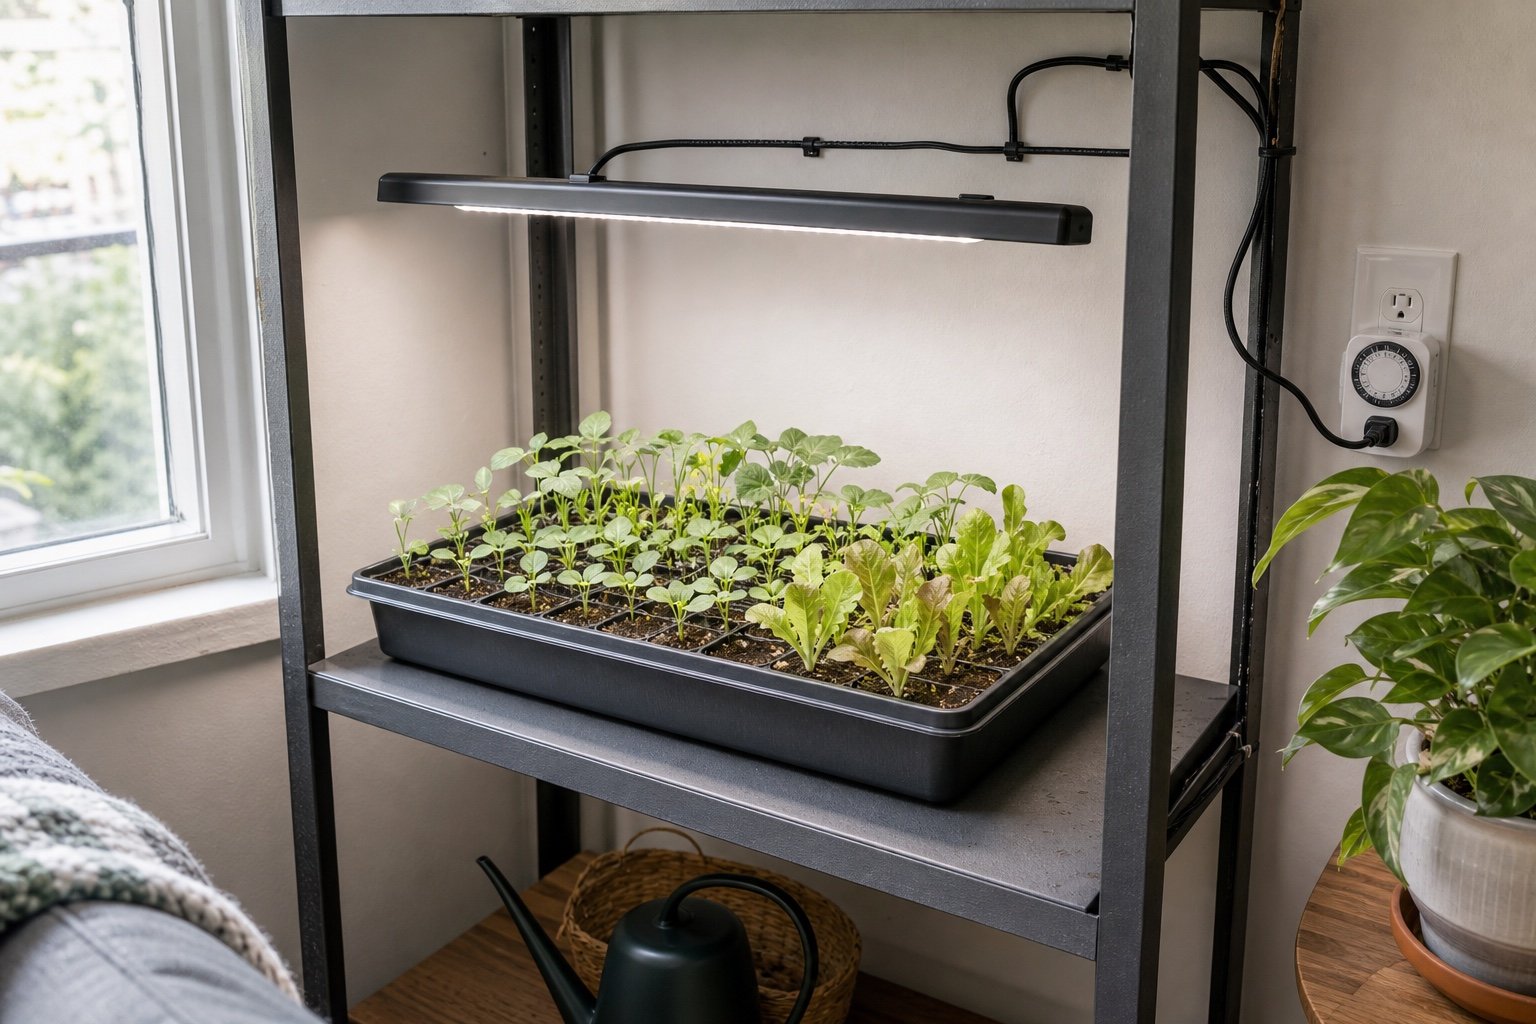
Learning how to start seeds indoors in a small apartment doesn't require a greenhouse or a spare room. One sturdy shelf can hold a waterproof tray, a compact light, and enough cells for a useful batch of vegetables or flowers. The trick is to start the right seeds at the right time and give the seedlings bright, steady light as soon as they emerge.
The practical answer to how to start seeds indoors is less glamorous than most shopping lists suggest. Use clean containers with drainage, fresh soilless mix, a timer, and labels you can still read six weeks later. Keep the mix moist during germination, then let it breathe between waterings. A heat mat can help with warmth loving crops, but it is optional.
The one-shelf plan at a glance
| Stage | What the shelf needs | What to watch |
|---|---|---|
| Before sowing | Clean cells, solid drip tray, fresh mix, labels | Drainage holes and enough headroom for a light |
| Germination | Even moisture and crop-appropriate warmth | Dry corners, puddles, and a cover left on after sprouting |
| Early growth | Bright light for 14 to 16 hours, then darkness | Stretching stems and leaf tips too close to the fixture |
| True-leaf stage | More room, gentle watering, possible feeding | Crowded roots, saturated mix, and excess fertilizer |
| Before moving outside | Gradual exposure over about one to two weeks | Wind, strong midday sun, and cold nights |
First, decide which seeds belong indoors
Indoor sowing makes sense when a crop needs a longer growing season or an early transplant. Tomatoes, peppers, eggplants, broccoli, cabbage, and many annual flowers often fit that description. Root crops such as carrots and radishes are generally better sown where they will grow.
The seed packet is the first authority. Look for a direction such as "start indoors six to eight weeks before the last frost" or a transplant window. Then find the typical last spring frost date and recommended planting dates from your local Cooperative Extension office. Work backward on a calendar.
Don't treat six to eight weeks as a universal rule. University of Maryland Extension gives broad indoor periods ranging from two to four weeks for leafy greens to eight to ten weeks for peppers, eggplants, and onions. Starting too early can leave you with crowded, root-bound plants long before outdoor conditions are safe.
If you are figuring out how to start seeds indoors for a permanent indoor herb pot, the frost date matters less. Light and mature container space still matter. Our guide to growing herbs indoors without sunlight covers that longer indoor life.
How to start seeds indoors on one shelf
1. Measure the shelf before buying anything
Measure its usable width, depth, and vertical clearance. Leave room to raise the light as plants grow, and put a waterproof tray under every container with drainage. A standard 10 by 20 inch flat fits many shelves, but a shorter tray may be easier in a narrow bookcase.
Place the station near an outlet, away from drafts and radiators. Keep water below the electrical connections and make a drip loop in each cord. A window can add daylight, but the shelf shouldn't depend on a few bright afternoon hours.
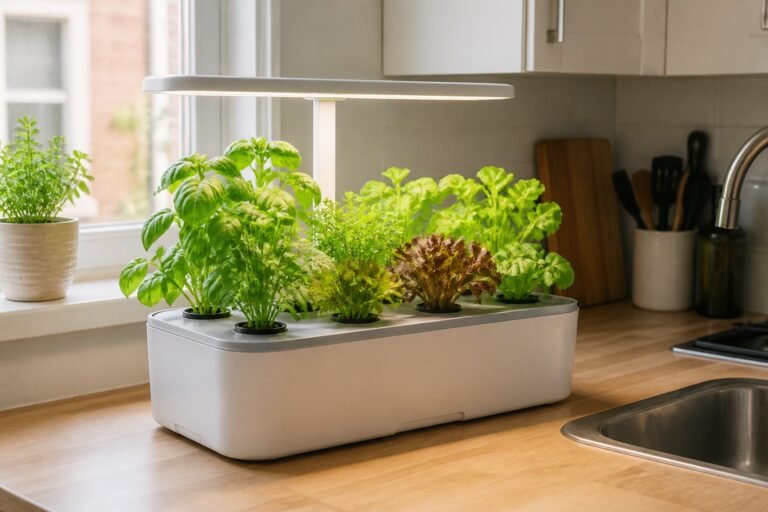
An ordinary full spectrum LED shop light can work. It must cover the tray and allow height adjustment. If you are choosing a setup, compare the plant shelves with grow lights and grow lights for apartment windows.
Search Amazon for a compact full spectrum seedling light (paid link)
A simple outlet timer keeps the day length steady when your own schedule is not.
Search Amazon for an outlet timer for a grow light (paid link)
2. Use clean containers that drain
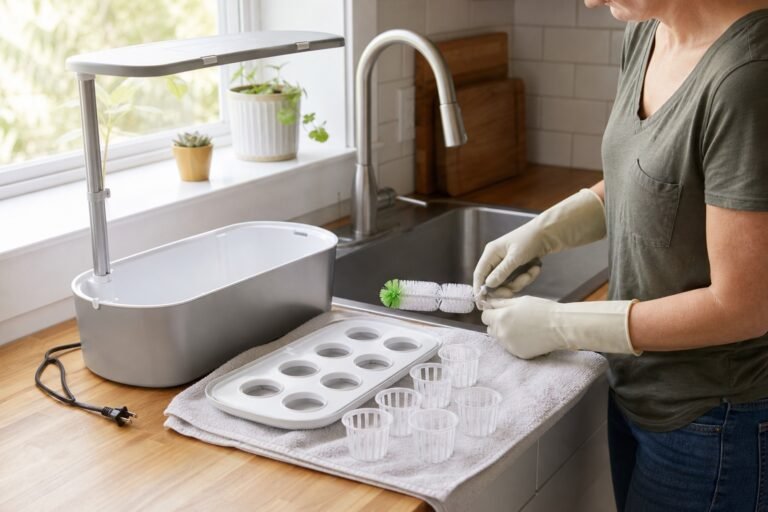
New cell packs are convenient, but clean yogurt cups and other food containers can work once you add drainage holes. University of Maryland says a seed container should be at least two inches deep and drain freely. Set draining cells inside a solid tray that catches water without leaving the roots submerged.
Wash old mix and roots from reused containers, then follow an Extension sanitation method suitable for the material. A compact insert with moderate cells is more useful on one shelf than a giant multipack.
Search Amazon for a compact reusable seed tray with drainage (paid link)
3. Start with fresh, fine-textured mix
Garden soil is too dense for a shallow cell and may carry weed seeds or pathogens. Use fresh soilless potting mix, choosing a fine seed starting texture for tiny seed. The difference is explained in potting soil versus garden soil.
Moisten the mix before filling the cells. Aim for a wrung sponge feel: evenly damp, not dripping. Dry peat based mix can repel water at first, so stir until no dusty pockets remain.
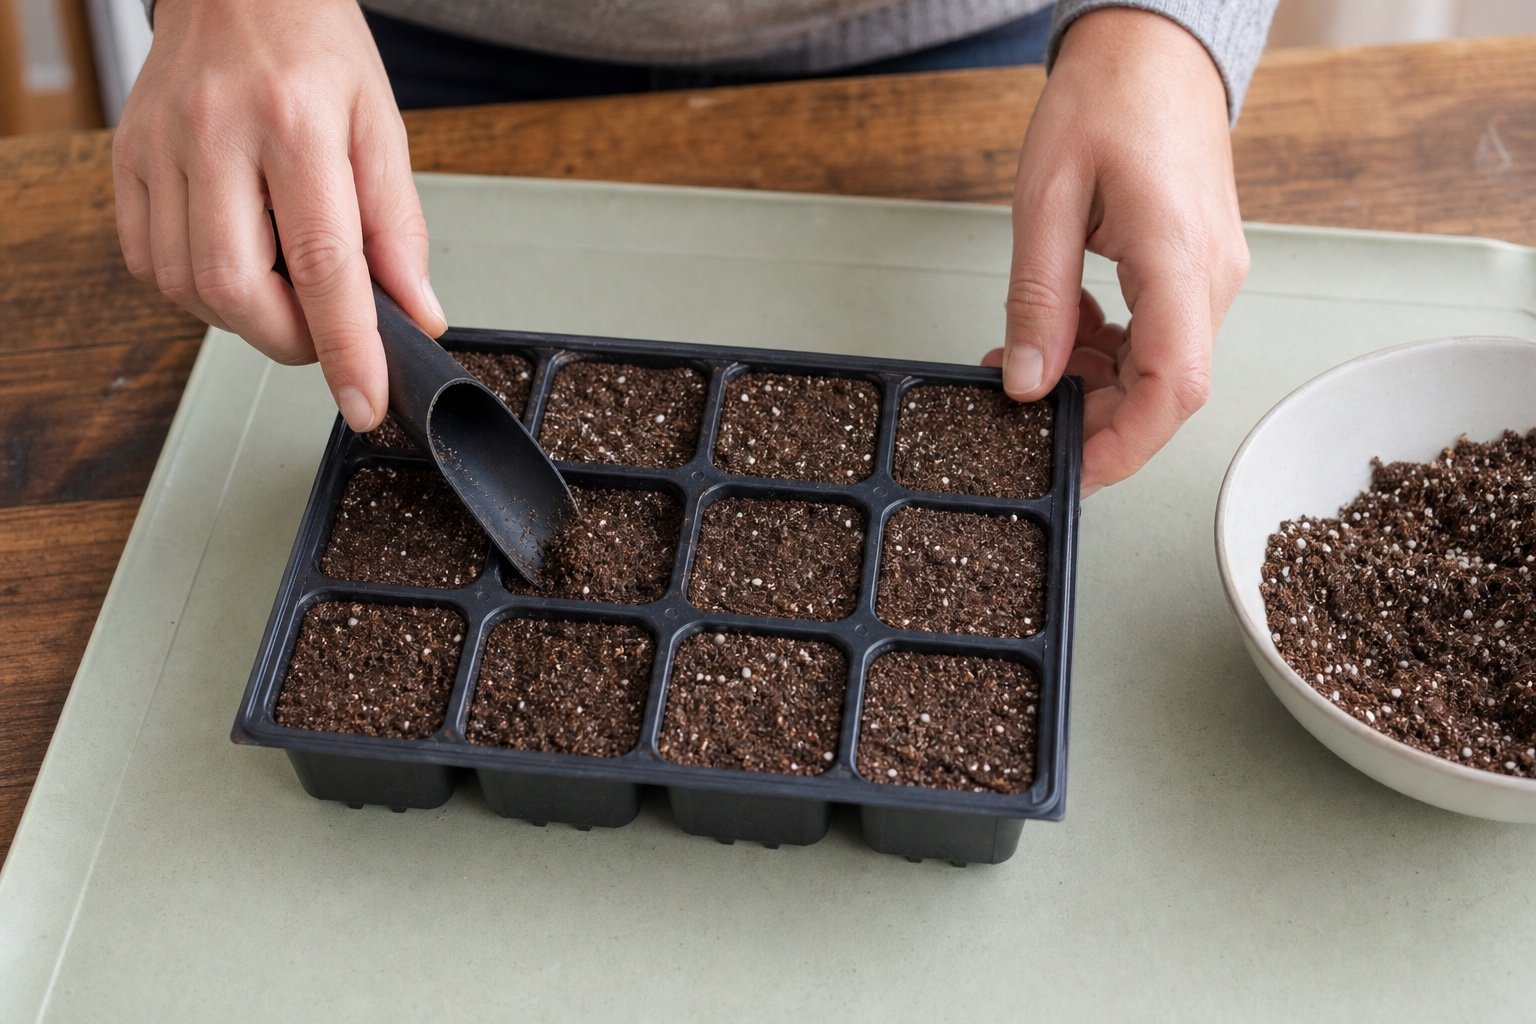
Level the mix gently. Packing it hard squeezes out air.
Search Amazon for fresh soilless seed starting mix (paid link)
4. Sow at the packet depth and label at once
Follow the packet's planting depth. When directions are missing, University of Maryland suggests about twice the seed's diameter for many vegetables. Fine seeds and those needing light may sit on the surface with gentle contact.
One or two fresh seeds per cell is often enough. Label the crop and variety before moving to the next row, adding the sowing date if several trays will overlap.
Water gently after sowing. Bottom watering or a fine mist avoids pushing small seeds into a corner. Let excess water drain before the tray returns to the shelf.
5. Hold moisture and warmth until sprouts appear
A clear dome slows evaporation. It shouldn't touch the mix, and it must come off when green shoots appear.
Most vegetable seeds germinate well around 65 to 75 degrees Fahrenheit, according to University of Maryland, though the packet may differ. A heat mat helps in a chilly room or with warmth loving crops. Use a thermostat when overheating is possible.
Search Amazon for a compact seedling heat mat with thermostat (paid link)
Check moisture daily. A seed that has started taking up water can fail if the mix dries completely, while a tray that stays waterlogged lacks oxygen.
6. Turn on the light as soon as green appears
Once the first shoots emerge, remove the cover and put the tray under the light. University of Maryland recommends 14 to 16 hours of light for vegetable seedlings. The grow light timing guide explains why a dark period still belongs in the schedule.
Keep the fixture close enough for compact growth, but follow its instructions because LED output and heat vary. The grow light distance guide explains how to adjust from the plant's response.
When people ask how to start seeds indoors beside a sunny window, light is usually the weak point. Seeds may germinate, then stretch toward the glass. Rotation helps with leaning, but pale, long stems call for better intensity or coverage, not fertilizer.
7. Water the roots, then empty the tray
Check each cell instead of watering by weekday. When the surface is nearly dry and the tray feels lighter, add shallow water to the solid tray. Let the mix wick it upward, then pour out what remains.
Top watering is fine once seedlings are sturdy, provided the stream is gentle and excess drains. Aim for even moisture, not saturation.
Good spacing helps leaves dry. A small fan across the room can move air, but don't aim a hard stream at tender seedlings.
8. Thin, pot up, and feed only when needed
Cotyledons are the first seed leaves. The next set usually resembles the mature plant and is called the true leaves.
If seedlings share a cell, snip the extras at the mix line. Move crowded seedlings into individual pots shortly after the first true leaves appear, handling each one by a leaf rather than the stem.
Fresh commercial mix often feeds the early weeks. Read the bag before adding anything. When its nutrients run low, follow the fertilizer label for transplants. Extra fertilizer cannot repair weak light.
If the stems keep stretching, use the leggy plant diagnosis guide to separate a lighting problem from crowding, excess warmth, or overfeeding.
9. Harden seedlings before the outdoor move
Indoor leaves have not dealt with full sun, wind, or quick temperature changes. A sudden move to a bright balcony can scorch or wilt them.
Begin roughly one to two weeks before transplanting. Start with a short stay outdoors in shade and shelter, then add time and brighter exposure gradually. Bring the tray inside before a cold night or rough weather. University of Minnesota Extension describes a two-week progression, while University of Maryland Extension stresses adjusting the pace to weather and crop.
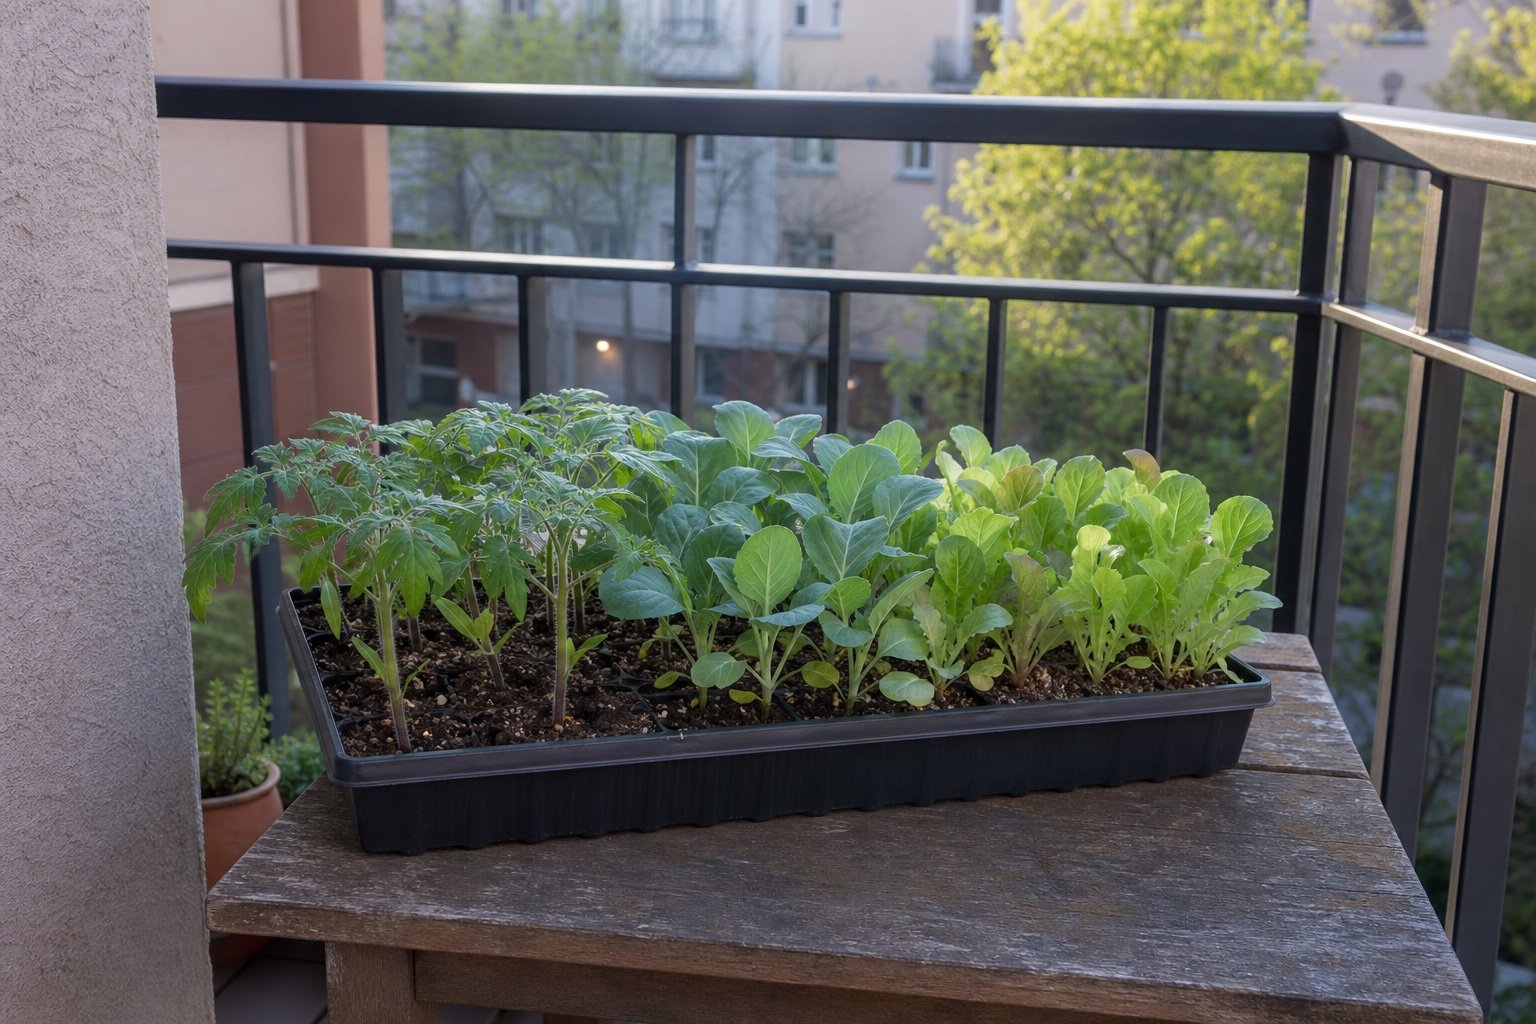
Balcony wind can be stronger above street level. Secure the tray and keep it where runoff cannot fall below.
What went wrong with the tray?
| Symptom | Likely place to look | Practical response |
|---|---|---|
| Nothing emerges | Seed age, depth, moisture, or mix temperature | Check the packet, keep moisture even, and wait through the stated germination window |
| Long pale stems | Light too weak or too far away; room too warm | Improve coverage, adjust the fixture safely, and avoid excess water or fertilizer |
| Seedlings collapse at the mix line | Possible damping off | Isolate the tray, discard affected plants and mix, then clean containers before another sowing |
| Leaf edges look bleached or dry | Fixture heat, excessive intensity, fertilizer, or uneven watering | Check distance, root moisture, and recent feeding before changing several things at once |
Penn State Extension describes damping off as seed rot before emergence or collapse afterward. A stem already pinched and rotting at the mix line will not recover. Prevention depends on clean containers, draining mix, spacing, and moisture control.
Keep the apartment part simple
A one-shelf station gives the mess a boundary. Store dry mix in a closed bin, wipe spills promptly, and keep the watering can below books or electronics. Count the future outdoor spots before sowing more. The tray should match the home the plants will have later.
Frequently asked questions
Can I learn how to start seeds indoors with only a window?
Sometimes, especially for plants that stay indoors briefly and a large south-facing window with dependable direct sun. University of Minnesota and University of Maryland both warn that window light often produces leggy seedlings. A compact LED on a timer gives more consistent coverage and is easier to adjust on a small shelf.
Do seed trays need a humidity dome?
No. A dome or loose clear cover slows moisture loss, which can be useful in a dry home. Remove it as soon as seedlings emerge and do not let it touch the mix. You can germinate without one if you check moisture often.
Can I use regular potting mix?
A fresh, lightweight soilless mix can work for many vegetable seeds. A fine seed starting mix is easier with very small seed. Avoid garden soil and dense mixes that stay airless in shallow cells. If you need a broader container mix after potting up, use the indoor potting mix guide as a starting point.
What if I started seeds too early?
Increase space and light before the plants become badly crowded. Potting up may buy time, but it also needs more shelf area. Don't move tender crops outdoors merely because the tray is inconvenient. Record the sowing date and begin later next season.
One shelf is enough to get the timing right
Once you understand how to start seeds indoors, the process becomes a short daily check rather than a rescue project. Match the sowing date to the crop, keep the light close and consistent, and water the mix instead of the calendar.
Aim for a compact transplant with healthy roots, ready at the same time as its outdoor space.
Sources and further reading
- University of Maryland Extension: Starting Vegetable Seeds Indoors
- University of Minnesota Extension: Starting Seeds Indoors
- University of Minnesota Extension: Lighting for Indoor Plants and Starting Seeds
- Utah State University Extension: Grow Your Own Transplants at Home
- Iowa State University Extension: How to Successfully Start Seed Indoors
- Penn State Extension: Safeguard Your Seedlings from Damping Off
- University of Maryland Extension: Hardening Off Vegetable Seedlings for the Home Garden