How to Grow Chives Indoors: 7 Simple Steps
Last updated: August 23, 2026.
Affiliate disclosure: As an Amazon Associate I earn from qualifying purchases. Links marked “paid link” may earn Fern & Shelf a commission at no extra cost to you. Read our full Affiliate Disclosure.
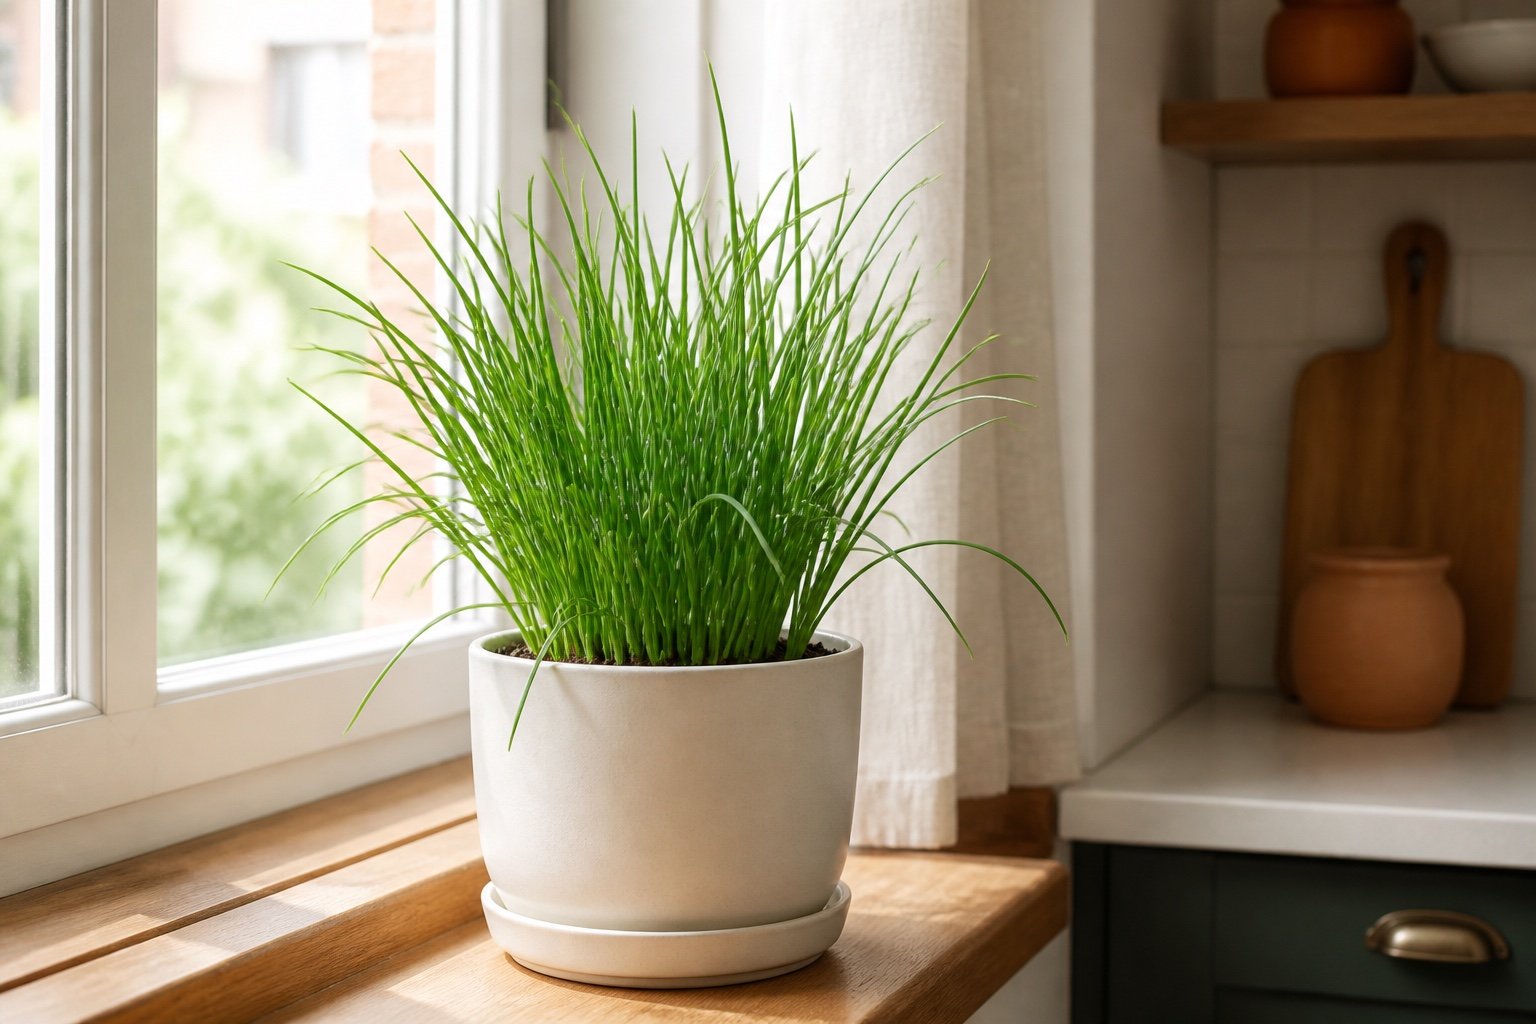
The easiest way to learn how to grow chives indoors is to start with a rooted clump, set it in a draining pot, and give it a genuinely bright place. Chives tolerate indoor conditions better than many culinary herbs, but they still grow thin and weak when the window is dim.
Chives are perennial clumping plants. Common chives, Allium schoenoprasum, have round hollow leaves and a mild onion flavor. Garlic chives, Allium tuberosum, have flatter leaves and taste more garlicky. Both can grow in a container, though this guide uses common chives as the baseline.
The quick indoor chive setup
| Decision | Practical starting point | What to avoid |
|---|---|---|
| Plant | A healthy rooted clump or seed sold as common chives | Confusing flat leaved garlic chives with common chives |
| Pot | A modest pot with open drainage holes | A sealed decorative container that holds runoff |
| Mix | Fresh, loose container mix | Heavy yard soil that compacts indoors |
| Light | Bright sunny window, with a lamp if leaves stretch | Treating ordinary room brightness as plant light |
| Water | Even moisture with some air left in the mix | Alternating standing water with severe drought |
| Feeding | Light feeding during active growth | Heavy fertilizer in winter or weak light |
| Harvest | Clean cuts near the base, with enough growth left to recover | Picking only leaf tips or stripping a weak plant repeatedly |
Indoor chives are not an endless grocery store replacement from day one. A small clump needs time to root and rebuild after each harvest. Keep expectations modest and the plant usually behaves well.
How to grow chives indoors in seven simple steps
1. Choose common chives, garlic chives, or a rooted division
Check the botanical name or leaf shape before buying. Common chives have round, hollow leaves and pink to purple flowers. Garlic chives have flatter leaves and usually white flowers. University of Minnesota Extension describes both and notes that their flavor differs.
A rooted division gives the quickest start. It already has a small bulb and root system, so it can settle into a pot faster than a new seedling. Seed is useful when you want a named variety or several plants, but the first harvest takes patience.
If you buy a nursery pot, inspect the leaf bases, mix surface, rim, and drainage holes for insects or decay. Keep the newcomer apart from established plants for a short observation period using the new plant quarantine routine.
Search Amazon for common chive seeds for indoor growing (paid link)
2. Give the clump a pot that drains
Choose a pot only a little wider than the current roots. Chives spread into a clump, so a container wider than it is tall can make sense once the plant is established. An oversized pot around a tiny division stays wet longer and makes moisture harder to judge.
The pot needs at least one open hole and a saucer. Use fresh container mix rather than garden soil. Illinois Extension recommends loose, well drained potting mix and drainage holes for container herbs, including chives.
Set the bulbs and crown at the same depth they grew before. Firm the mix gently around the roots, water it through, and empty the saucer after runoff stops. If water sits on the surface or the pot stays heavy for several days, work through the potting soil drainage guide before adding more water.
The general guides to choosing pots for indoor plants and selecting indoor potting soil explain the material and mix choices in more detail.
Search Amazon for a small herb pot with drainage and a saucer (paid link)
3. Start seed carefully or settle a division
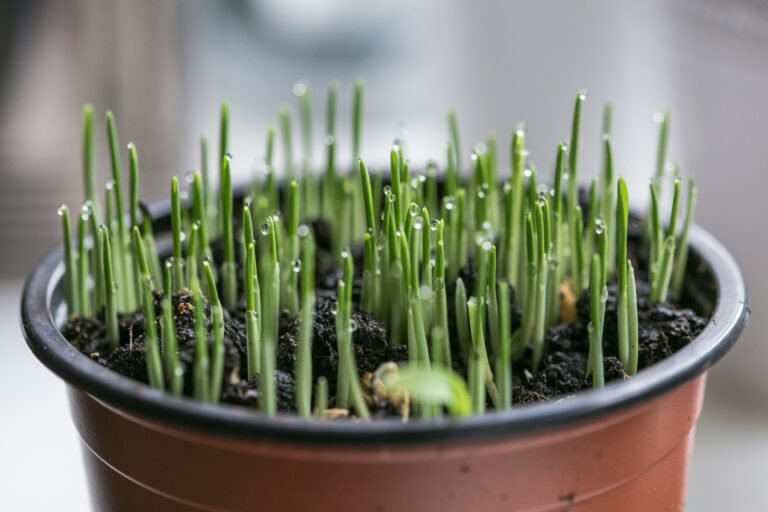
Follow the packet for sowing depth and temperature because cultivars and coatings differ. Keep the starting mix evenly damp during germination. Once seedlings appear, remove any humidity cover and give them strong overhead light.
Thin crowded seedlings rather than leaving a grasslike mat. One seed can eventually form a clump, according to Utah State University Extension. Several plants can share a wider pot, but each needs light and air around its leaves.
A division may droop after potting. Keep it evenly moist while new roots settle, but do not leave the pot in water. Hold off on a large harvest until upright new leaves show that the plant is growing again.
4. Put the pot in bright, even light
University of Minnesota Extension recommends a bright sunny indoor position and says six to eight hours of direct light is best outdoors. Penn State Extension lists chives among herbs that tolerate somewhat lower indoor light than rosemary or thyme. Tolerance is not the same as productive growth.
Watch the leaf shape. Healthy chives stand mostly upright and have useful thickness. Long, pale leaves that flop toward the window point to weak or one sided light. Rotate the pot and add a white or balanced lamp if the new growth stays thin.
Place the fixture according to its instructions, then adjust as the plant grows. The guides to grow light duration and grow light distance help separate time from intensity. Give the plant a dark period rather than leaving a lamp on around the clock.
Search Amazon for a small white grow light with a timer (paid link)
5. Keep the root zone evenly moist, not soaked
Chives do not want the same dry rhythm as thyme or rosemary. Check below the surface and lift the pot. Water when the upper mix begins to dry and the container feels lighter, then wet the root zone fully and let the excess leave.
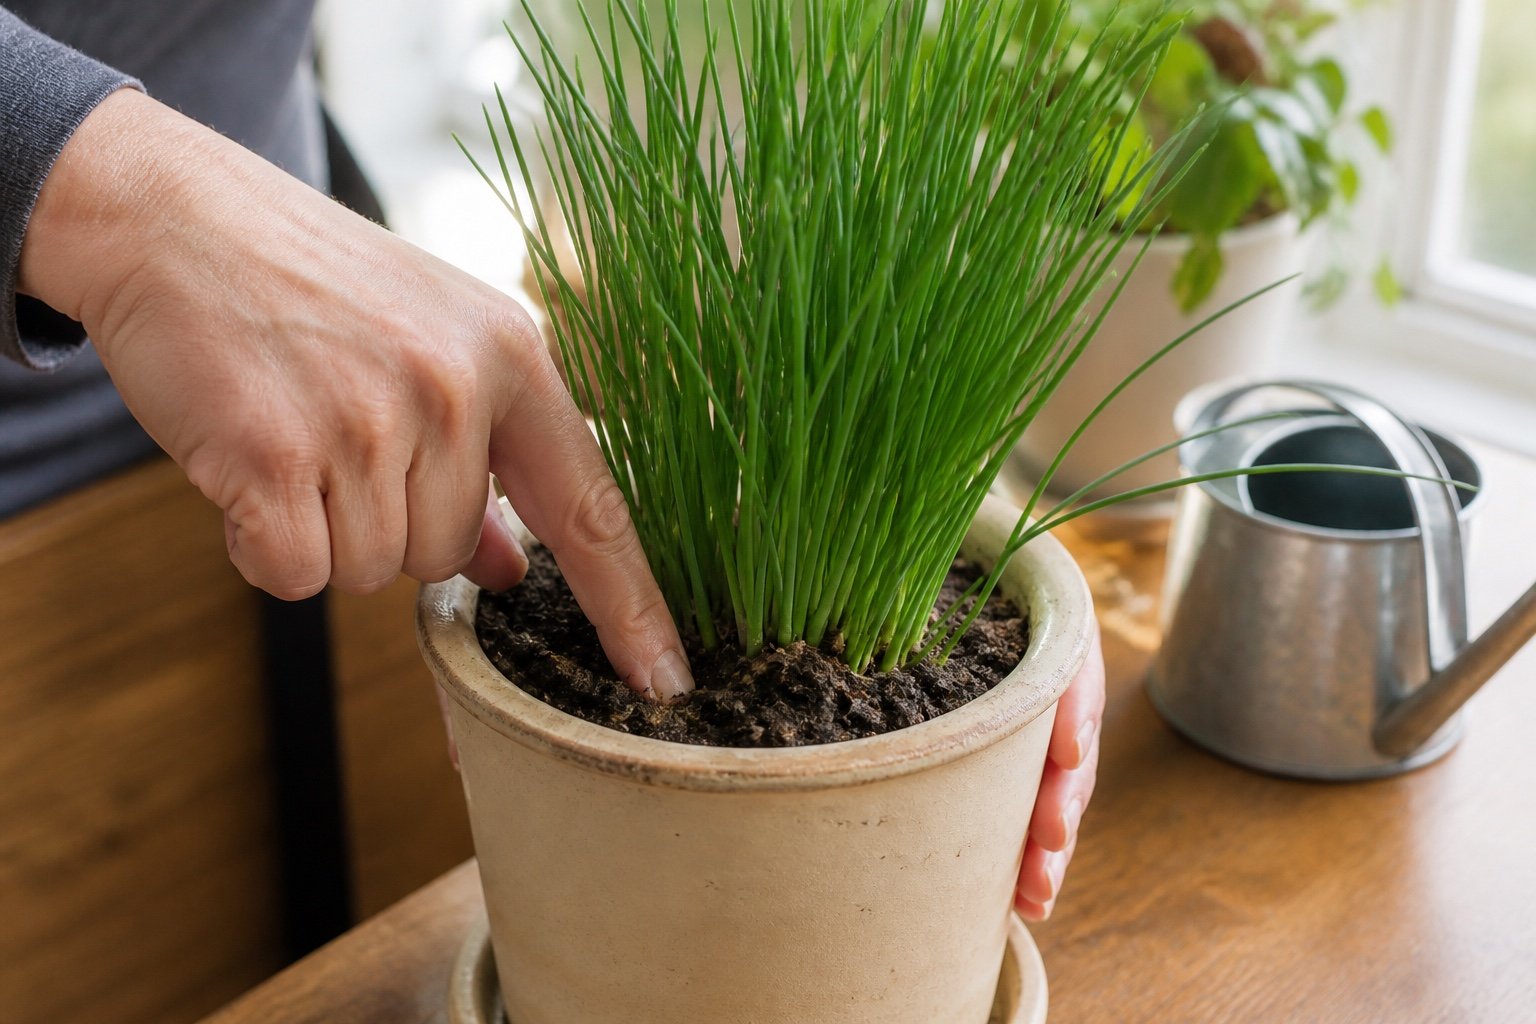
A narrow surface can look dry while the lower mix remains wet. That is why pot weight and a finger or wooden skewer give a better reading than color alone. Empty the saucer after watering. In winter, weak light slows growth and water use, so the interval may lengthen.
The indoor plant watering guide covers the same check, water, drain routine across different containers. Do not adopt its broad examples as a fixed chive schedule. Your pot gives the useful answer.
6. Feed lightly while leaves are actively growing
Fresh potting mix may already include fertilizer. Read the label before adding another product. University of Minnesota Extension advises light feeding for container or indoor chives and no winter fertilizer when light is poor. The same source warns that overfertilizing can harm the plant.
Use a fertilizer labeled for edible container herbs, follow its rate, and apply only to moist mix unless the label says otherwise. More fertilizer will not thicken leaves that are stretching in dim light. It can raise the salt level around roots and create a second problem.
If growth slows after repeated harvests during a bright season, first check light, root space, and moisture. Feeding is one possibility, not the automatic fix.
7. Harvest from the base and let the clump recover
Use clean scissors and cut a group of leaves about one inch above the mix. Illinois Extension and Utah State both recommend low cuts rather than repeatedly taking only the tips. The plant then produces a neater flush from the base.
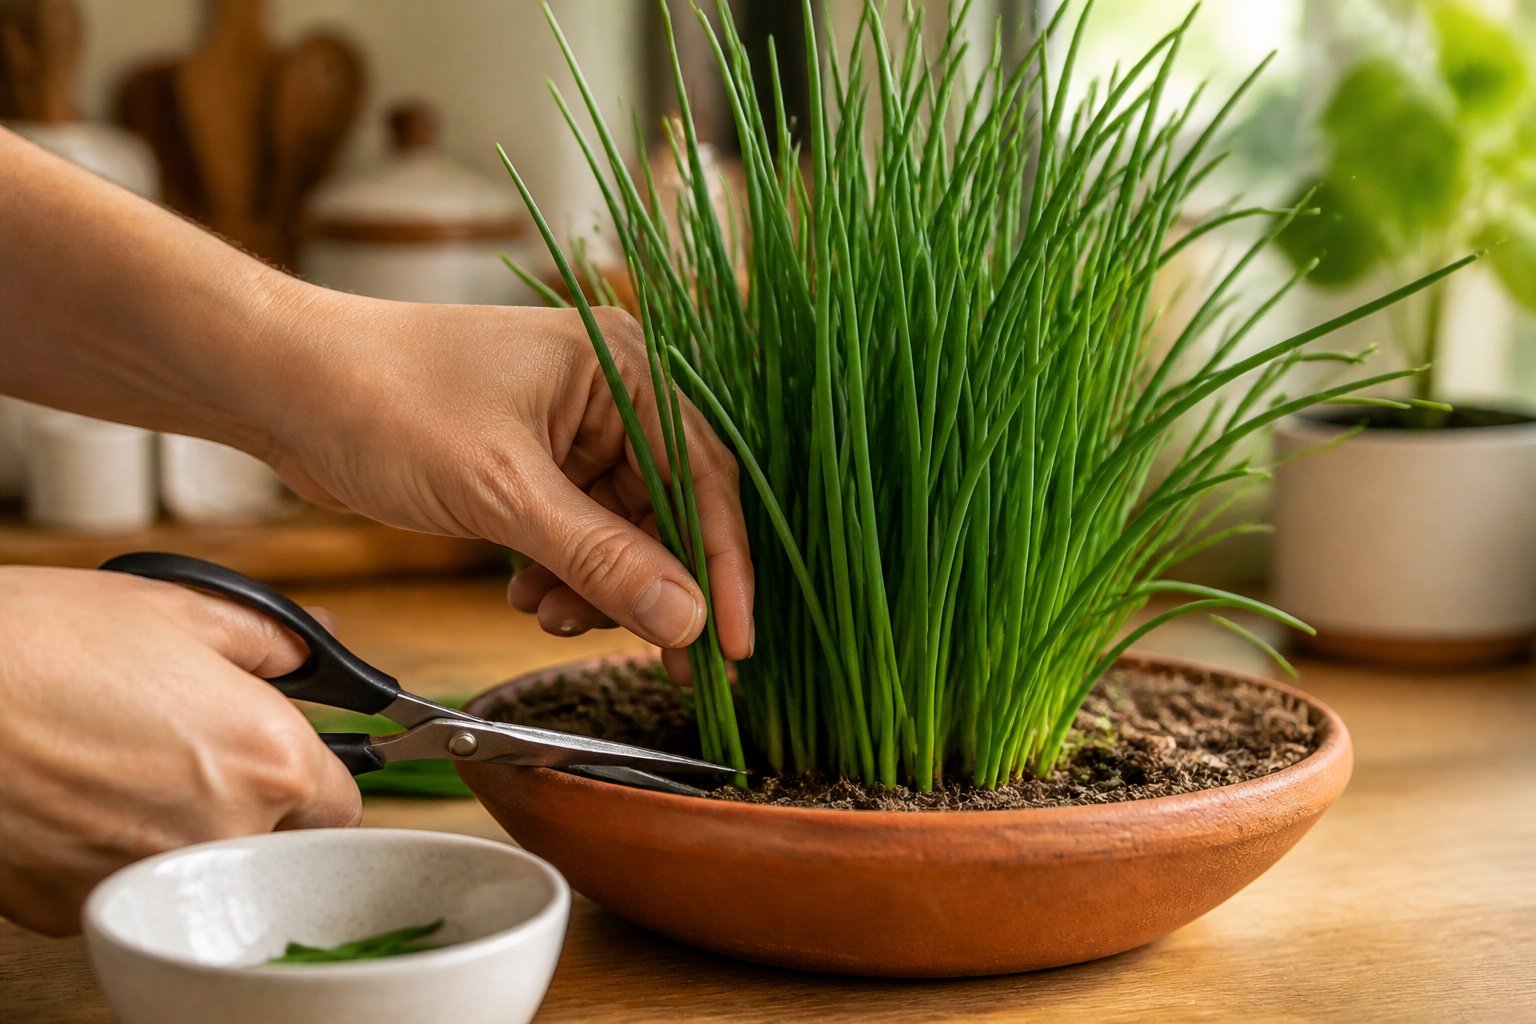
Do not remove the whole clump every few days. Harvest one portion and leave enough green tissue for photosynthesis. A newly divided, recently repotted, or winter slowed plant needs a longer recovery.
Rinse the leaves under clean running water and use them fresh. Chives lose quality quickly after cutting. For extra leaves, University of Minnesota Extension recommends chopping prewashed chives and freezing them rather than relying on dried leaves for the same fresh character.
Dividing an indoor chive clump
An established pot eventually fills with bulbs and roots. Growth may emerge around the edge while the center weakens, or water may rush through a root packed container. Division gives each section fresh space.
Water the plant the day before if the mix is very dry. Slide out the root ball, separate it into several rooted sections with clean hands or a knife, and discard dead center material. Pot one section at its former depth. Do not move every division into a much larger container at once.
Utah State University Extension says established chives benefit from regular division, while University of Minnesota suggests spring as the best outdoor timing. Indoors, divide during active growth when the plant has enough light to recover. Pause heavy harvesting until fresh leaves appear.
Common chive problems indoors
| Symptom | Likely possibilities | First response |
|---|---|---|
| Long, thin, floppy leaves | Weak light, crowded growth, or one sided exposure | Improve overhead light and thin or divide the clump |
| Yellow tips with dry mix | Root zone dried too far | Water thoroughly and review how quickly the pot dries |
| Yellow leaves with a heavy pot | Saturation, blocked drainage, or weak winter light | Empty the saucer and inspect the lower mix and holes |
| Weak growth after many cuts | Too little recovery time, limited light, or root crowding | Pause harvest and inspect the root ball |
| White crust on pot or mix | Fertilizer or mineral salt accumulation | Review feeding and water quality |
| Soft leaf bases or sour odor | Decay in persistently wet mix | Remove affected tissue and correct drainage and watering |
| Specks, distortion, or sticky leaves | Possible pests | Isolate the pot and identify the pest before using any treatment |
Edible foliage deserves restraint. Do not spray a kitchen herb with a product unless the label allows that exact crop and use. Penn State’s indoor herb guidance favors cultural and mechanical controls first and reminds growers to wash leaves before eating.
Can chives share a container with other herbs?
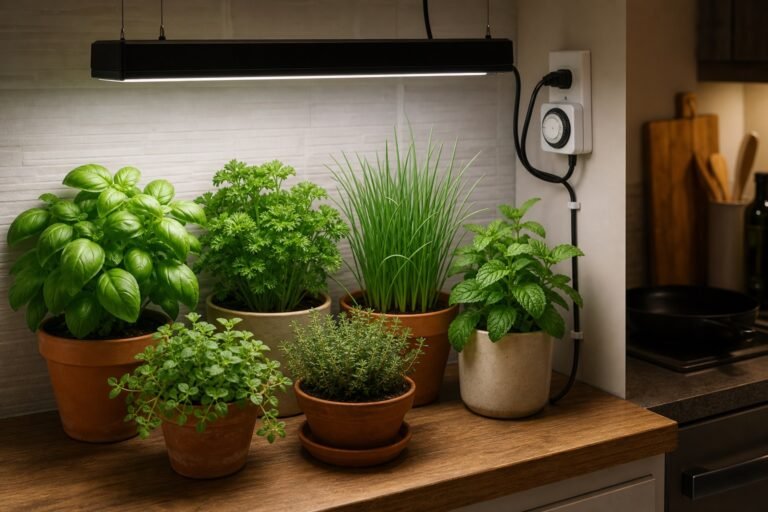
They can, but separate pots are easier. Chives prefer steadier moisture than rosemary or thyme. Mint has its own spreading habit, while basil reacts badly to a cold winter windowsill. One mixed bowl forces different roots into a single watering schedule.
If space is tight, place several individual pots on one waterproof tray beneath the same lamp. The broader indoor herb guide helps with shared lighting while each species keeps its own root zone.
Frequently asked questions
Can chives grow indoors all year?
Yes, though growth may slow or partly die back when winter light is poor. University of Minnesota Extension notes this seasonal slowdown and advises against winter feeding. A grow light can extend active growth, but an old crowded clump may still need division and rest.
Is it better to grow chives from seed or a clump?
A rooted clump is faster and easier. Seed costs less and offers more cultivar choice, but it takes longer to form a harvestable plant. Start seed under strong light and thin it before the pot becomes crowded.
How often should indoor chives be watered?
There is no fixed number of days. Check below the surface and lift the pot. Water when the upper mix starts to dry, then drain the excess. Bright, warm conditions shorten the interval; winter slowdown lengthens it.
Why are my chives so thin?
Insufficient light is common. Crowding, heavy harvesting, depleted mix, or warm weak winter conditions can contribute. Check the newest leaves, lamp distance, root density, and feeding history before choosing a change.
Will grocery store chives regrow in water?
Cut leaves without an attached living base and roots will not become a lasting plant. A rooted clump can be divided and potted. Green onions regrown from bulb bases are a different crop, covered in the indoor green onion guide.
Are chive flowers edible?
Common chive flowers are edible when the plant is correctly identified and has not been treated with a product that rules out food use. Their flavor is stronger than the leaves. Harvest clean young flowers and wash them before serving.
Give the clump time between cuts
The practical version of how to grow chives indoors is uncomplicated. Start with a rooted clump, use a draining pot, give it bright light, and keep the mix evenly moist without leaving the roots submerged. Feed lightly during active growth.
Then harvest like a gardener, not like a lawn mower. Cut one section low, leave plenty of green growth, and wait for recovery. That pause is what turns a small pot into a useful repeat crop.
Sources and further reading
Sources were checked August 12, 2026.
- University of Minnesota Extension: Growing Chives in Home Gardens
- Penn State Extension: Growing Herbs Indoors
- Illinois Extension: Chives
- Illinois Extension: Growing Herbs in Containers
- Utah State University Extension: How to Grow Chives in Your Garden
- University of Minnesota Extension: Growing Herbs in Home Gardens