How to Make Your Own Potting Mix (Cheaper, Better, and Not Complicated)
Last updated: 14.06.2026.
I started mixing my own potting soil for a boring reason: I was tired of paying for bags of mix that were either too dense and waterlogged my plants, or too light and dried out in a day. Once I made my own, two things happened. My plants got noticeably happier, and it cost a fraction of the branded stuff. Now I keep a tub of homemade mix under the sink and barely buy pre-made bags anymore.
Making your own potting mix sounds like a serious-gardener thing. It is not. It is closer to following a simple recipe, and once you understand what each ingredient does, you can tweak it for any plant. Here is how, why it is worth it, and the basic recipes to start with.
Why bother making your own
Three honest reasons:
It is cheaper at any real volume. Buying the components in bulk and blending them costs far less per pot than premium bagged mixes once you have more than a handful of plants. The savings add up fast.
It is better. Most cheap bagged “potting soil” is too heavy and holds too much water, which is the overwatering and root rot trap that kills so many houseplants. A homemade mix drains the way you want it to.
You can tailor it. A succulent wants a fast-draining gritty mix. A fern wants something that holds moisture. A pre-made bag is a compromise. Your own mix is made to fit the plant.
If you would rather just buy a good bag and skip the mixing, the best potting soil for indoor plants roundup covers the ready-made options. This guide is for the make-it-yourself route.
The three jobs every potting mix has to do
Forget brand names and understand the function. A good mix has to do three things at once, and you build it from ingredients that each handle one job:
- Hold moisture so roots can drink. (The base: coco coir or peat.)
- Drain and let in air so roots can breathe and do not rot. (The aeration: perlite, bark.)
- Feed the plant with nutrients. (The nutrition: compost, worm castings, or added fertilizer.)
Get those three balanced and you have a great mix. The components and what each one does are covered in depth in the guide to soil amendments, but you only need a few to start.
The basic all-purpose recipe
This is the one to start with. It suits most common houseplants: pothos, philodendron, monstera, peace lily, herbs, and more.
All-purpose mix (by volume):
- 2 parts coco coir or peat-based base (holds moisture)
- 1 part perlite (drainage and air)
- 1 part compost or worm castings (nutrients)
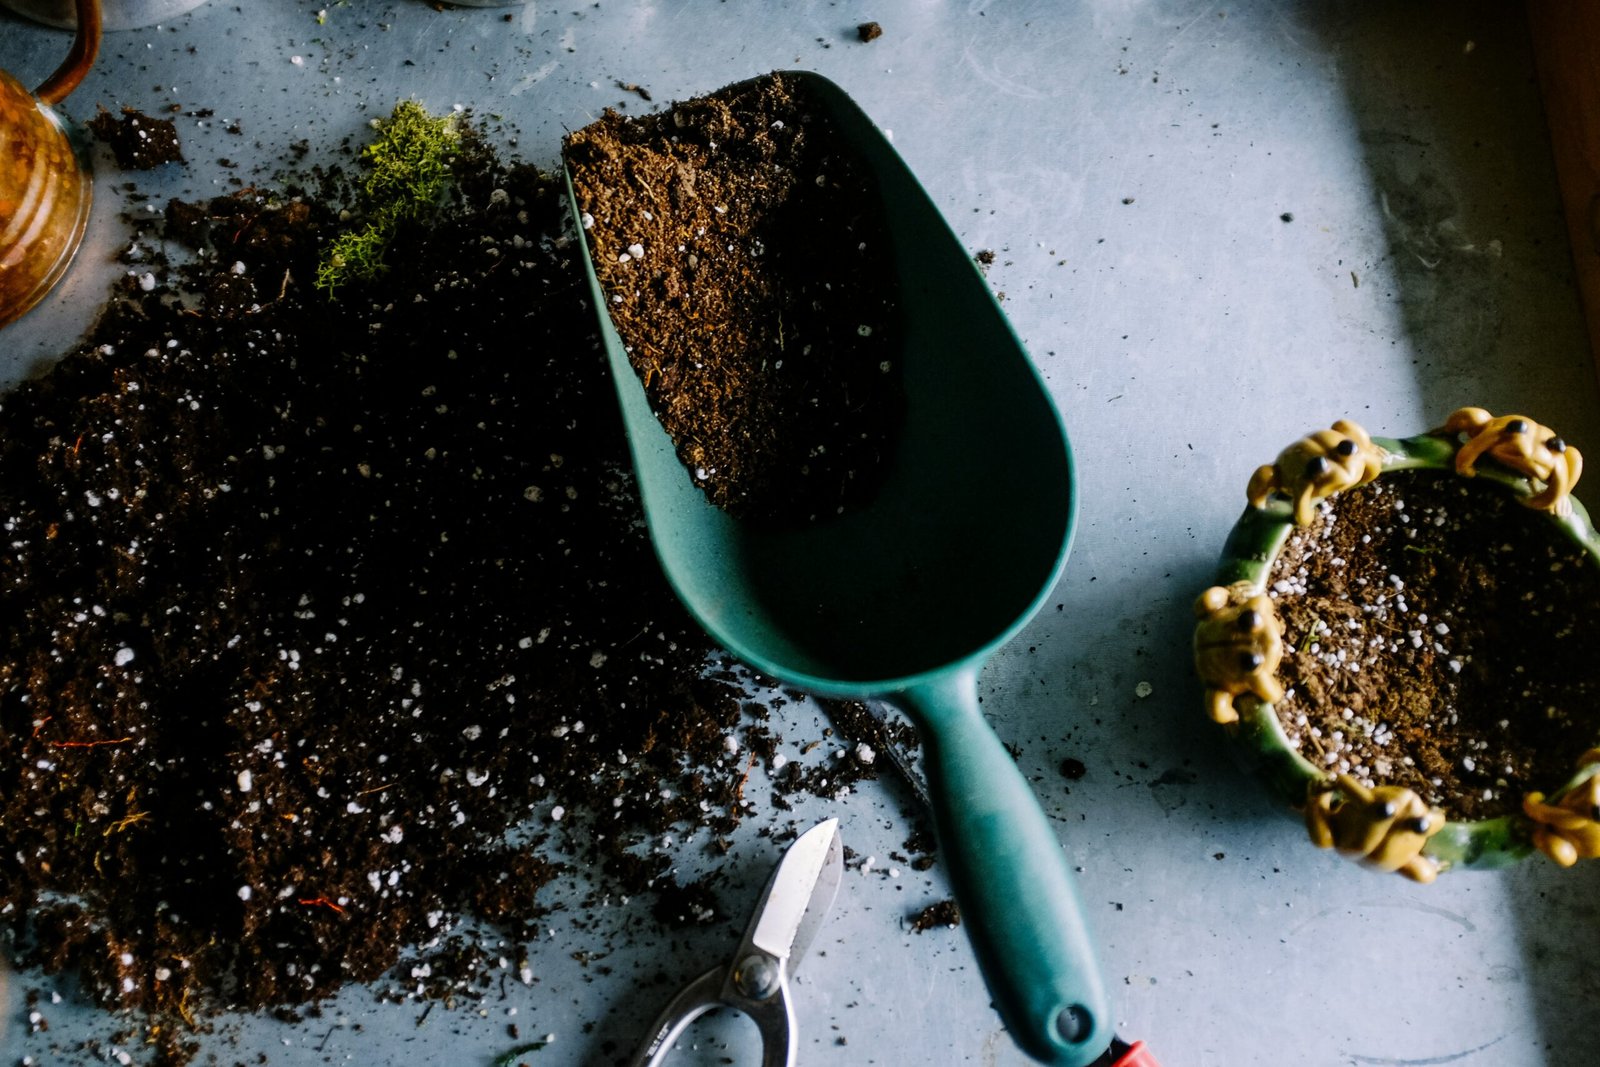
“Parts” just means equal scoops. Use a cup, a yogurt tub, a scoop, whatever, as long as it is the same container each time. Mix in a big tub or a bucket until it looks uniform, lightly moisten it, and you are done. A large mixing tub and a pair of gloves are all the equipment you need.
I prefer coco coir over peat as the base, by the way. It performs just as well, rehydrates easily, and peat harvesting is environmentally messy. Coco coir comes as a compressed brick that expands in water, which is also easier to store in a small flat than a giant bag of soil.
Tweaking the recipe for specific plants
Once you have the all-purpose mix, adjusting it is easy:
Succulents and cacti (fast-draining): add more grit. Try 1 part coir, 1 part perlite, 1 part coarse sand or pumice. They want to dry out quickly between waterings.
Ferns, calatheas, and moisture-lovers: add more coir and a handful of orchid bark for structure. They like staying evenly damp without going soggy.
Aroids (monstera, philodendron): chunkier is better. Add extra perlite and bark so the mix is loose and airy. These plants come from forest floors and hate dense soil.
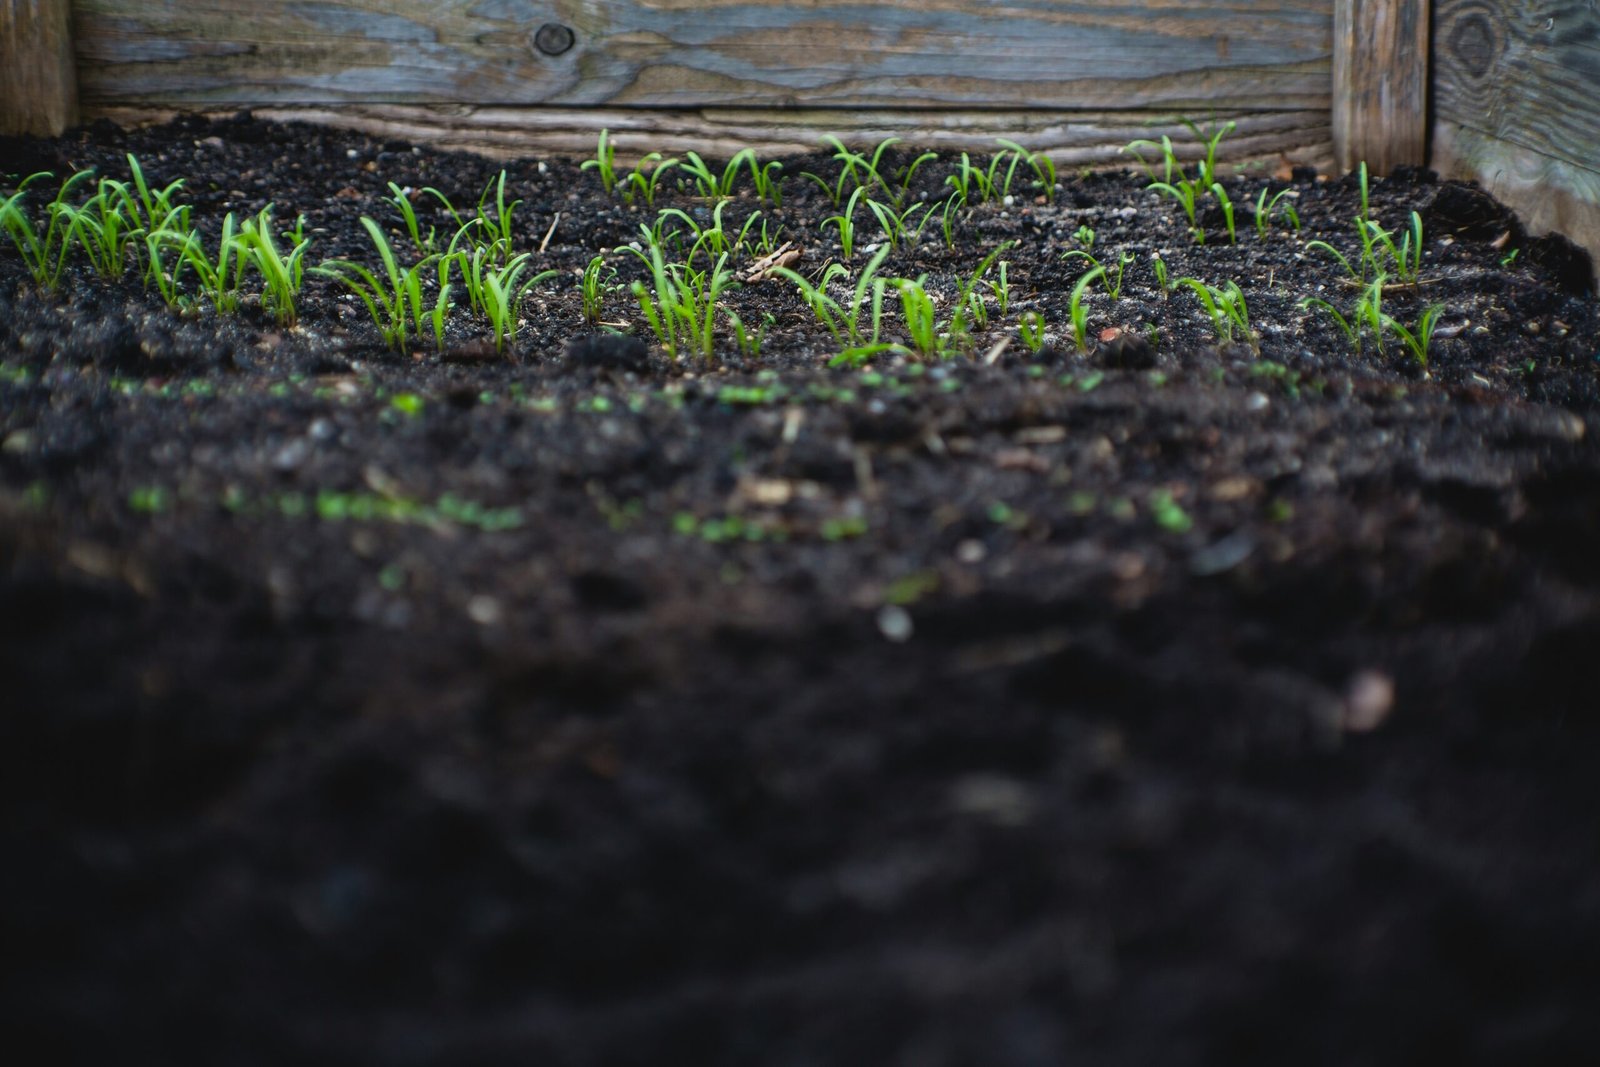
Seedlings and herbs: keep it finer and lighter, going easy on big chunks so small roots can establish. Useful when you are starting something like basil indoors.
A note on sterilizing and storage
If you are reusing components or worried about pests and mold, you can sterilize homemade mix by baking moist soil in the oven at around 180 to 200°F (about 82 to 93°C) for 30 minutes. It smells earthy and is not glamorous, but it kills fungus gnat larvae and weed seeds. For most indoor use with fresh bagged components, this is optional.
Store leftover mix in a sealed tub or bag somewhere it will not get soaked. It keeps for a long time. In a small space, a single lidded tub under the sink or on a balcony in a Berlin Altbau or a London flat is plenty.
What you do not need
A few myths worth skipping:
- Garden soil. Do not dig up garden or yard soil for indoor pots. It is too dense, compacts in containers, and brings in pests. Potting mix is a different thing entirely.
- Rocks at the bottom of the pot. This old advice actually makes drainage worse, not better. Skip it. A good airy mix and a drainage hole are what matter.
- Expensive branded “secret” blends. The ingredients are the same handful of things. You are mostly paying for the bag.
Making your own potting mix is one of those small skills that quietly improves everything else. Your plants drain properly, you stop overwatering as easily, you save money, and you can fix any mix to suit any plant. Start with the all-purpose recipe, keep a tub of it around, and tweak from there. When it is time to actually move a plant into your fresh mix, the how to repot a houseplant guide walks through it.